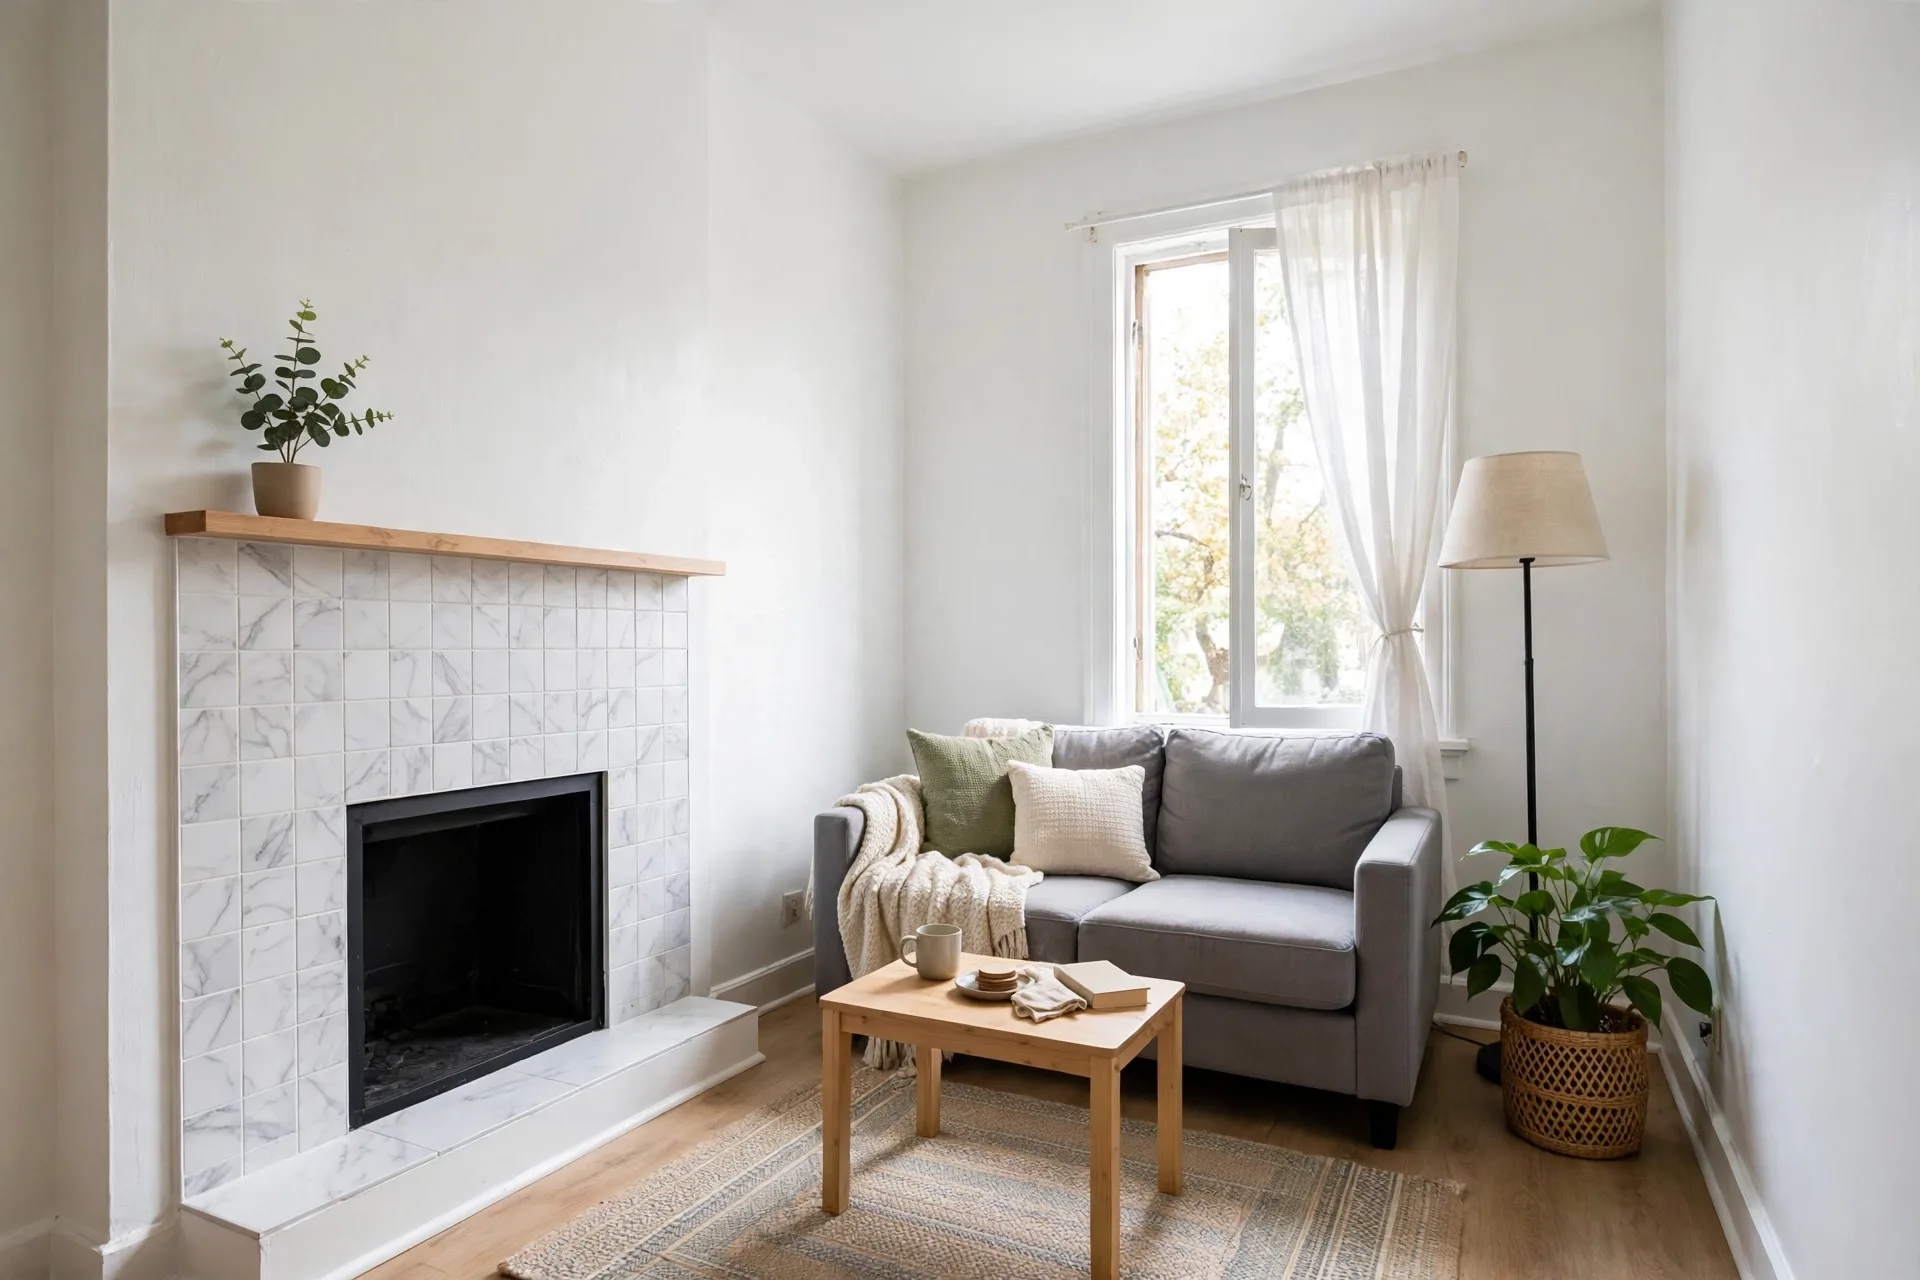
12 Fireplace Peel and Stick Tile Ideas for Renters
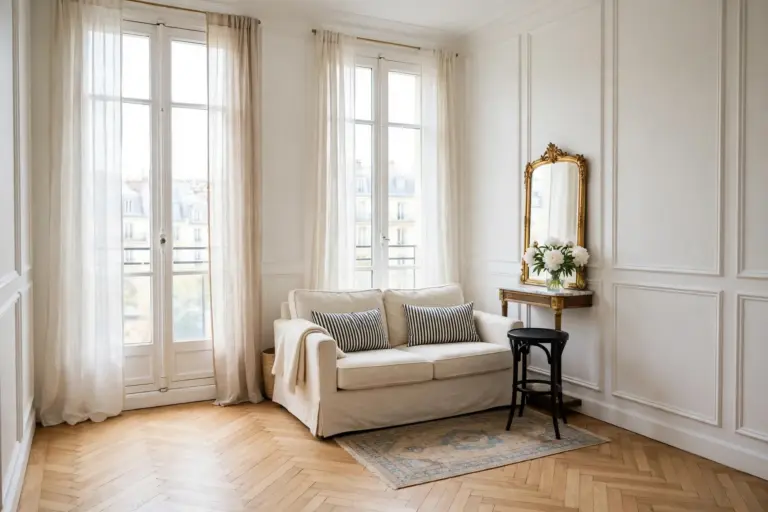
A dated brick fireplace can make a whole living room feel tired, and in a rental the usual fixes — tearing out brick, laying real tile, hiring a mason — are off the table. That is exactly why these fireplace peel and stick tile ideas are one of the fastest rental upgrades around: self-adhesive sheets that go straight over a clean, flat surround — no mortar, no grout, no drilling — and peel off when the lease ends.
Heat Safety First: Where Peel-and-Stick Tile Can (and Cannot) Go
The rule is simple: peel-and-stick tile belongs only where the surface stays cool or barely warm while a fire burns. That means the flat face of the surround around the opening, the wall above the mantel, and the sides of the chimney breast. It never goes inside the firebox, on the inner edges of the opening, or anywhere flames or hot embers can touch it. Most gel and vinyl peel-and-stick tiles are rated for temperatures around 80–93°C (about 176–200°F), and the adhesive softens and fails above that — so always check the specific product’s heat rating before buying. A good explainer of heat tolerance and safe placement near a fireplace walks through why the mantel and outer surround are the only safe zones.
Before sticking a single sheet, run the surface-temperature test: light a normal fire, let it burn for about an hour, then hold your hand near — not on — the surround where the tile will go. If the surface feels cool or only slightly warm, it is a candidate. If it feels hot to the touch, skip peel-and-stick there. Keep at least 6 inches of clear space between any tile edge and the firebox opening. The U.S. Fire Administration’s heating fire safety guidance also recommends keeping anything that can burn at least 3 feet from heating equipment — and never hang decorations from the mantel while a fire is lit.
Electric fireplaces are the easiest case: with no open flame and modest surface heat, almost any peel-and-stick tile works on the surround. Wood-burning fireplaces need the most caution, and gas fireplaces sit in between — check the fireplace manual, because some manufacturers set their own clearance rules. Lease first, tile second: get the landlord’s written OK before you start, with a photo of the tile you plan to use. That one message protects the deposit. For the rest of the room around the fireplace, see these renter-friendly apartment decorating ideas.
12 Fireplace Peel and Stick Tile Ideas for Renters
Every idea below works on the same renter rules: no drilling, no mortar, no permanent change, and a surface that peels off cleanly at move-out.
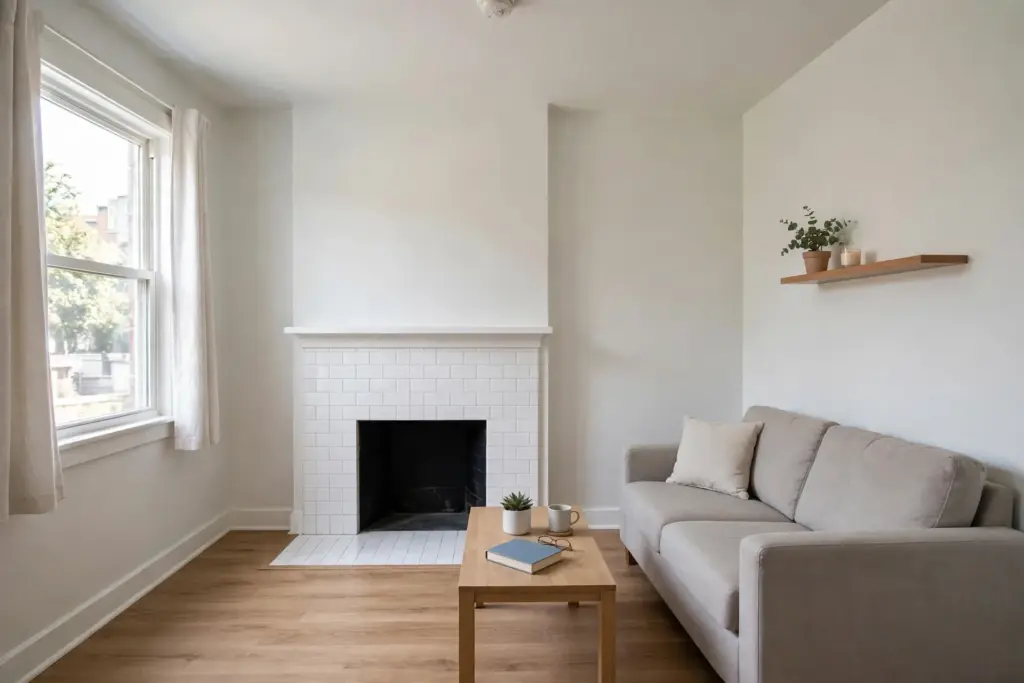
1. Classic White Subway Tile
White subway tile is the safest style bet in the book, and it suits almost any rental. Bright white rectangles in a brick pattern bounce light around a small living room and hide a dark brick fireplace under a clean, finished face. Choose a glossy finish if the room is dim, and pair it with a light wood mantel shelf.
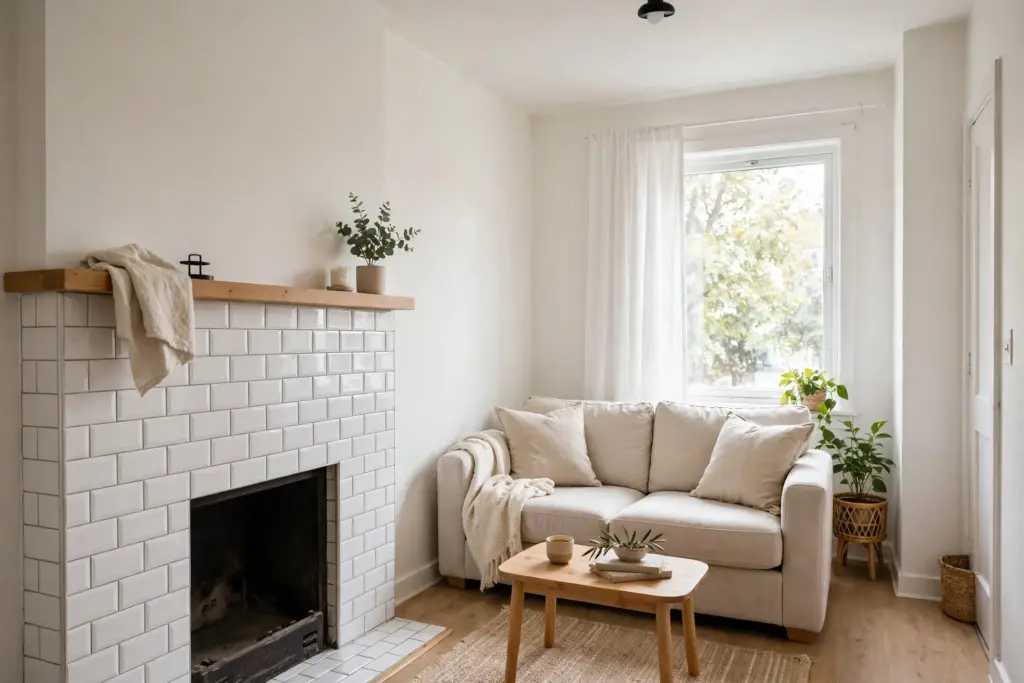
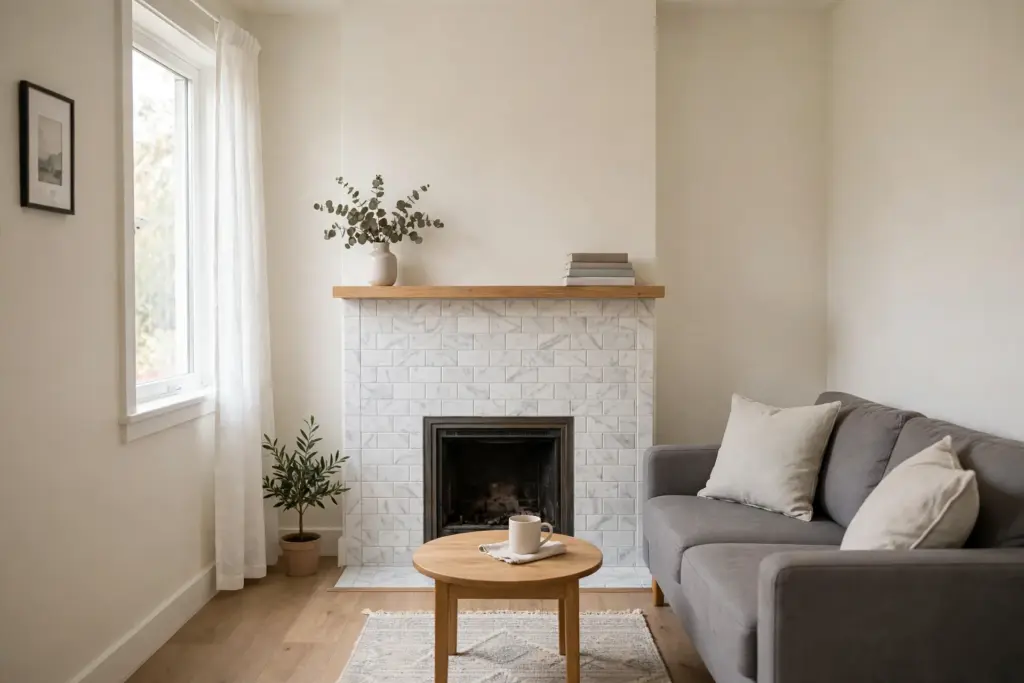
2. Marble-Look Tile for a High-End Feel
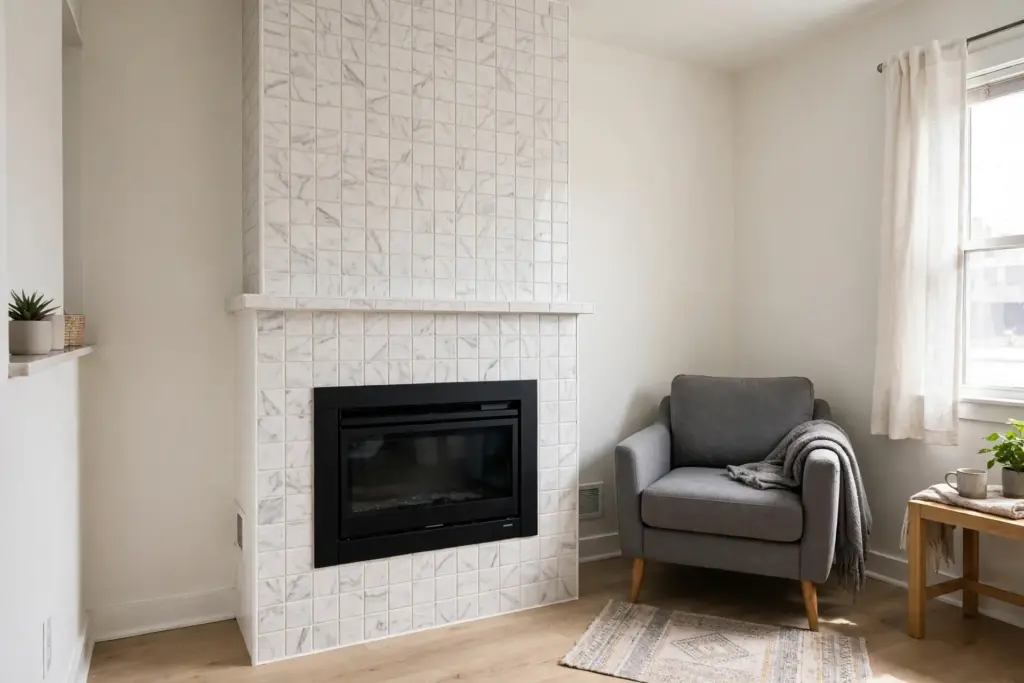
Marble-look sheets carry soft grey veining on a white base, and from sofa distance they read as real stone. Choose it when the fireplace is the room’s focal point and the furniture is simple — the veining does the decorating. Keep the mantel styling quiet, and choose large-format sheets with fewer seams — they look the most convincing.
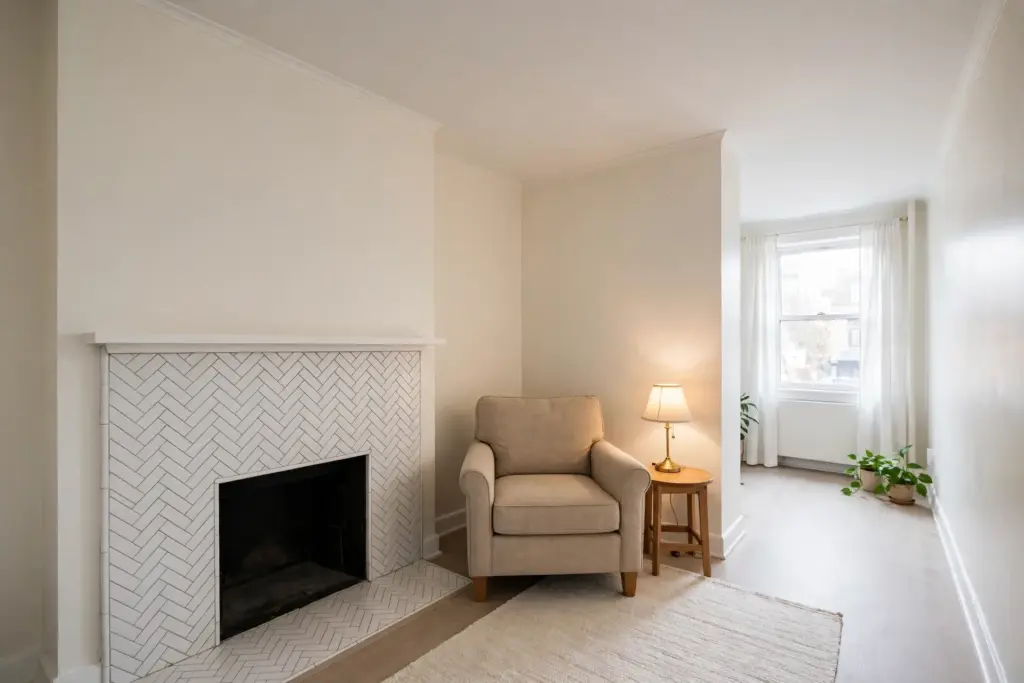
3. Herringbone Pattern for Movement
A herringbone layout turns plain rectangular tiles into a pattern with energy. The zigzag pulls the eye upward, which makes a low-ceilinged rental living room feel taller, and it works best in a single calm color — white, cream, or pale grey. Herringbone sheets come pre-arranged; start at the center and work outward so the edges stay symmetrical.
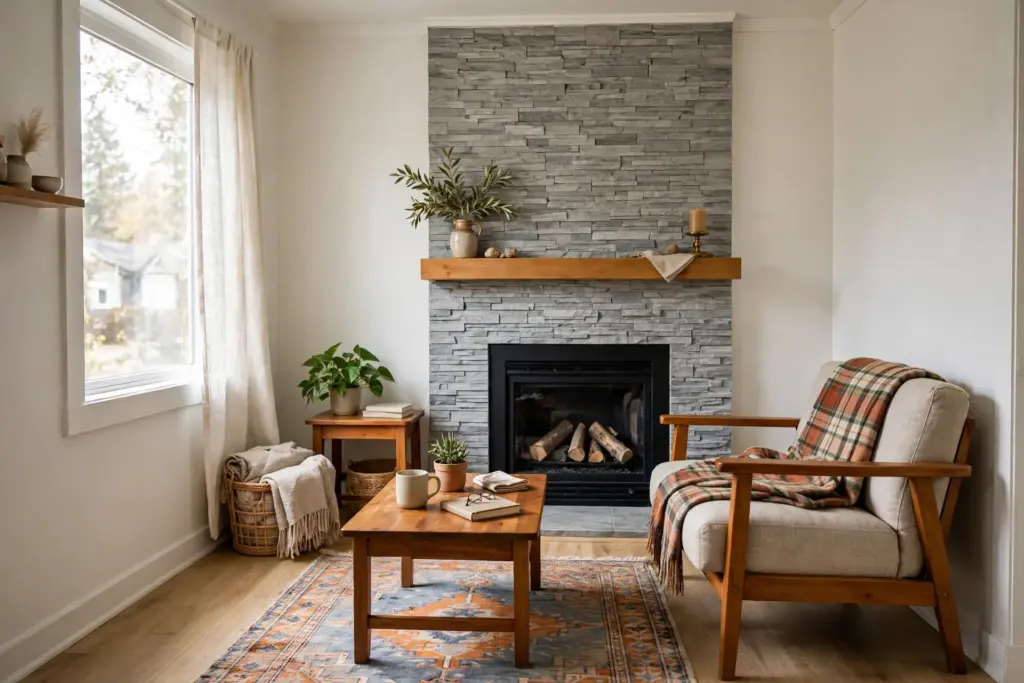
4. Stacked Faux Stone for a Cabin Feel
Stacked-stone sheets mimic thin layers of slate or ledgestone, and they give a flat rental fireplace the texture of a cabin hearth. The look suits rooms with warm wood, leather, or plaid, and it hides uneven brick better than any flat tile. Choose a light grey or sandstone tone for a small room.
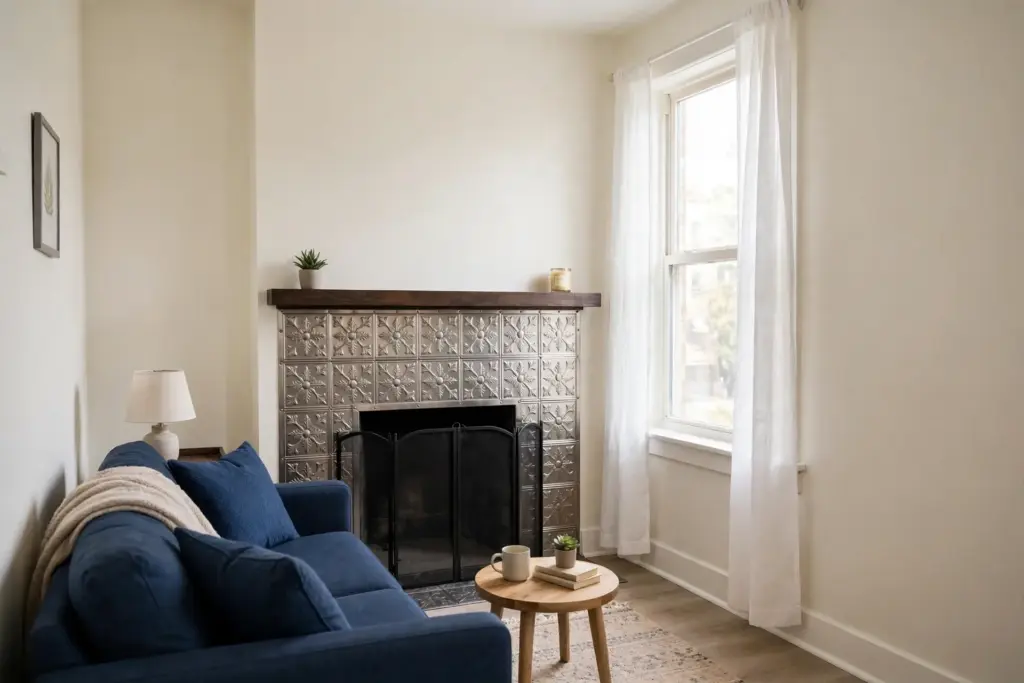
5. Brushed Metal and Tin-Look Tiles
Metal-look tiles — brushed nickel, aged tin, or copper — bounce light in a way no ceramic-look sheet can, a strong pick for a north-facing living room that never gets direct sun. The pressed-tin pattern adds a vintage note that pairs well with a simple black fireplace screen and a dark mantel. Metal-look sheets are also among the most heat-tolerant peel-and-stick options — still check the product’s temperature rating and the clearance from the opening.
6. Patterned Cement-Look Tile for Personality
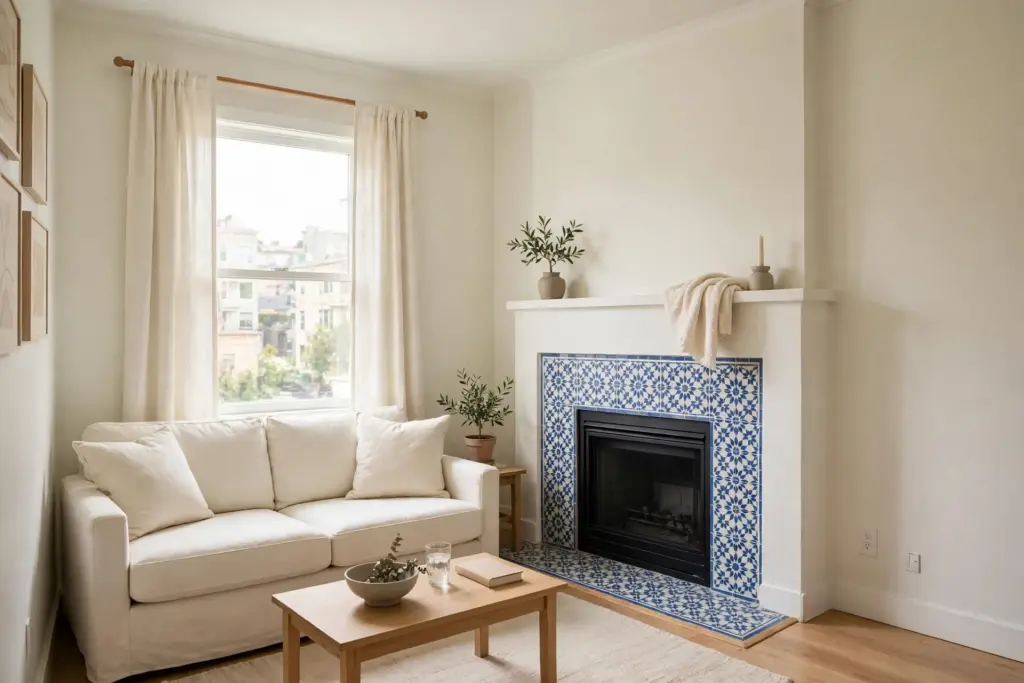
Patterned cement-look sheets — Moroccan stars, encaustic florals, geometric repeats — turn the fireplace into the room’s artwork. One bold pattern is enough: let the surround carry the color and keep the sofa, rug, and curtains plain. It is the best way to make a statement without painting a wall, because the pattern peels off at move-out.
7. Tile the Whole Chimney Breast, Floor to Ceiling
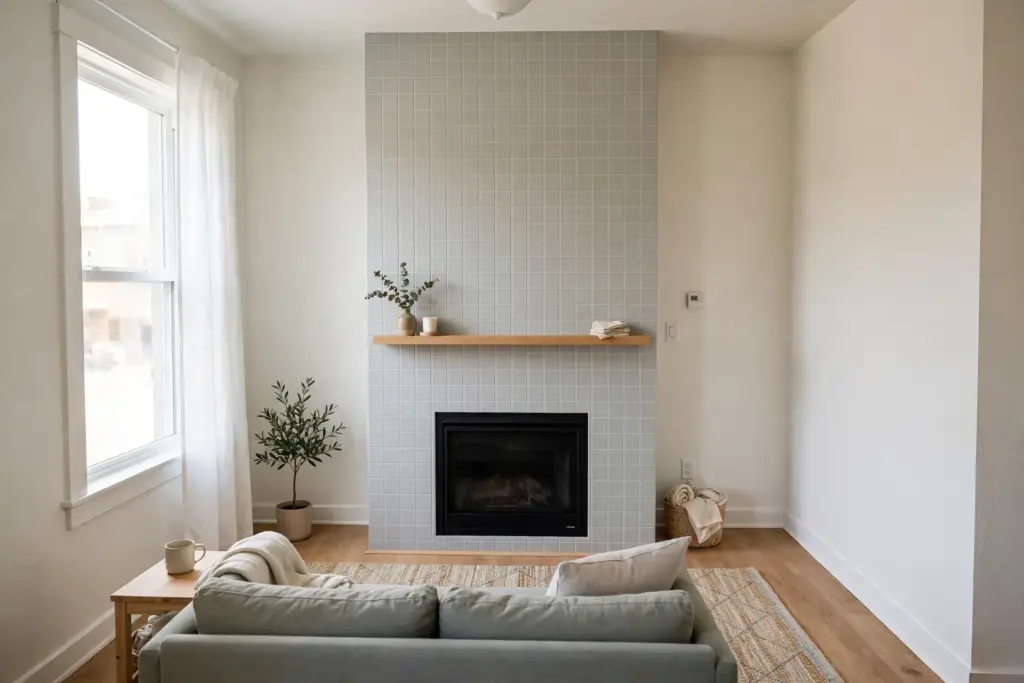
When the fireplace wall runs floor to ceiling, tiling just the small surround can look unfinished. Running the same tile up the full chimney breast turns the whole wall into a single designed surface, and that vertical line makes the ceiling feel higher. Keep the mantel shelf slim so the tile, not the shelf, is the feature.
8. Dark Moody Slate for a Cozy Corner
Dark slate-look tile — charcoal, deep grey, near-black — makes a fireplace feel like the warm heart of the room, especially in a rental with bare white walls. The dark surround anchors the furniture around it, so arrange the sofa and chairs facing the fireplace rather than the TV wall. Balance the dark tile with a light mantel shelf and pale cushions. Dark sheets also hide soot marks better than white ones, a practical bonus on a wood-burning fireplace.
9. Warm Terracotta and Zellige-Look Tile
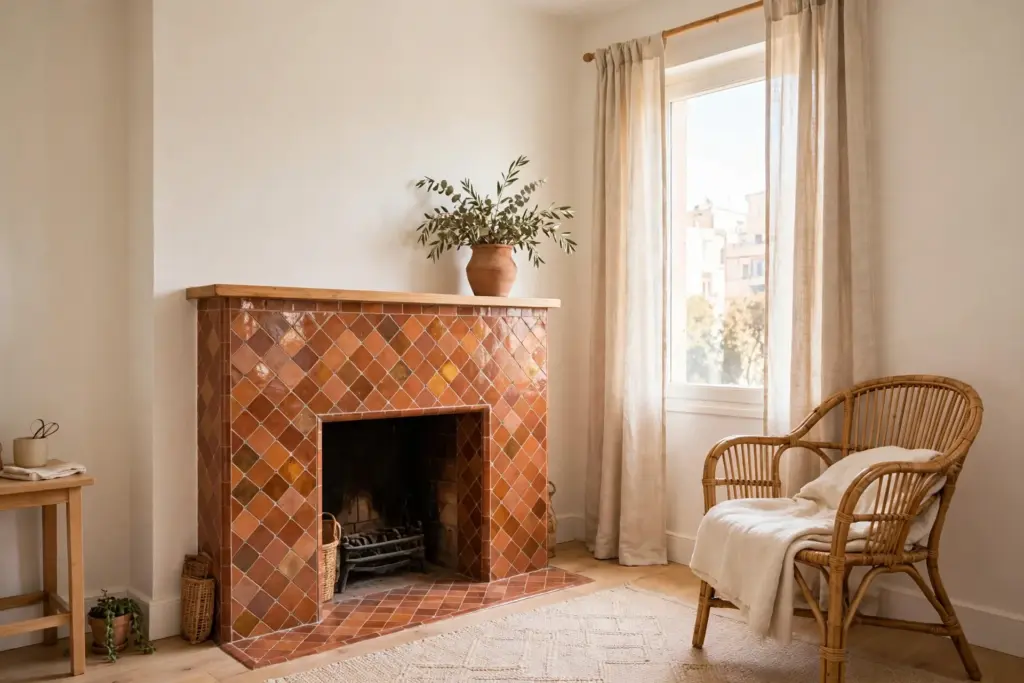
Terracotta and handmade-look zellige sheets bring warmth that white tile cannot, with soft color variation that reads as handcrafted. The look suits boho and Mediterranean-style rentals — rattan chairs, linen curtains, terracotta pots on the mantel. Choose a glossy zellige finish for a small room so the warm color stays light.
10. Black-and-White Checkerboard Border
Instead of tiling the whole surround, frame it: a checkerboard border of black and white squares around the opening, with the center left in a plain color or the original brick painted white. The border trick uses fewer sheets, costs less, and still gives the fireplace a finished look. Keep the squares small — about 2 inches — and align the corners so the checker pattern turns neatly at each edge.
11. Wrap the Mantel Shelf and Tile Above It
The wall above the mantel is the easiest tile zone in the whole project: the farthest from the heat, the flattest surface, and the most visible from the sofa. Tile that panel in a pattern that contrasts with the surround below — a patterned tile above a plain surround, or a marble-look panel above a white subway surround — and the two zones read as one designed composition. It is also the safest place to try a bold pattern, since the tile sits well above the firebox. For more fireplace styling beyond tile, see these renter-friendly fireplace makeover ideas.
12. Refresh an Electric Fireplace Surround
An electric fireplace is the lowest-risk place to use peel-and-stick tile, and it is often the ugliest one in a rental — a plain black box set into a blank wall. Tile the full surround and the wall panel above it, and the black insert looks like a built-in feature instead of an appliance. Because there is no open flame and the surface heat is modest, almost any tile style works here, from marble-look to patterned cement. Still check the insert’s manual for clearance guidance, and never block its vents or air intakes.
How to Install Peel-and-Stick Tile on a Fireplace Surround
Good installation is mostly preparation: clean the surround with a degreasing cleaner and let it dry fully, since dust and soot are the main reason sheets peel off early. If the surface is rough brick, tile will not grip well; stick the sheets to a thin, smooth backer panel cut to the surround size and hold that panel against the fireplace with removable adhesive strips instead. Measure the surround, mark a level center line, and lay the sheets from the center outward so cuts land symmetrically at the edges. Cut with a sharp utility knife, press each sheet firmly from the center outward to push out air bubbles, and leave the fireplace unlit for 24 hours so the adhesive sets. The same prep-first approach works in the kitchen; see this peel-and-stick backsplash guide for renters for the cleaning and measuring routine in detail.
Removing It at Move-Out (and Getting the Deposit Back)
Removal is straightforward: warm each sheet with a hair dryer on low for 30 seconds to soften the adhesive, then peel slowly from a corner at a low angle — fast, sharp pulls are what leave residue behind. Wipe any leftover adhesive with warm soapy water or a citrus-based adhesive remover, testing the remover on a hidden spot first. If the tile was mounted on a backer panel, lift the whole panel off and the original fireplace is untouched underneath. Photograph the restored fireplace before the final walkthrough. For a 3D tile option that also removes cleanly, see these 3D peel and stick backsplash ideas.
Frequently Asked Questions (FAQ)
Is fireplace peel and stick tile safe around a real wood-burning fireplace?
It can be, but only on the outer surround and the wall above the mantel — never inside the firebox or near the opening. Check the product’s heat rating (most are rated around 80–93°C), keep at least 6 inches of clearance from the firebox opening, and run the hand-near-the-surface temperature test with a normal fire burning before installing.
Will peel-and-stick tile damage the brick or plaster underneath?
On smooth, sealed surfaces it usually peels off cleanly, especially if warmed with a hair dryer first. On rough, unsealed brick or crumbling plaster, the adhesive can pull loose material with it — so a smooth backer panel is the safer route on rough brick. Always test one sheet in a hidden corner and check the lease and landlord approval first.
How long does peel-and-stick tile last on a fireplace?
On a cool surround with good preparation, sheets typically stay put for the length of a lease — one to three years. Heat cycling shortens that life: a surround that gets warm every evening will loosen sooner than one around an electric fireplace. If an edge lifts, press it back down and warm it gently.
Can peel-and-stick tile go on a painted fireplace surround?
Yes, if the paint is fully cured, smooth, and firmly bonded — at least 30 days old, with no flaking or bubbling. The tile adheres to the paint, not the wall, so weak paint can peel off with the tile. Test adhesion on a small area first.