Renter-Friendly Board and Batten Ideas (No Drilling)
A renter friendly board and batten wall gives a plain rental the panelled, finished look of a much more expensive home — without a nail gun, without holes in the wall, and without risking the deposit. Below are 12 ideas that work in small apartments, plus the lease checks, the no-drill install steps, and the move-out restore plan.
Before You Start: The Lease, the Wall, and the No-Drill Rule
Start with the lease, not the shopping list. Most leases allow removable decoration but draw the line at anything that alters the wall, so read the decoration clause and ask the landlord in writing before anything adhesive goes up — describe the material, how it attaches, and how it will be removed, and keep the reply with the rental documents. Then check the wall itself: adhesive strips hold best on smooth, sound, painted drywall, so patch-test every product on a hidden spot behind furniture for a few days before committing to a whole wall. A renter friendly board and batten project also needs honest weight thinking — foam and PVC strips weigh almost nothing, while real wood boards are heavy enough to need screws, which is why the ideas below stay light. Photograph every wall before starting. For the decorating principles behind the whole project, see these renter-friendly apartment decorating ideas.
12 Renter-Friendly Board and Batten Ideas
Work through these in order of commitment, from the lightest stick-on strips to the boldest painted wall. Every idea below uses removable fixings or freestanding panels — nothing here needs a drill, a nail gun, or a hole in the wall.
1. Peel-and-Stick Foam Moulding Strips
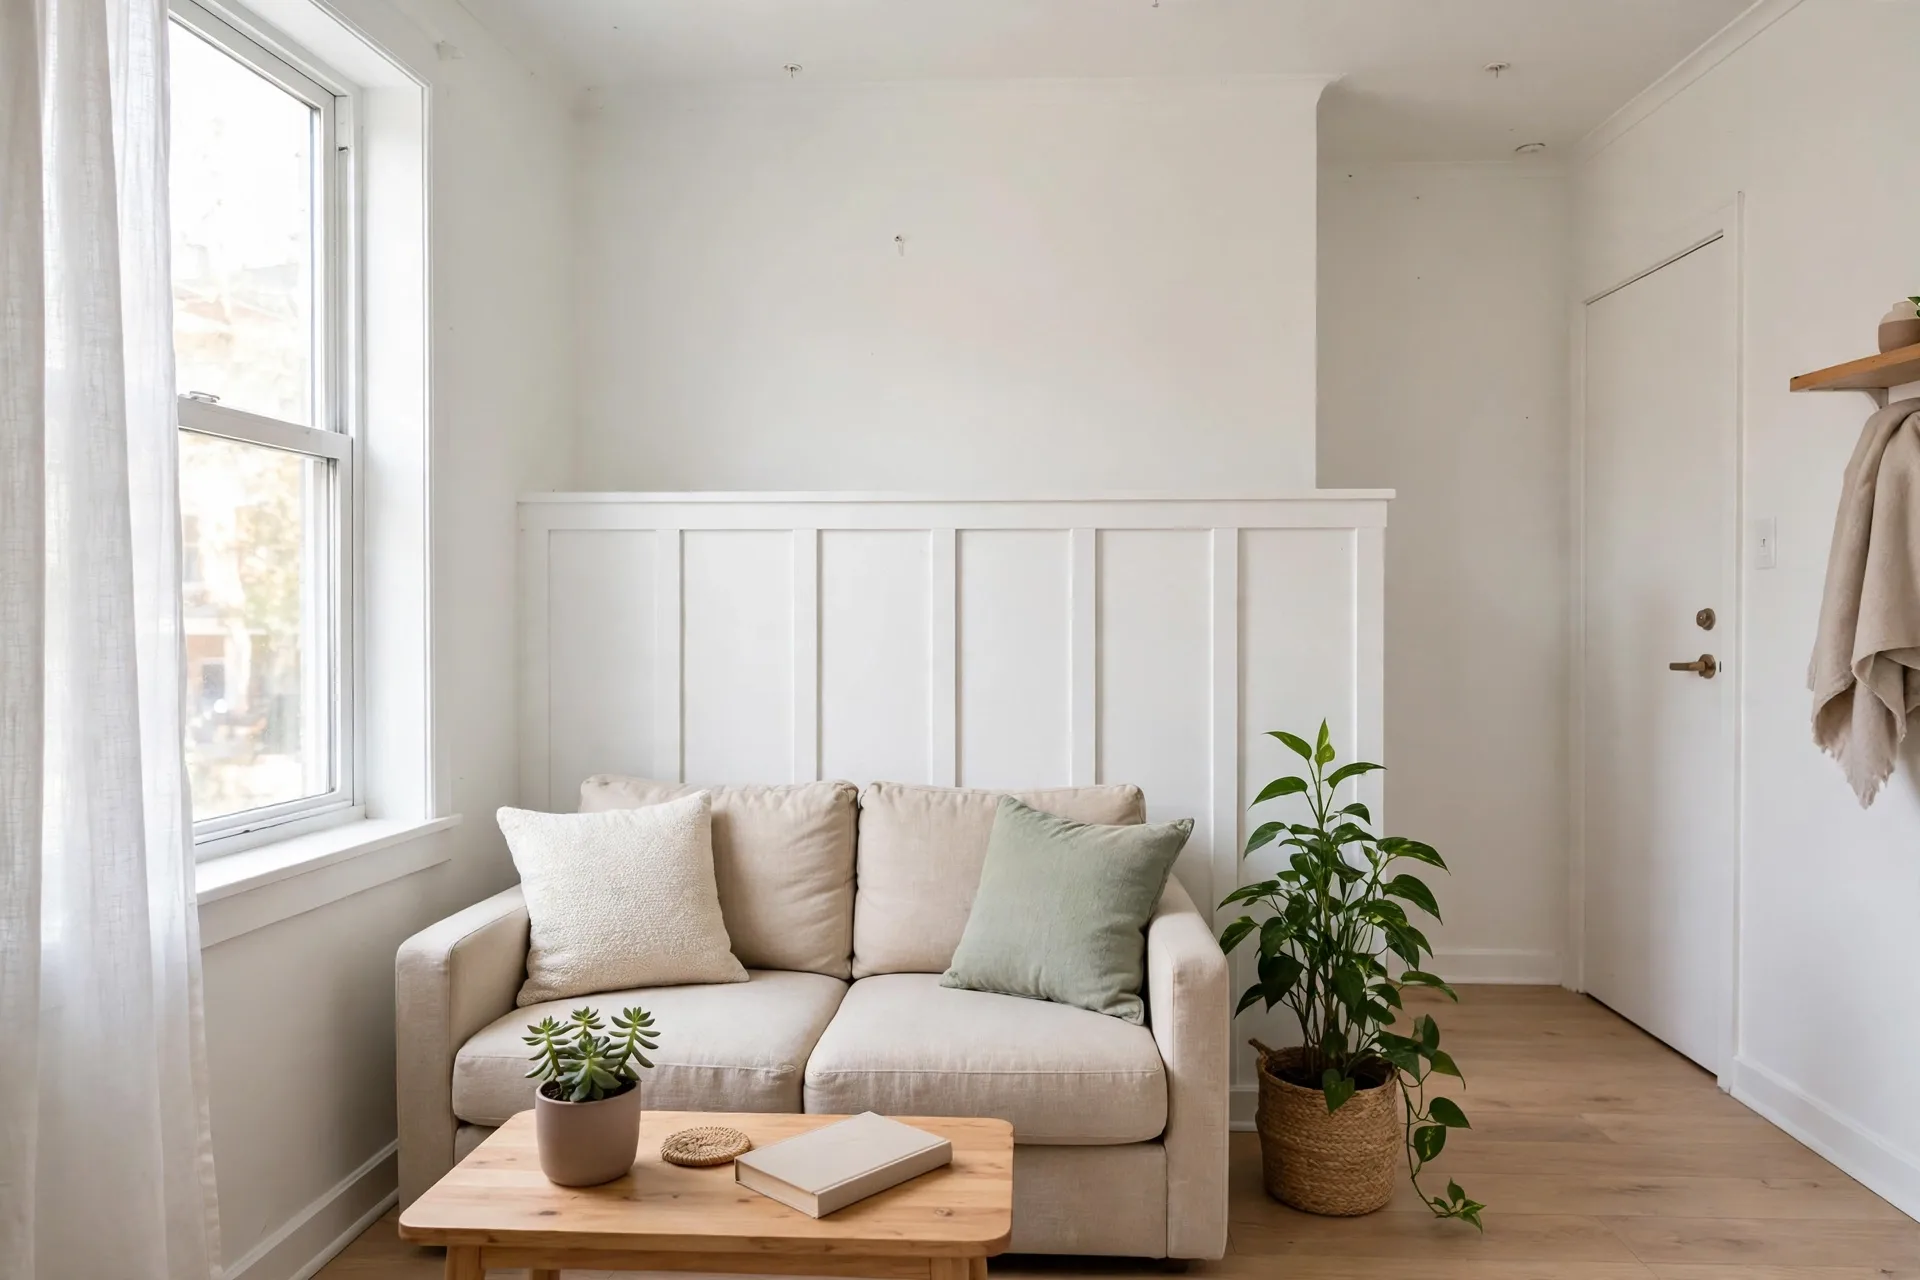
A renter friendly board and batten wall built from foam moulding strips is the lightest possible start: the strips come with peel-and-stick backing, cut with scissors, and press onto a clean wall in minutes. They weigh almost nothing, so removable adhesive holds them easily, and they peel off at move-out with gentle heat. Use them for a classic half-wall grid in a hallway or behind a sofa, spacing the verticals 16 to 24 inches apart. This renter-friendly accent wall guide covers the surface and permission checks worth doing first.
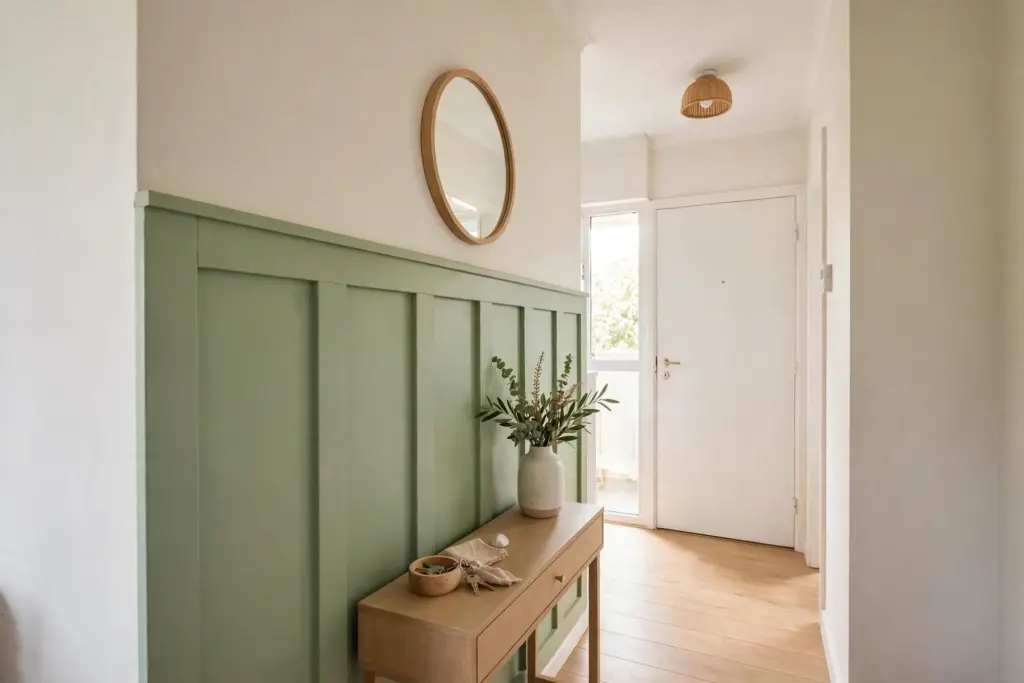
2. Picture-Frame Moulding Rectangles
Thin trim applied straight to the wall draws the same rectangles as full panelling, and it is the cheapest, lightest route in this guide. Paint the trim the wall colour for a subtle shadow-line effect, or paint it a shade darker for contrast. The rectangles work best in pairs or threes behind a sofa or a bed, sized to the furniture rather than the whole wall. The matching deep guide is our own renter-friendly wall panel ideas.
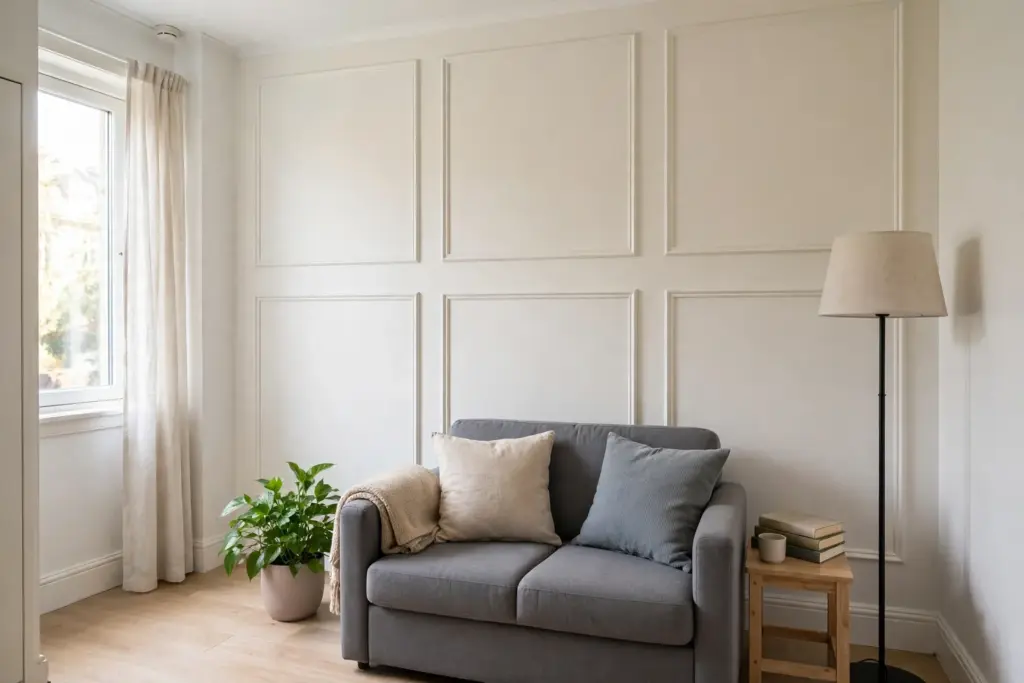
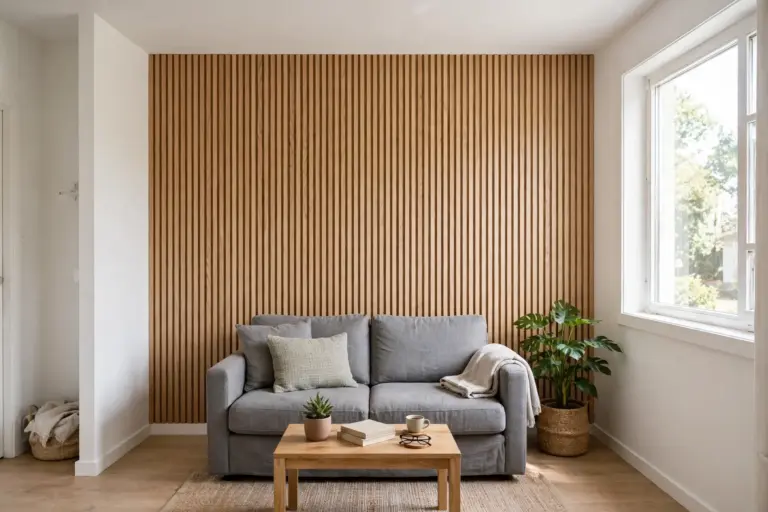
3. Go Full-Height in the Living Room
Full-height vertical battens make a small living room feel taller, because the eye follows the lines from floor to ceiling. Run the battens from floor to ceiling in one colour — sage green, dusty blue, or warm white — and keep the furniture low so the wall does the work. Panel the wall behind the sofa or the TV and leave the other walls plain, or the room starts to feel like a box.
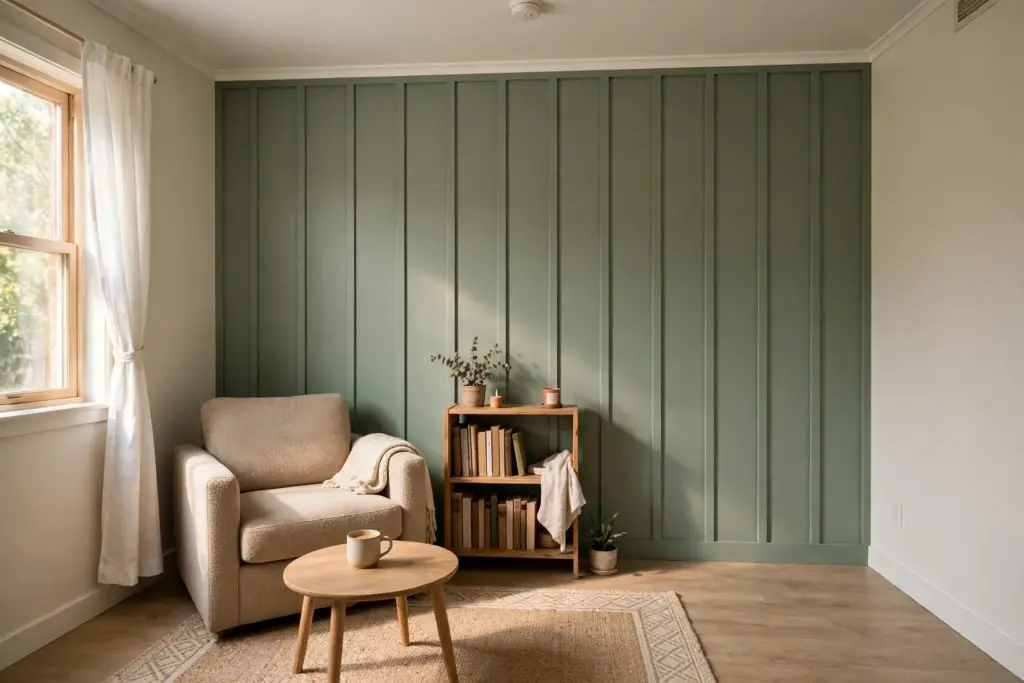
4. Panel the Wall Behind the Bed
The bedroom is the easiest room to transform, because the bed hides the bottom of the wall and the panels only need to look good above the pillows. A panel behind the headboard turns a plain rental bedroom into a finished room in an afternoon, and white-on-white keeps it calm for sleeping. Centre the panel on the bed, not the wall, and extend it a few inches past the bed on each side so it frames the pillows.
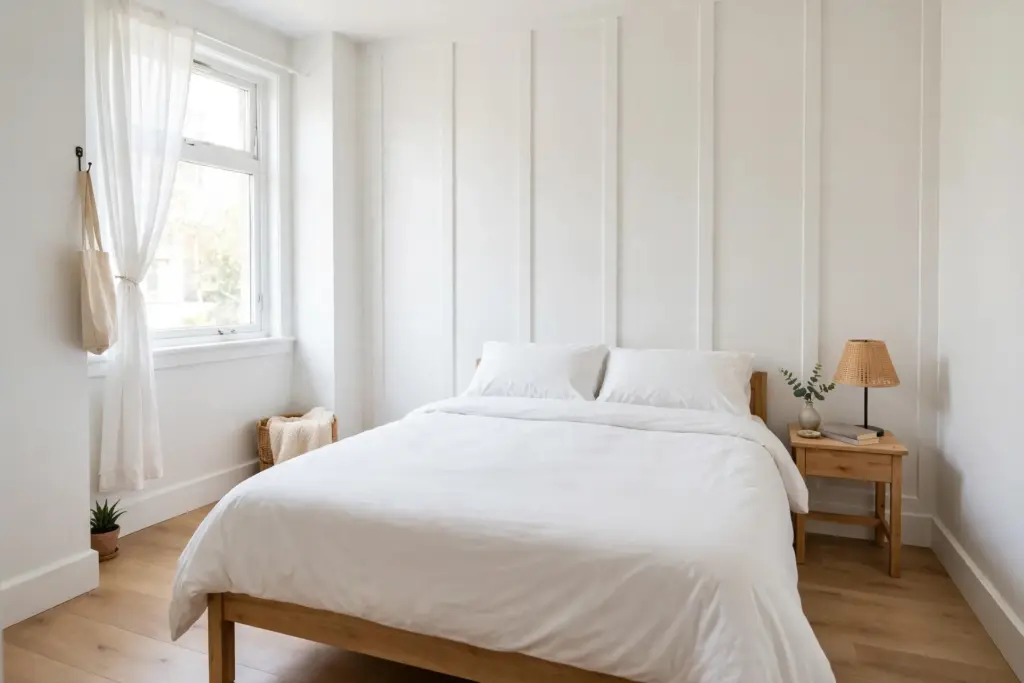
5. Keep It Tone-on-Tone for a Quiet Look
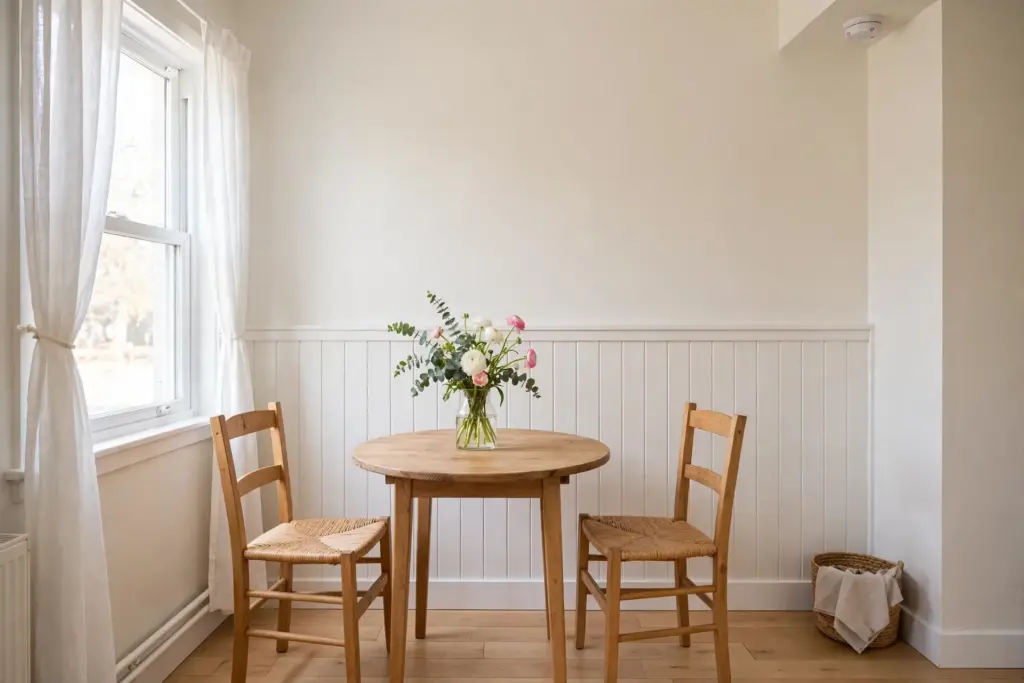
Painting the battens the exact colour of the wall gives texture without contrast — the panels read as shadows and lines rather than a feature wall. This is the safest choice for small rooms and for landlords who worry about bold colour, since the wall still looks like a plain painted wall from across the room. Use it in a dining nook or a hallway.
6. Commit to One Bold Painted Colour
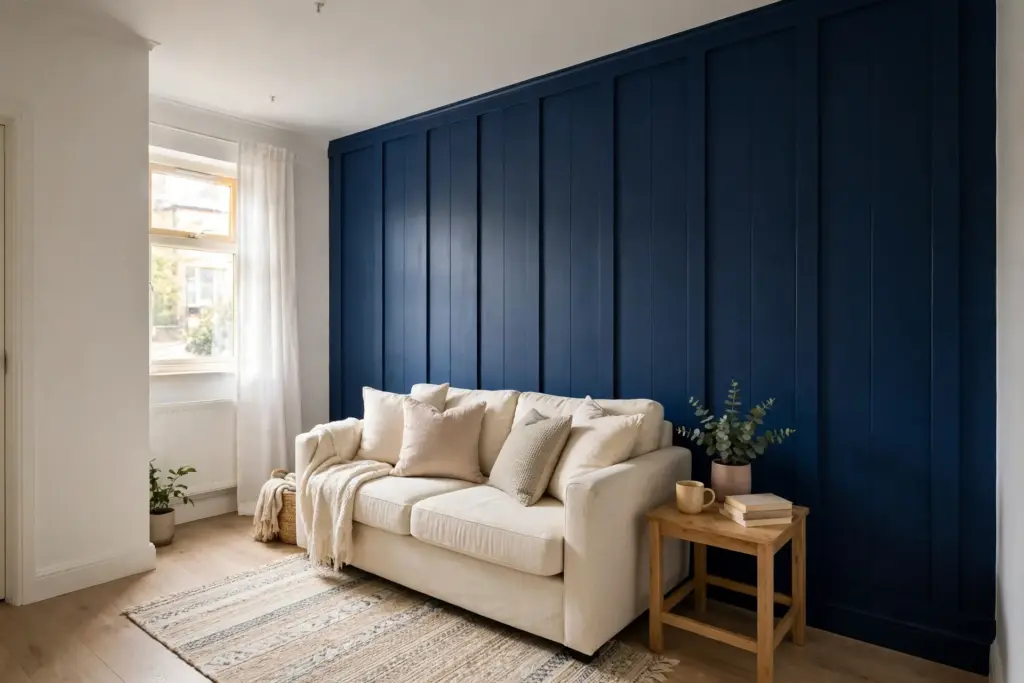
One deep colour — navy, forest green, or charcoal — turns a single wall into the room’s centrepiece, and board and batten is the cheapest way to get a feature wall that looks designed rather than improvised. The catch is the lease: colour usually means painting the strips, not the wall, so paint the battens before they go up and keep the wall itself untouched. Choose the wall the sofa faces and keep the rest of the room pale. This board and batten living room guide shows how the same idea looks across full rooms.
7. Try a Peel-and-Stick Panel Kit
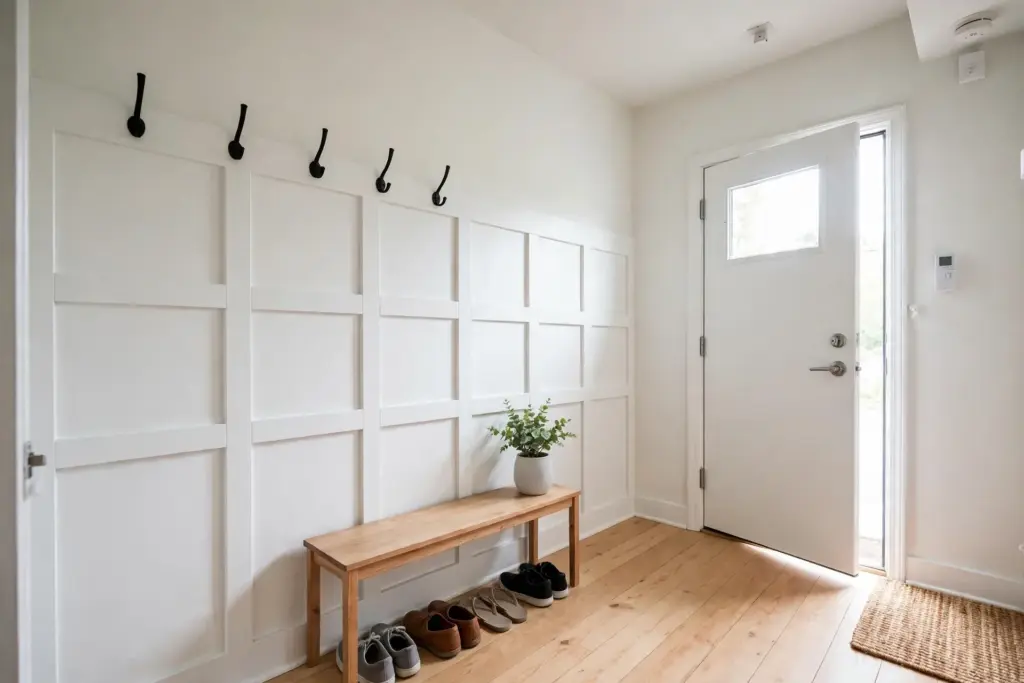
Ready-made kits of PVC wainscoting panels stick straight to the wall and come off in one session, which makes them the fastest route to a finished wall — no cutting, no measuring, no painting. They suit an entryway or a hallway best, where the grid pattern and a row of hooks turn a blank wall into a drop zone. Order a few extra panels, since trimming around outlets and corners always eats more material than expected.
8. Lean a Freestanding Panel Against the Wall
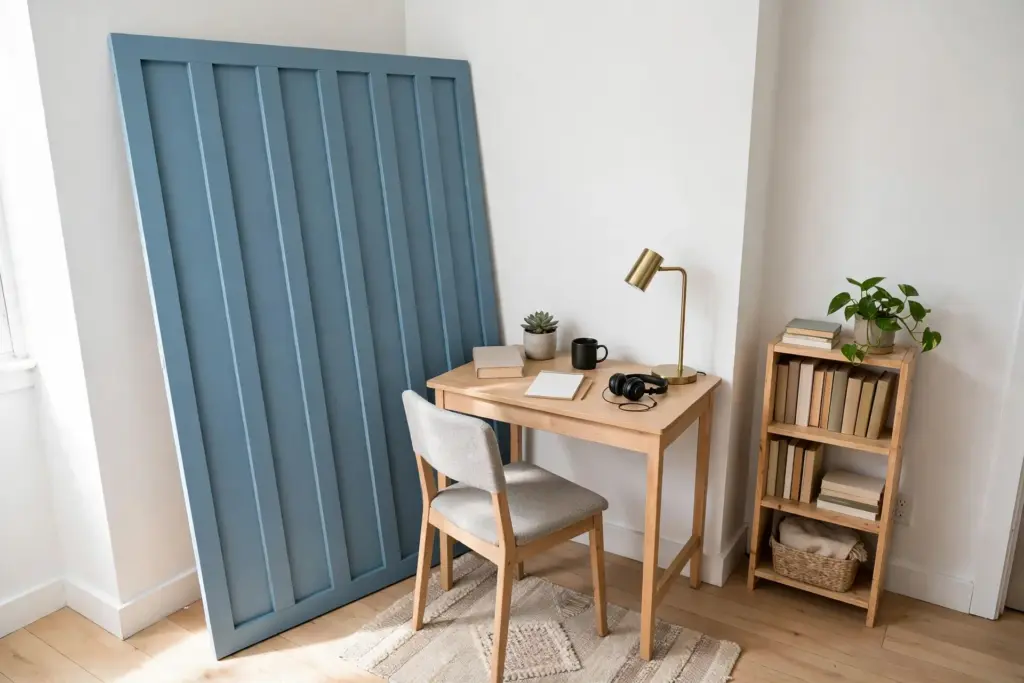
The only idea here that touches the wall not at all: build or buy a single panel of battens on a plywood or MDF backer, paint it, and lean it against the wall behind a desk, a bed, or a reading chair. It reads as a panelled wall from the front, moves to the next rental in one piece, and needs no permission at all — there is nothing attached to remove. Anchor it safely by wedging it behind heavy furniture so it cannot tip, and keep it out of walkways.
9. Use Moisture-Safe PVC in the Bathroom
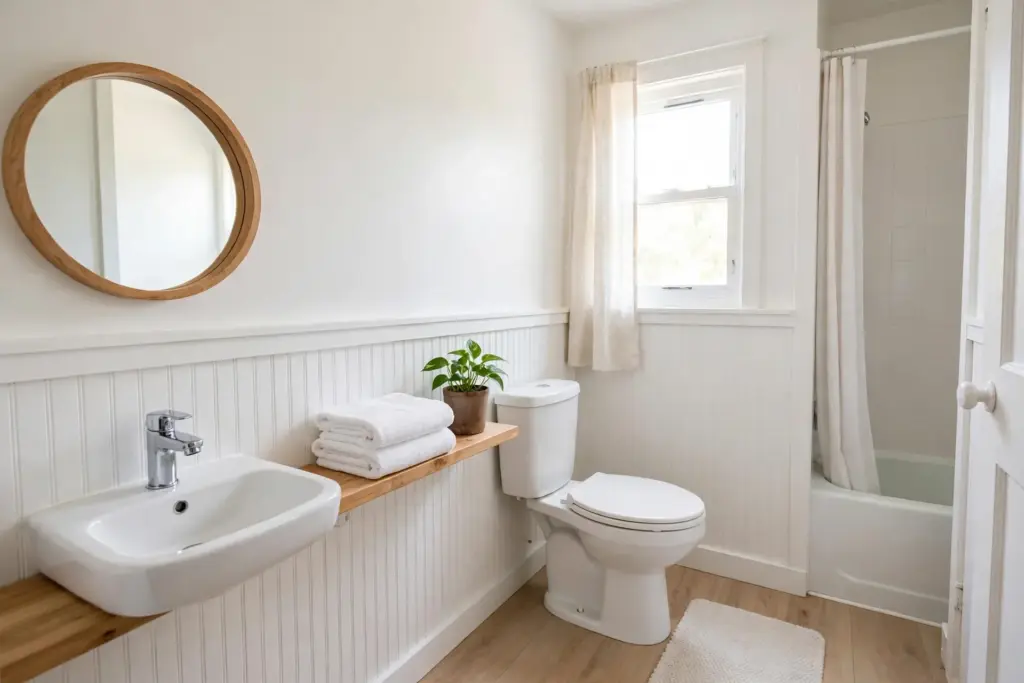
Bathrooms need panels that shrug off steam, so PVC beadboard-style panelling is the moisture-safe version of the look: it wipes clean, never swells, and sticks with removable adhesive on smooth tile or painted walls. Keep it to the lower half of the wall and seal the top edge with a thin trim piece so steam cannot creep behind the panels.
10. Add a Ledge or Hooks to the Half-Wall
A half-wall of battens becomes genuinely useful when the top rail carries a narrow picture ledge or a row of hooks: art leans on the ledge, coats hang on the hooks, and the wall earns its keep in an entryway or a hallway. Fix the ledge and hooks to the battens themselves, not to the wall behind, so the whole assembly comes down as one piece. Keep the load light and check the adhesive rating before hanging anything.
11. Soften It for a Nursery or Kids’ Room
Board and batten suits a nursery or a kids’ room because the panels are smooth, wipeable, and easy to repaint in a soft colour when tastes change. Keep the panels low, at cot height, and paint them a pale sage, dusty blue, or warm white before fitting. Nothing should hang within a child’s reach, and any freestanding panel must be wedged behind furniture so it cannot tip.
12. Frame a Dining Nook or the Sofa Wall
The last idea is the smallest: a narrow grid of battens, just two or three panels wide, behind a dining table or a sofa, gives the room a focal point without committing a whole wall. It works in the tightest corners and uses so little material that a single pack of strips is usually enough. Centre the grid on the furniture, and leave plain wall on both sides so the panels read as a frame.
How to Install Without Drilling
Every idea above follows the same install order. Clean the wall with a damp cloth and let it dry completely — dust and grease stop adhesive from bonding. Patch-test the adhesive on a hidden spot for a few days and check the paint when it comes off. Measure twice, mark the layout in pencil, and use a level for the first vertical strip. Paint the strips before they go up, then press each one firmly for a few seconds so it grips. Trim around outlets and switches with a sharp blade, and finish the top edge with a thin cap rail so the panels read as finished. These renter-friendly wall decor ideas without nails cover the other no-drill options that pair well with panelling.
What It Costs: Three Budget Tiers
Board and batten scales to any budget, and the tiers below are planning guides — costs vary with wall size, material choice, and how many walls the project covers. The light tier covers foam moulding strips and removable adhesive for one half-wall. The middle tier adds a peel-and-stick panel kit or picture-frame moulding for a full wall, the change guests notice most. The full tier adds a freestanding panel and a bold painted finish for the complete transformation. For a whole-home plan on the same budget thinking, see this peel-and-stick wallpaper guide for renters.
Move-Out Day: The Restore Plan
Restoring the wall is the install in reverse, and the move-in photos make it a single afternoon’s work. Peel the strips off slowly with gentle heat, working from one end so the adhesive lifts rather than tears, and follow the product maker’s removal steps. Wipe any residue with warm soapy water, touch up scuffs only if the lease requires it, and walk the room against the photos to confirm each wall sits exactly as it did on move-in day.
Frequently Asked Questions (FAQ)
Can renters do board and batten?
Yes — a renter friendly board and batten wall uses only reversible materials: peel-and-stick foam moulding, lightweight PVC panels, removable adhesive strips, and freestanding panels that lean rather than attach. Check the lease and ask the landlord in writing first, keep every original, and restore the wall before moving out.
Will peel-and-stick moulding damage the wall?
Peel-and-stick products made for renters are designed to remove cleanly from sound, smooth, painted walls when the maker’s removal steps are followed, usually with gentle heat. Test a hidden spot first and avoid damaged or peeling paint.
Do I need my landlord’s permission for board and batten?
Ask in writing before starting, even for changes that seem temporary. Describe each planned change, how it attaches, and how it will be removed, and keep the landlord’s reply with the rental documents. Written permission protects the deposit and avoids a surprise at inspection time.
How much does renter-friendly board and batten cost?
A single half-wall of foam moulding strips is the cheapest route, usually the cost of a few packs of strips plus removable adhesive. A peel-and-stick panel kit for a full wall costs more but needs no cutting or painting, while a freestanding panel costs the most in materials and needs no permission at all.
How long does it take to install?
One afternoon is enough for most small rental walls: cleaning and patch-testing in the morning, measuring and painting the strips, then pressing them up in the afternoon. A full-height wall may need a second day.