12 3D Peel and Stick Wall Tiles for Small Spaces
A blank rental wall is the hardest surface in a small apartment to love — paint is usually off-limits, drilling is risky, and a full renovation is out of the question. That is exactly why 3d peel and stick wall tiles have become a renter favorite: they add real depth and texture in an afternoon, need no grout, no tools, and no landlord approval for a renovation, and they peel off when the lease ends. For the bigger picture on decorating a rental without risking the deposit, start with these renter-friendly apartment decorating ideas.
What Are 3D Peel and Stick Wall Tiles?
Unlike flat peel-and-stick wallpaper, 3d peel and stick wall tiles are individual sheets with a raised, molded surface — domed subway tiles, faceted geometric shapes, scallops, or brick and stone reliefs. The three-dimensional profile catches light and shadow the way real tile does, which is why a tiled wall reads as a renovation even though nothing was grouted or drilled. Most sheets are around 12 by 12 inches and press straight onto a clean, smooth, painted wall.
Four material types cover almost everything on the market. Gel or resin tiles have a soft, domed, glassy surface and wipe clean, so they suit kitchens and bathrooms. PVC tiles are thin, light, and flexible, which makes cutting around outlets easy. Rigid composite tiles, usually 3 to 4 millimeters thick, feel the most like real ceramic. PU gel foam-backed tiles are the softest and thickest, with a cushioned feel that works well in bedrooms. Before buying, check the product page for two words: removable and heat-resistant. The same caution applies behind a hob — see these 3D peel and stick backsplash ideas.
12 3D Peel and Stick Wall Tile Ideas for Small Spaces
Every idea below is sized for a small rental: a single wall, a strip, or one nook at a time. Tiling one surface instead of a whole room keeps the cost low, the installation to an afternoon, and the removal at move-out to a single evening.
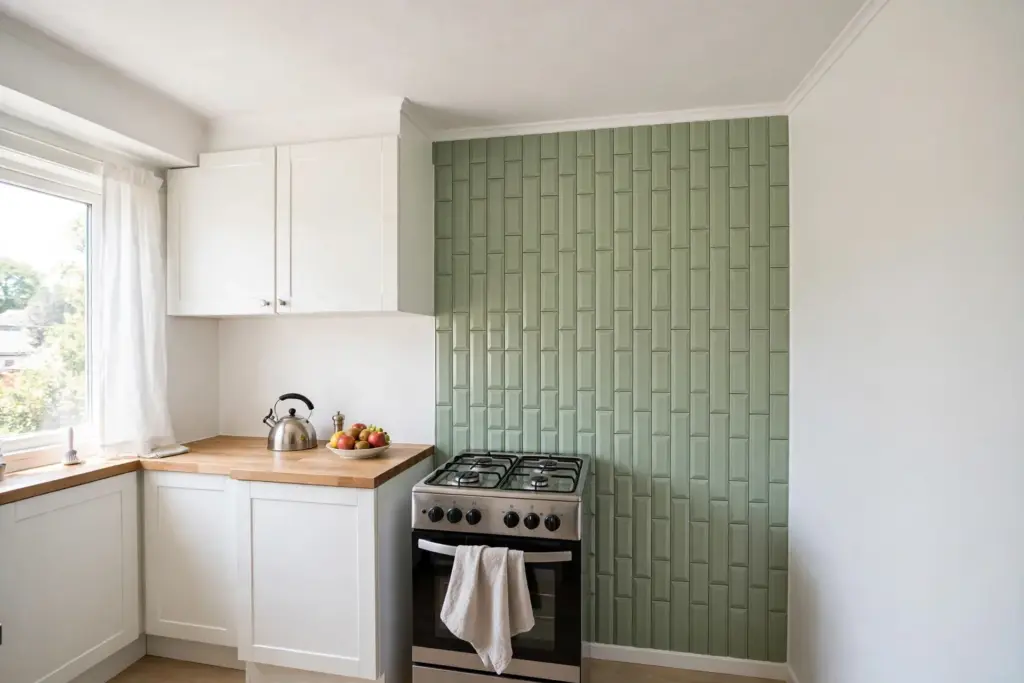
1. Run Vertical Subway Tiles to Lift a Low Ceiling
Low ceilings make a small kitchen feel squat, so run subway tiles vertically — tall, narrow, and stacked in straight columns — to pull the eye upward and make the wall feel taller. A soft sage or pale blue keeps the effect calm; carry the run from counter to ceiling behind the stove and keep the rest of the wall plain.
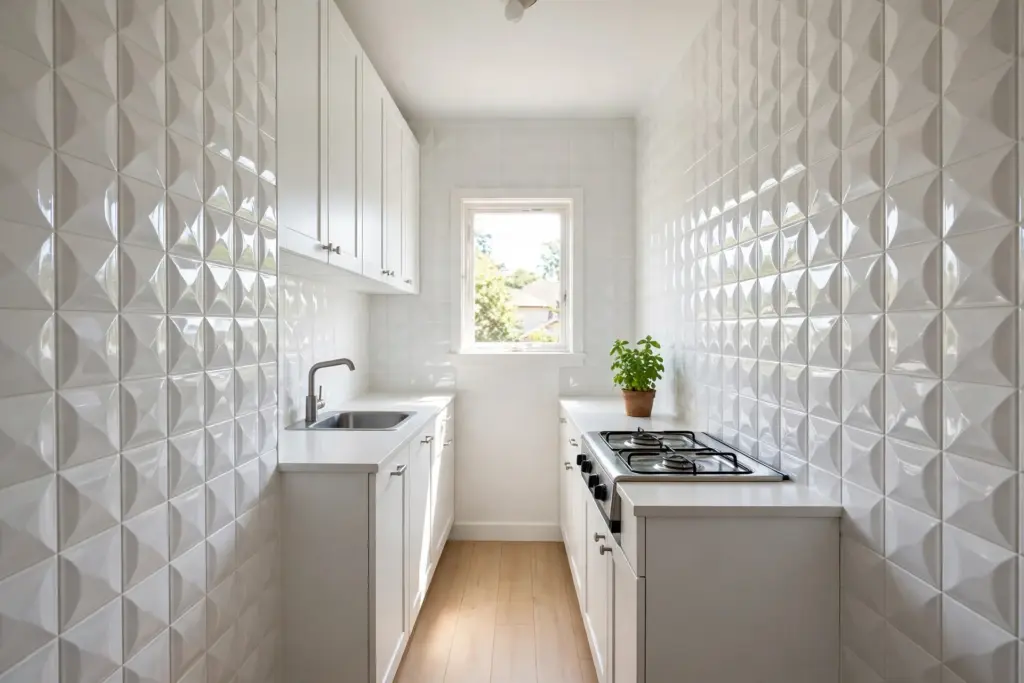
2. Brighten a Dark Galley Kitchen with Glossy White Tiles
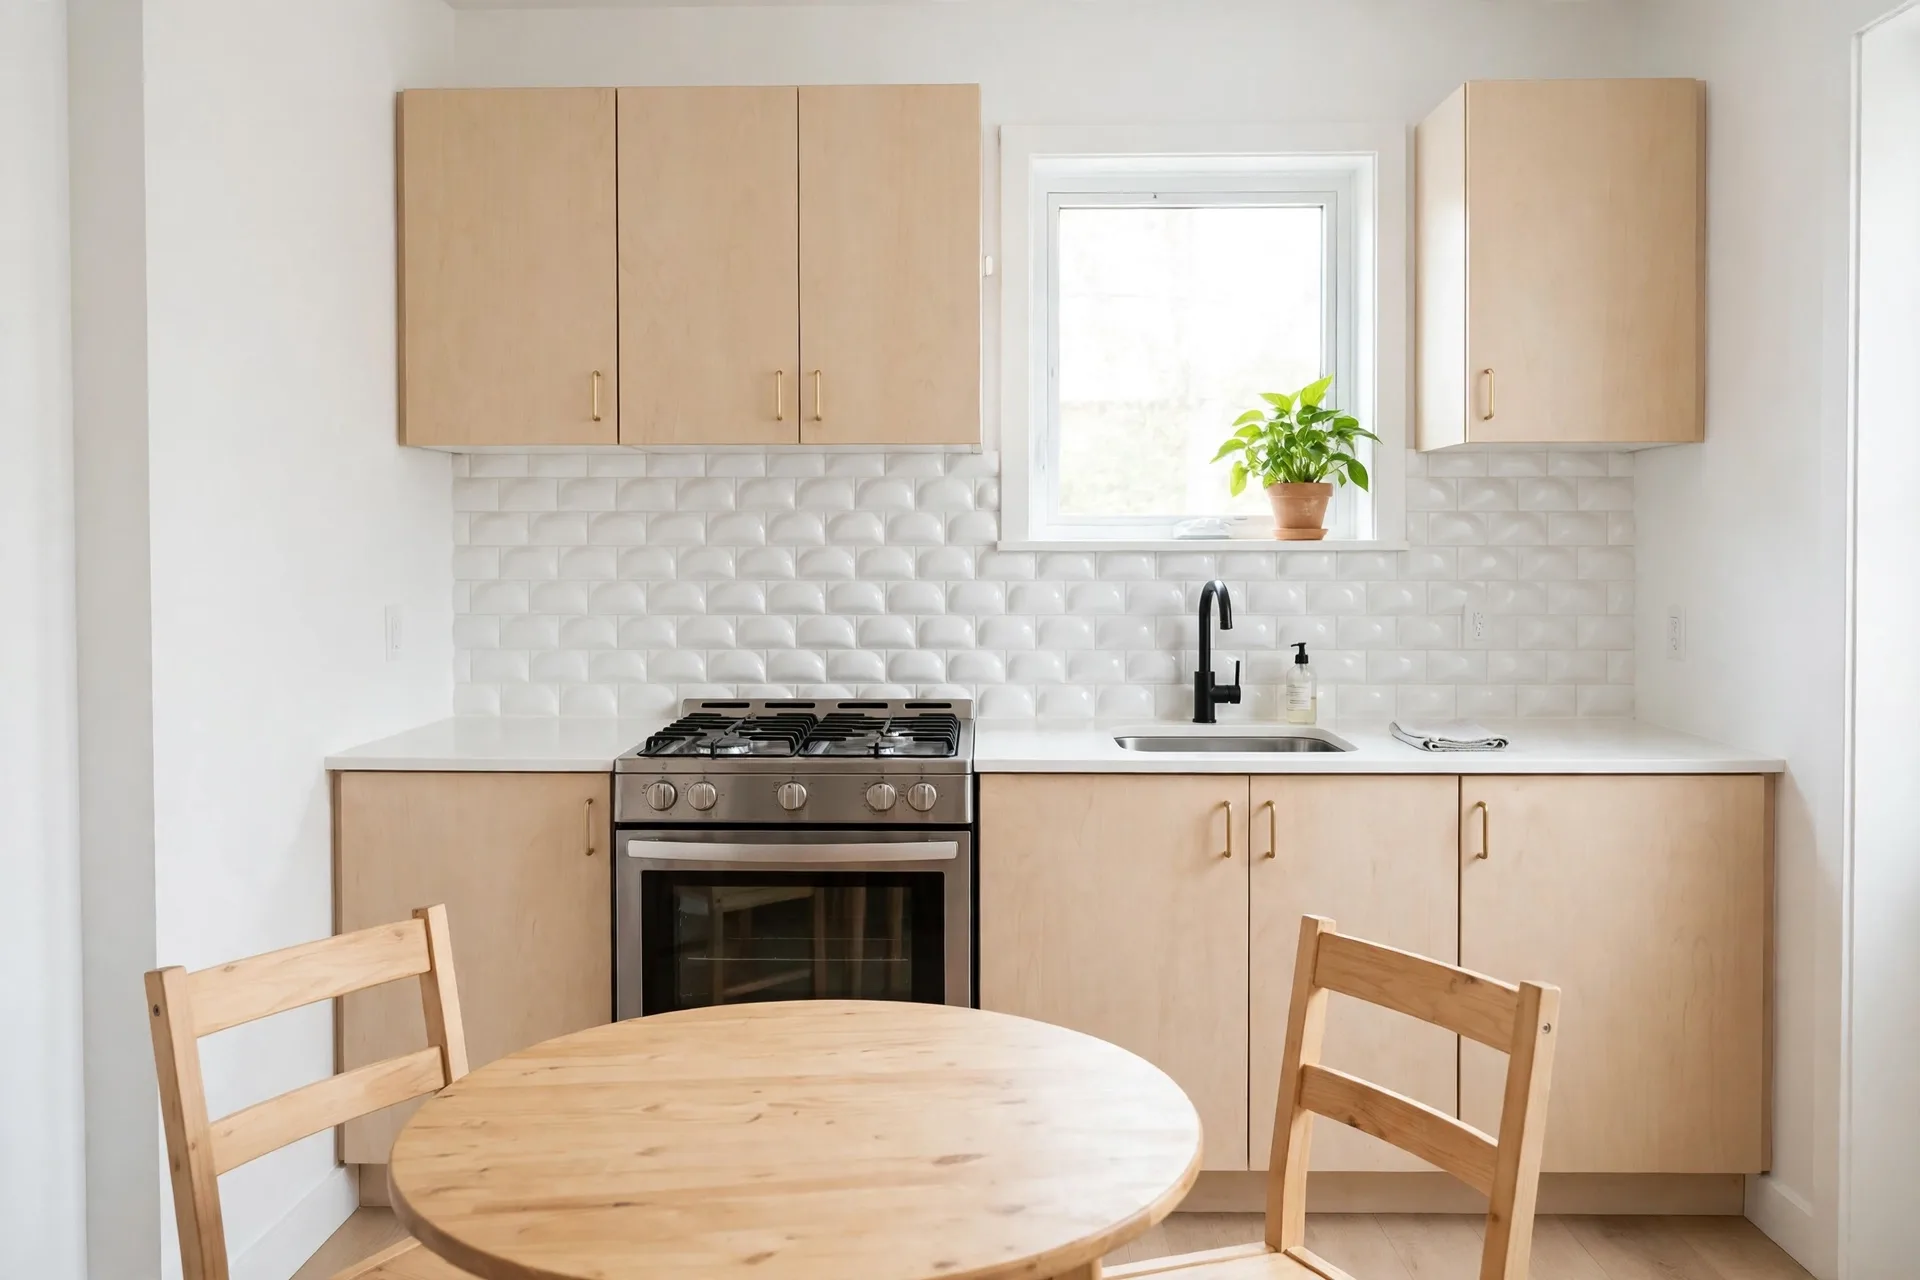
A narrow galley kitchen with one small window can feel like a corridor, and white paint alone rarely fixes it. Glossy white 3D tiles bounce light around the room because each raised facet reflects daylight from a different angle, so cover both long walls up to cabinet height.
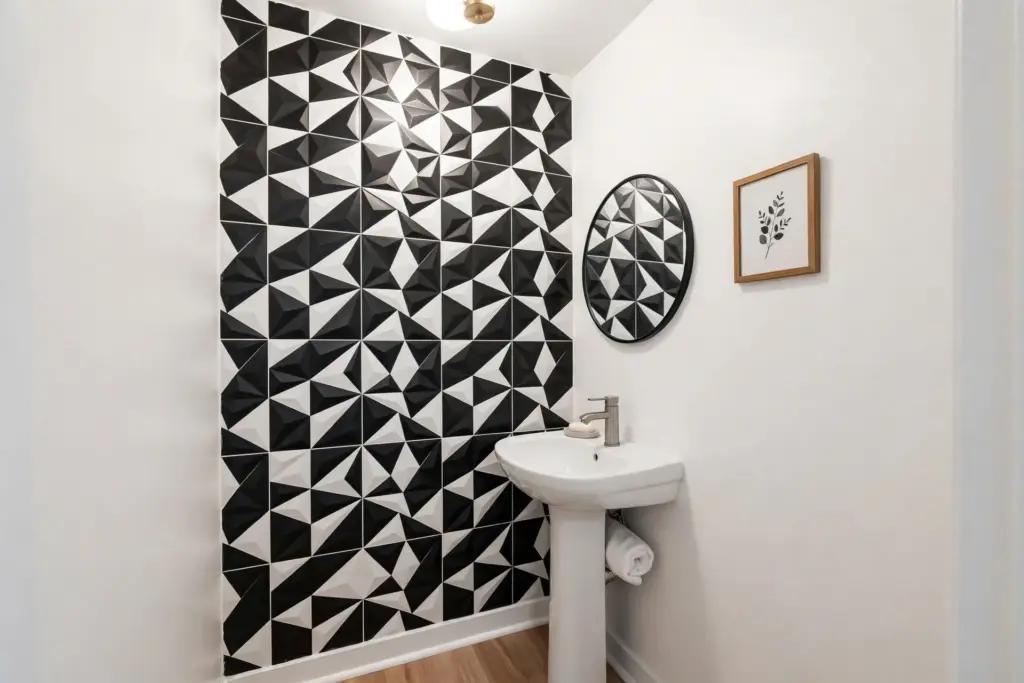
3. Go Bold with Geometric Tiles in a Powder Room
A powder room is the one place in a rental where bold is safe: it is tiny, guests see it for two minutes, and one dramatic wall is enough. Black-and-white geometric 3D tiles behind the sink turn a plain box into a designed room, so keep the other walls white and add a round mirror.
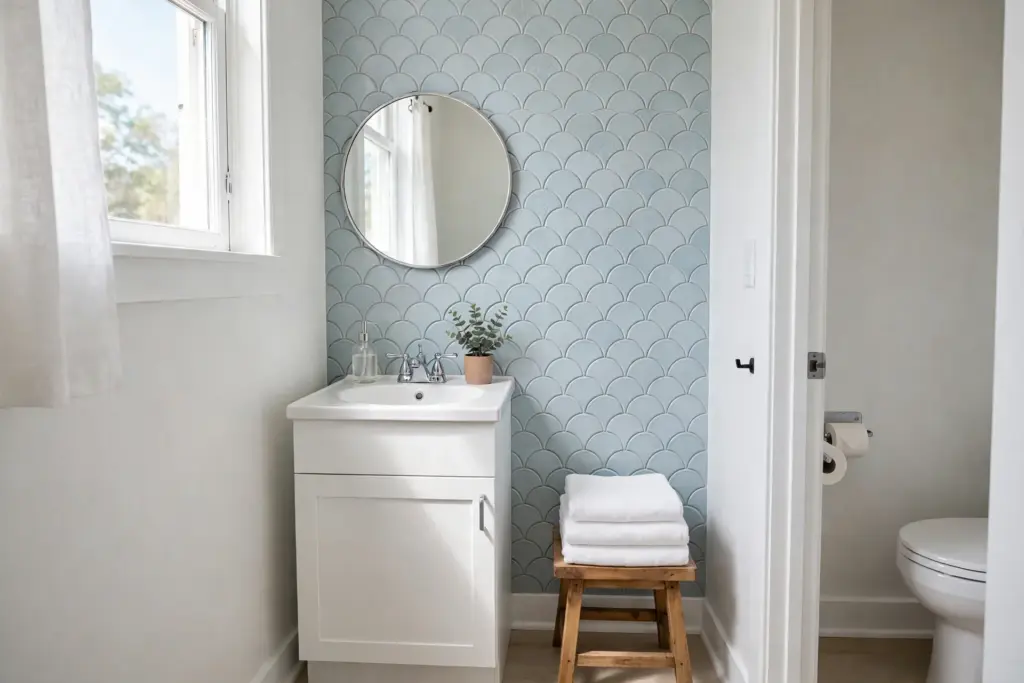
4. Tile an Accent Wall Behind the Bathroom Vanity
Bathrooms in rentals are usually the least loved room, and the vanity wall is the easiest to fix. Pale blue scallop or fish-scale tiles behind the mirror turn a plain sink into a focal point, and the curved pattern softens the hard edges of porcelain, chrome, and glass — choose a wipeable gel or PVC tile and stop it at the edge of the vanity.
5. Add a Slim Tile Strip Behind the Toilet
The wall behind the toilet is dead space in most rentals, and a full accent wall there can feel overwhelming. A slim vertical strip of 3D tiles — one or two sheets wide, from the floor to just above the tank — adds texture and color without closing the room in, and it hides the scuffs that collect in that spot.
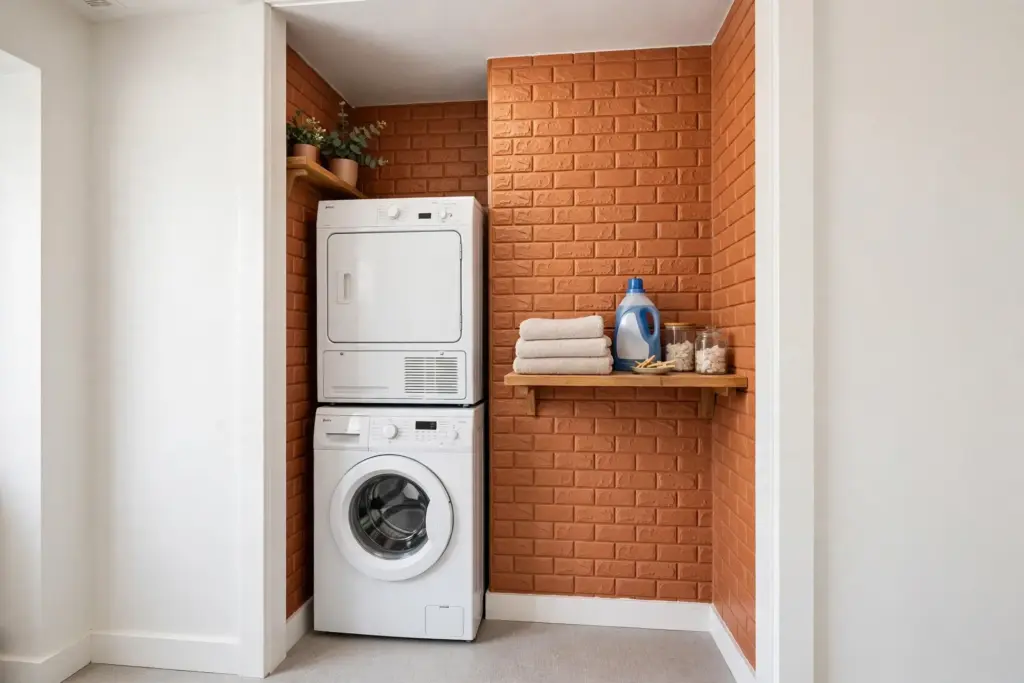
6. Warm Up a Laundry Nook with Brick-Look Tiles
Laundry nooks are usually the most forgotten corner of a rental, all white appliances and bare walls. Terracotta or warm brick-look 3D tiles give the nook the feel of a real laundry room in one afternoon, and the raised brick relief hides scuffs far better than flat paint — tile the wall behind the machines, then add a wooden shelf for detergent and towels.
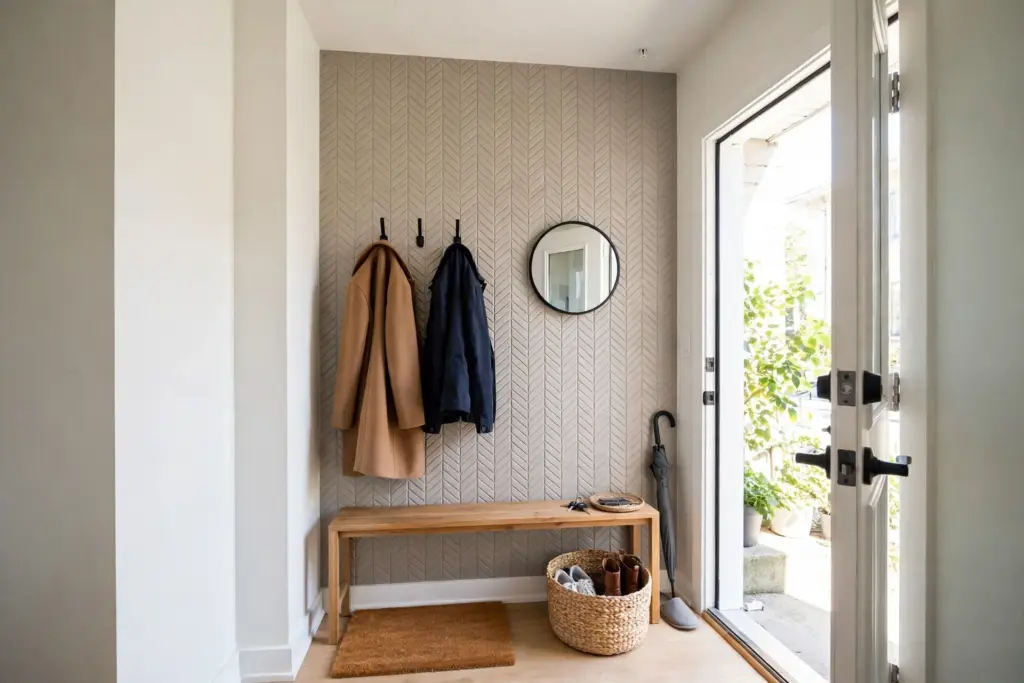
7. Make a Tiny Entryway Feel Finished
Most small rentals have no real entryway — just a door that opens straight into the living room. Warm gray herringbone tiles on the wall beside the door, plus a slim bench, two hooks, and a round mirror, create a landing zone that reads as a designed entry, and the busy pattern hides scuffs.
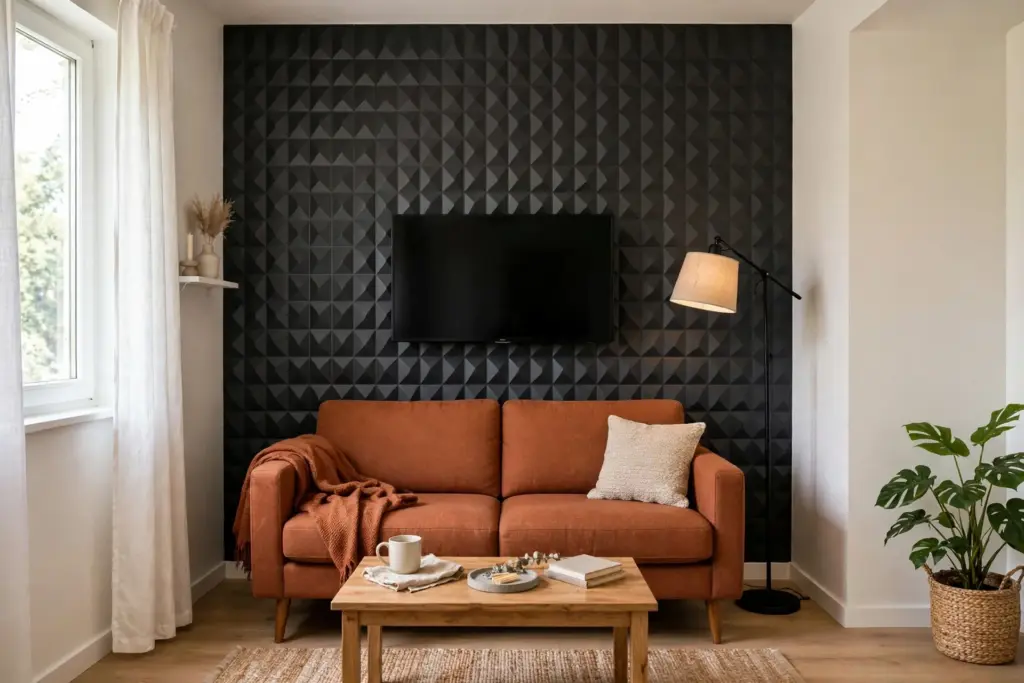
8. Build a TV Media Wall That Hides the Cables
A television on a bare rental wall always looks temporary, and the cables underneath make it worse. Dark charcoal geometric tiles behind the TV turn the whole wall into a media feature — the same idea as a renter-friendly accent wall — so the TV blends into the dark pattern instead of floating on white paint, and a slim cable channel keeps the cords out of sight.
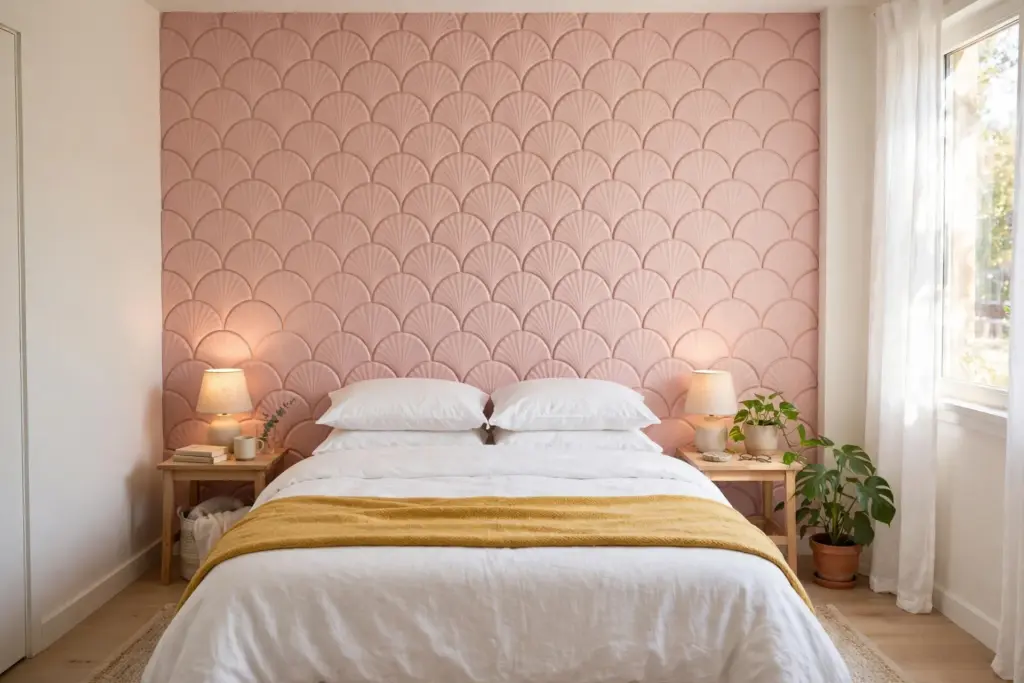
9. Create a Headboard Wall in the Bedroom
A bed pushed against a plain wall always looks unfinished, and a real headboard eats floor space a small bedroom does not have. Blush scallop or soft linen-look tiles behind the bed act as a headboard without taking up a single inch of floor: the raised pattern frames the pillows, and the color sets the palette for the bedding — run them the width of the bed plus a few inches on each side.
10. Tile a Coffee Station Nook
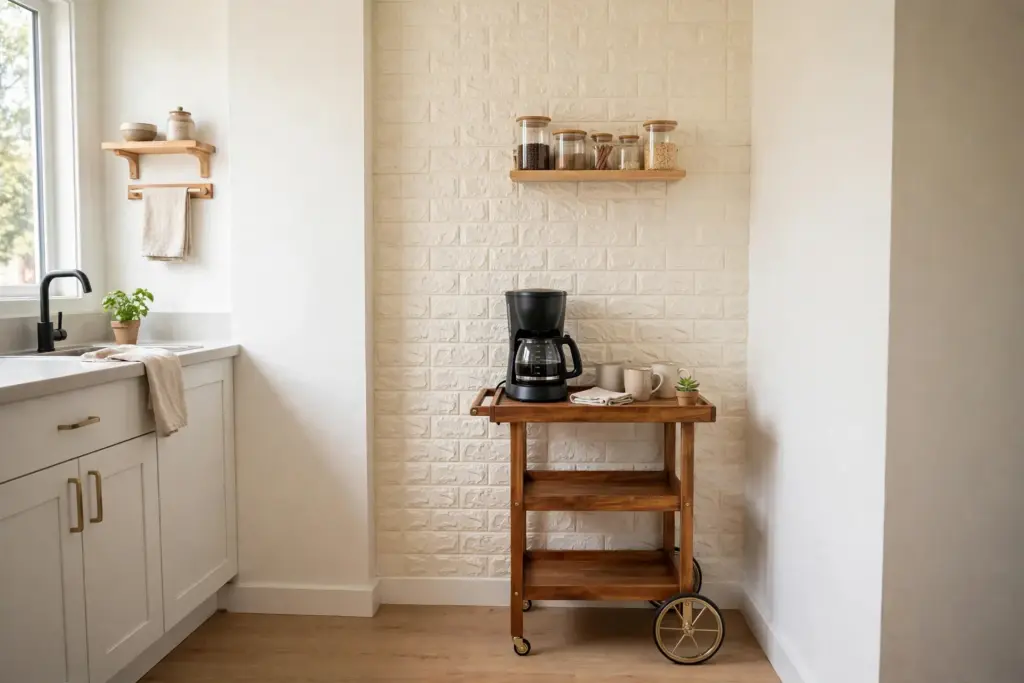
An unused kitchen corner is the perfect size for a coffee station, and a tiled back wall is what makes it look like a station instead of a cart shoved in a corner. Cream brick-pattern tiles behind a small wooden cart, with one open shelf for jars and mugs, give the nook a cafe feel for the cost of a few sheets, and the tiles wipe clean after coffee splashes.
11. Dress Up the Kitchen Island Front
A plain rental kitchen island is a big flat box, and the side facing the living room is visible all day. Tiling just the front face — one or two rows of 3D tiles in a calm color — gives the island a custom look without touching the counters or cabinets, and rigid composite tiles work best here because the island front gets kicked, bumped by chairs, and leaned on.
12. Frame a Half-Wall in a Dining Nook
Small dining nooks often feel like an afterthought: a table and two chairs against a long blank wall. Tiling the lower half of that wall, up to chair-rail height, frames the table and protects the wall from chair scuffs — choose a quiet pattern and a thin wooden trim strip along the top edge.
Where NOT to Use 3D Peel and Stick Wall Tiles
Knowing where to stop matters as much as knowing where to start. Do not tile inside a shower or anywhere water runs directly over the surface for long periods — prolonged water works its way under the edges and loosens the adhesive, and no peel-and-stick tile is a substitute for waterproofing. Keep tiles well clear of open flames and gas hobs; most manufacturers state a minimum clearance from heat sources, so check the product page and leave a generous gap rather than guessing. Do not tile all four walls of a bathroom — the bold pattern will close the room in. Textured, rough, or freshly painted walls are also a poor base: the adhesive needs a smooth, dry, fully cured surface to grip. Check the lease before tiling a large area — most leases allow removable decor. For a fuller look at what counts as renter-safe, see this guide on whether peel and stick tiles are renter friendly.
How to Install and Remove Them Without Losing Your Deposit
Installation is straightforward, but the order matters. Measure the wall first and lay the sheets out on the floor to plan cuts around outlets and corners — a dry fit on the floor prevents a crooked row on the wall. Clean the wall with a degreaser or warm soapy water, then let it dry completely; grease and dust are the main reason tiles lift at the edges. Draw a level horizontal line as a starting guide, then peel back only the top few inches of backing, press the top edge into place, and smooth downward. Trim around outlets and edges with a sharp utility knife and a metal ruler. Detailed step-by-step tips are covered in this stick-on subway tile installation guide.
Removal is where renters win or lose the deposit. Warm each tile with a hair dryer on a medium setting for 20 to 30 seconds to soften the adhesive, then peel slowly from a corner, pulling the tile back on itself at a low angle rather than straight out from the wall. If a tile resists, warm it again instead of forcing it. Wipe leftover residue with warm soapy water. Before committing to a full wall, test one sheet in a hidden spot — behind a door or inside a cabinet — and leave it for 48 hours. One extra safety net: a thin poster-board barrier between wall and tiles, as shown in this Apartment Therapy tile backsplash hack, means the tiles never touch the paint at all.
Frequently Asked Questions (FAQ)
Are 3D peel-and-stick tiles really removable?
Yes, when the product is labeled removable and the wall underneath is smooth, painted drywall. Warm each tile with a hair dryer, peel slowly from a corner, and clean any residue with warm soapy water. Tiles with permanent construction adhesive are not renter-safe.
Can 3D peel-and-stick tiles go in a bathroom?
Yes, on accent walls, behind the vanity, and in powder rooms. Do not use them inside a shower or on any surface where water runs over the tiles for long periods, because prolonged water loosens the adhesive.
Will they damage the paint when removed?
They should not, if the paint is fully cured, the wall is smooth, and the tiles are removed with gentle heat and a slow peel. Fresh paint, flaking paint, and textured walls are the main risk — test one tile in a hidden spot first.
How long do 3D peel-and-stick tiles last in a rental?
Most last the length of a lease when kept away from steam, direct heat, and running water. Edges can lift in a steamy bathroom or above a hot stove, so check the edges every few months and press any lifting corner back down while the adhesive is still warm.
Can they go over existing tile or wallpaper?
They stick well over smooth ceramic tile and flat painted walls. They do not stick well over textured wallpaper, rough plaster, or brick, because the adhesive cannot grip an uneven surface — smooth the surface first or choose a different wall.