3D Peel and Stick Backsplash Ideas for Renters
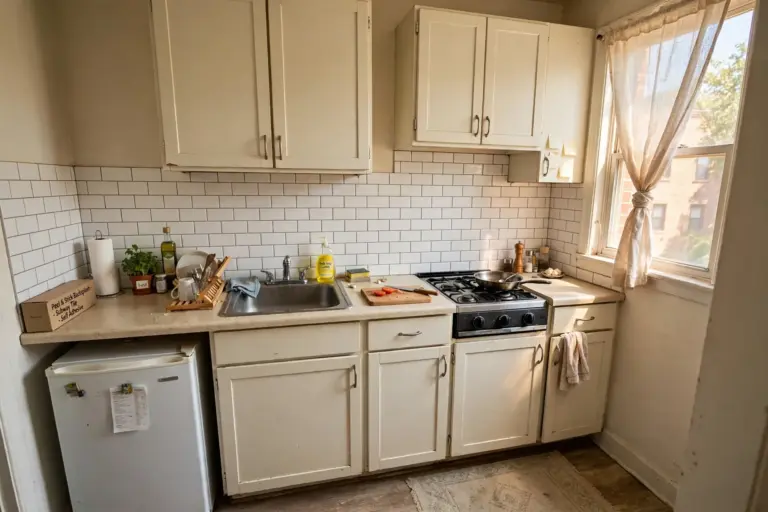
A flat printed backsplash fools nobody up close, which is why the 3D peel and stick backsplash has taken over rental kitchens. Real depth — raised tile edges, grout-like shadow lines, a glossy glaze that catches the light — makes a stick-on backsplash read as real tile from a normal standing distance.
This guide shares 10 dimensional looks for small rental kitchens, from glossy zellige to faux marble, plus the prep, heat rules, and removal method that keep the result looking permanent. For the wider kitchen picture, see the rental kitchen makeover ideas guide.
Before You Buy: What Makes 3D Different
Not every peel-and-stick tile has real depth. Thin vinyl sheets print a tile pattern on a flat surface, while thicker PVC or PU panels have a genuine 3D profile with shadow lines between tiles. From across the kitchen, the thicker panels look surprisingly convincing; the flat sheets only convince from a distance. Look for a tile size close to real tile — 2-by-6 subway, 2-inch hex, or 3-by-12 zellige — because tiny printed subway tiles look toy-like.
Check the product label for two things before ordering: heat rating and surface limits. Most peel-and-stick tiles are not made for direct heat, so the wall behind a gas range needs a heat-rated product or a different material. And the adhesive needs a smooth, clean, fully cured painted wall — it fails on heavy texture, raw plaster, brick, or anything dusty. The peel-and-stick backsplash for renters guide covers choosing and installing the flat versions too.
Classic Tile Looks With Real Depth
These four looks copy the tile styles renters ask for most, and the 3D profile is what sells each one. In every case, the same rules apply: degrease the wall first, draw a level line before the first row, and end the run at a cabinet line, a corner, or a window edge.
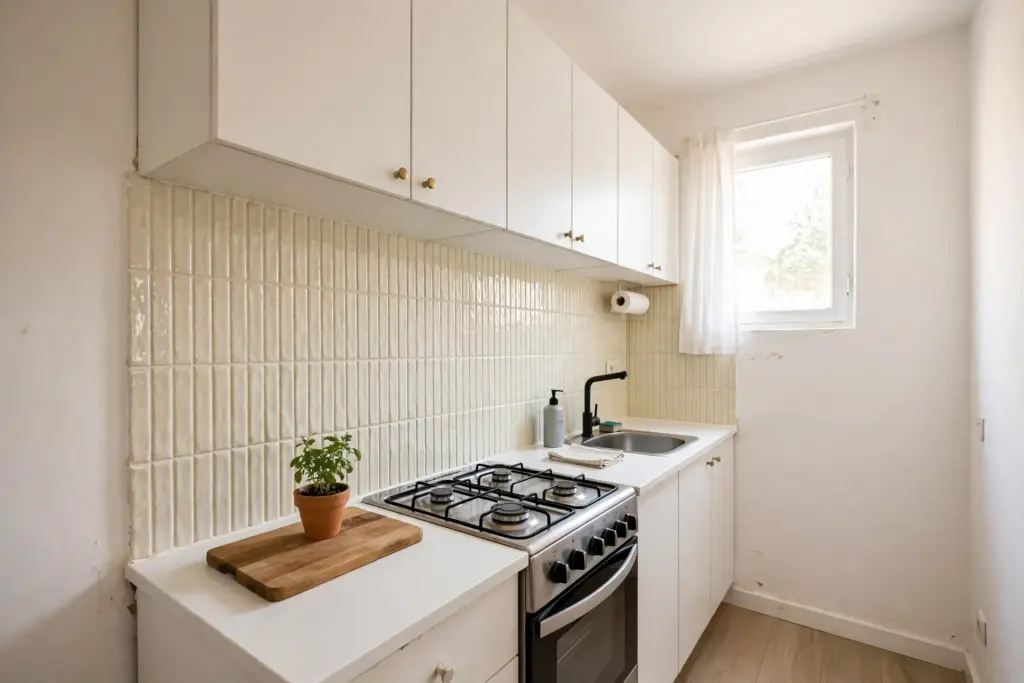
1. Stack Glossy Zellige-Style Tiles Vertically
Long, skinny tiles running straight up the wall make a short backsplash look taller, and the rippled glaze of a zellige look catches light the way handmade tile does. Pick a slightly creamy white — stark bright white tends to flatten the handmade effect. Draw a level line before the first row, because in a stacked layout even a small tilt shows. Keep them behind the sink and along the counter, away from a gas burner unless the product is heat-rated.
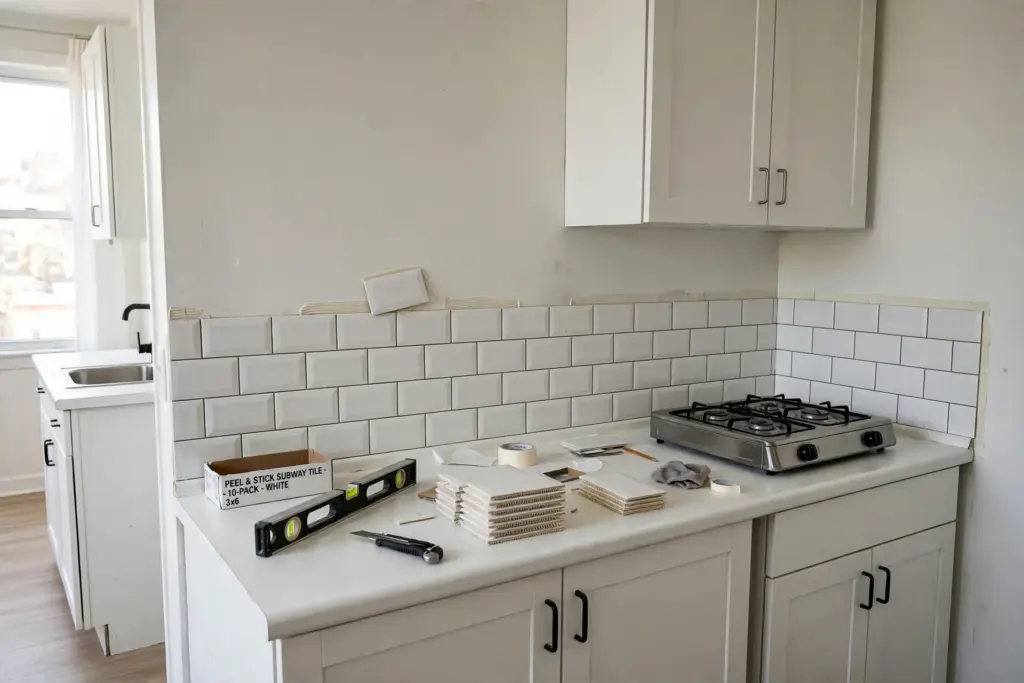
2. Keep It Classic With White Subway Tile
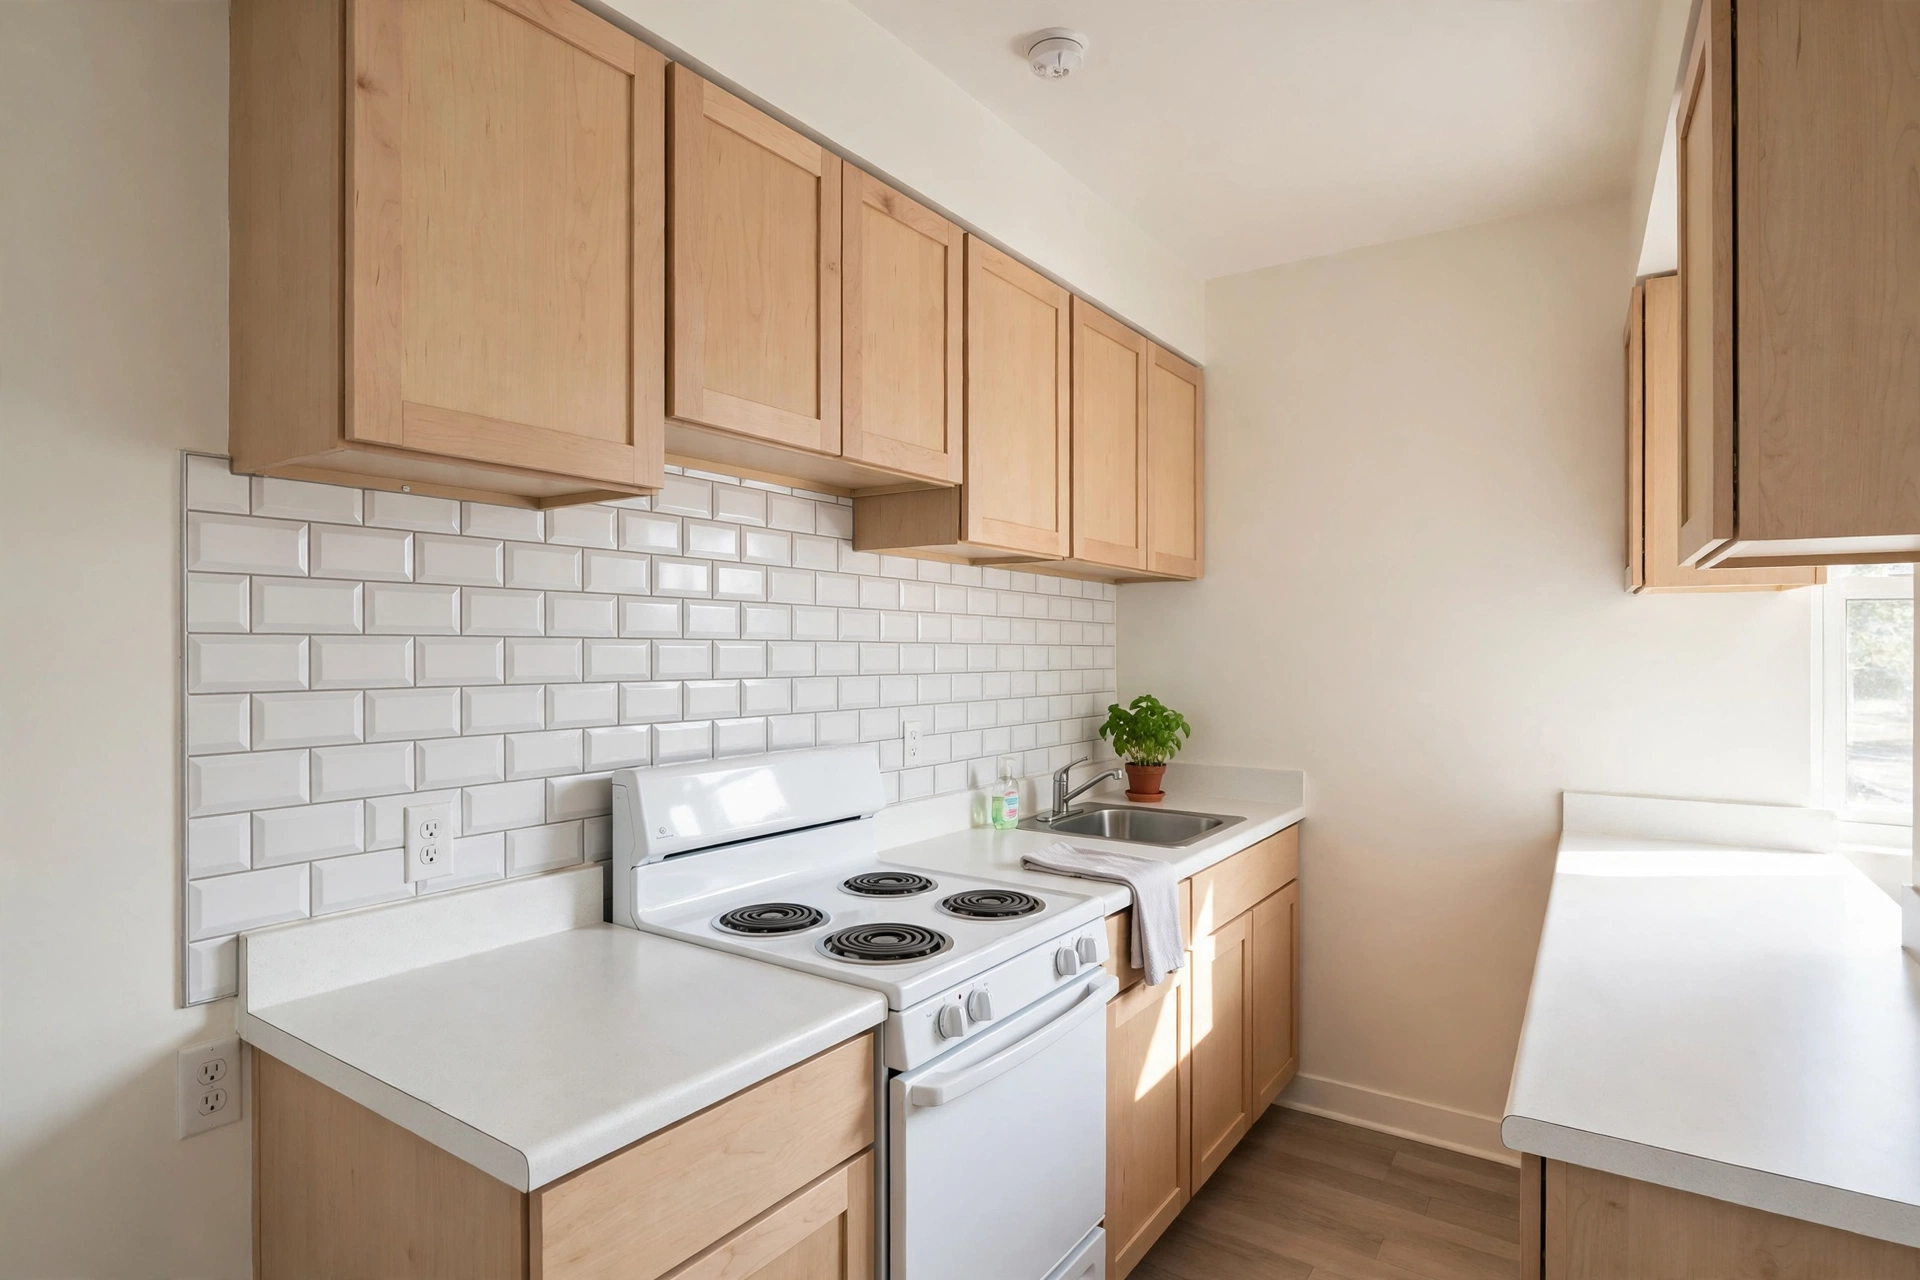
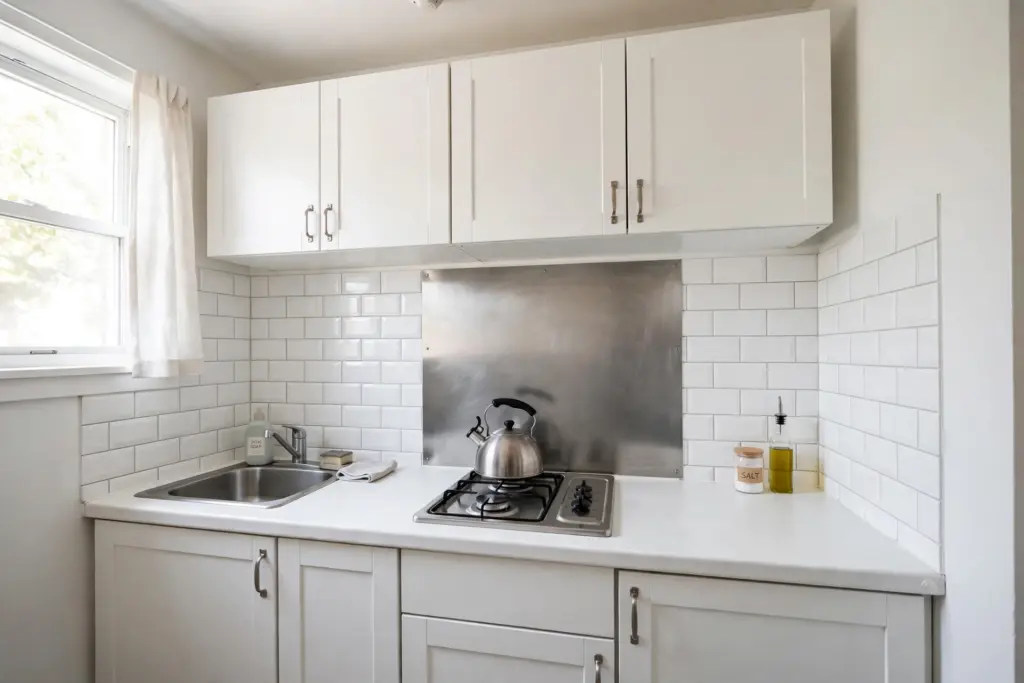
White subway tile is the safest 3D choice, and the safest is not the same as boring when the tiles have real depth. Look for panels with a slightly beveled edge and a soft gray grout line printed or molded between tiles; that shadow line is what reads as real grout from two steps back. Run it in a classic brick pattern, or stack it vertically for a modern feel. White subway suits oak, white, and painted cabinets equally.
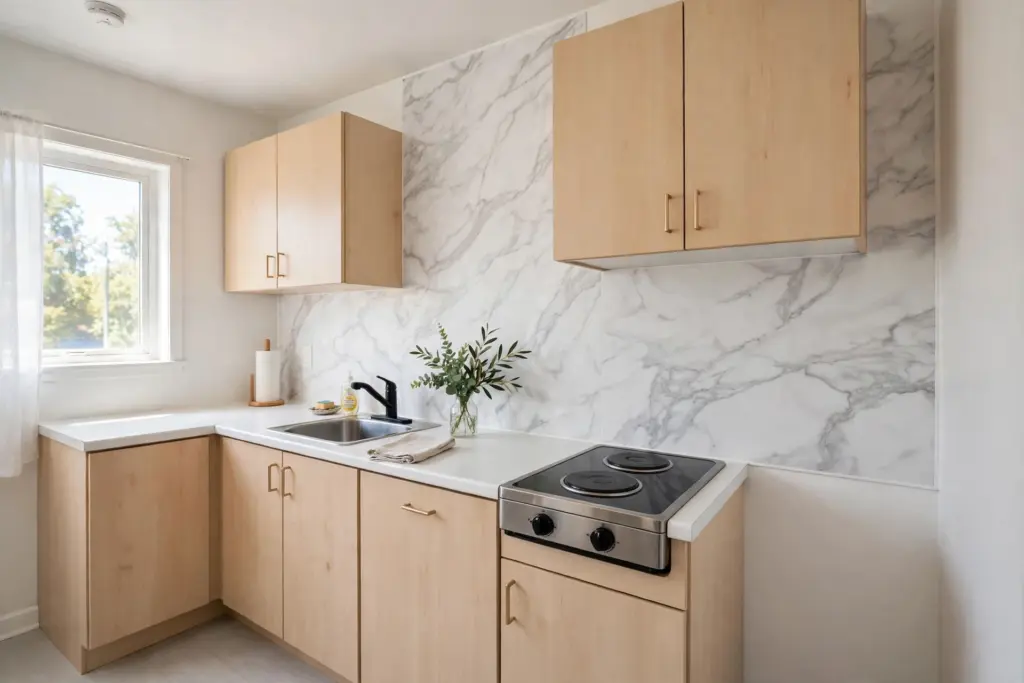
3. Fake a Marble Slab With No Grout Lines
Real marble slab backsplashes cost a lot, which is why a faux one feels so high-end. The trick is one smooth, continuous surface with soft gray veining running from the counter up to the cabinets, and no grout lines breaking it up. Thicker marble sheets hide wall bumps better than thin contact paper, which shows every dent underneath. Plan seams to land at a cabinet edge or a corner, and never let the veining repeat obviously across the wall.
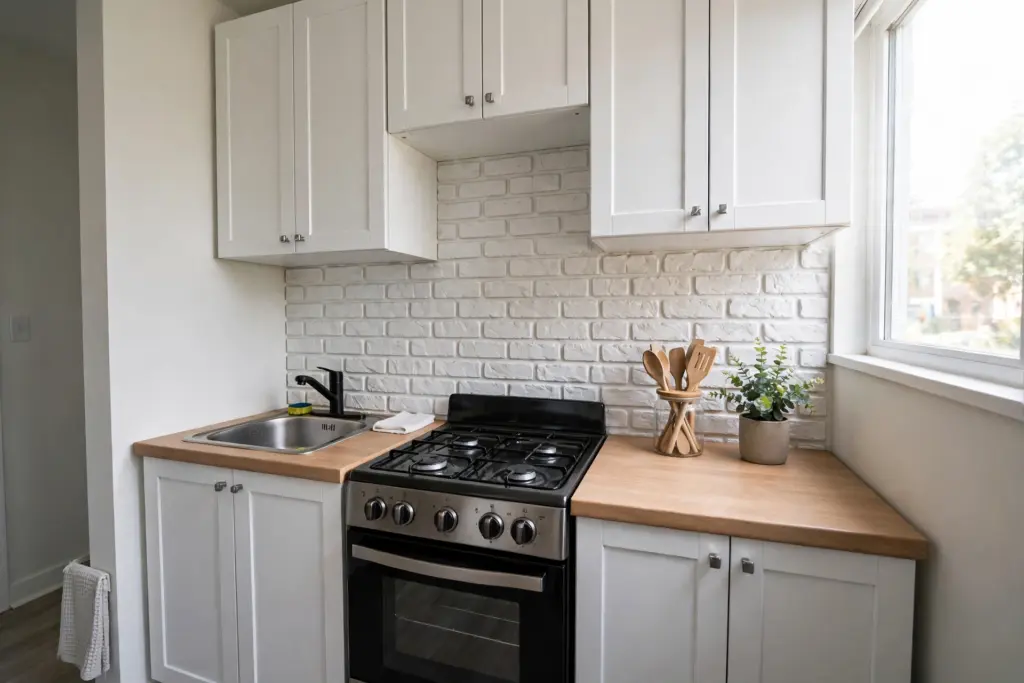
4. Warm Up the Kitchen With Faux Brick
Brick behind a stove sounds like a big renovation, but the whitewashed kind is one of the easiest looks to fake. Textured faux-brick panels give the most convincing depth, while peel-and-stick brick wallpaper is lighter and cheaper but can look flat up close, so pick a pattern that is light and washed out rather than dark and heavy. Light foam panels can go up with removable mounting tape; heavier ones often need adhesive that can damage walls, so check the removal method before buying.
Pattern Looks That Add Personality
Pattern is where a 3D backsplash earns its keep, because the raised profile turns a printed pattern into something with shadow and movement. These three looks suit renters who want the kitchen to have a point of view, not just a clean surface.
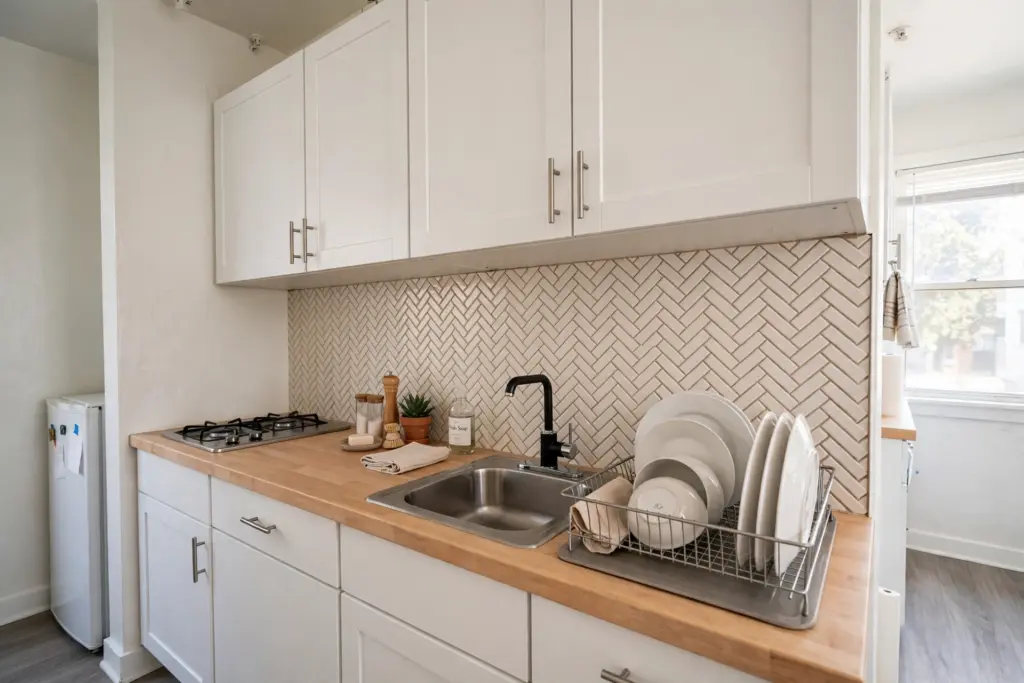
5. Lay Herringbone in a Soft Neutral
Herringbone is the pattern that makes guests ask who tiled the kitchen. In a small space, keep it in a soft neutral — warm white, pale gray, or greige — so the pattern adds texture without shrinking the room. The 3D edge is essential here: flat printed herringbone looks like wallpaper, while raised herringbone catches light along every angled edge. Start from the center and work outward so cuts land symmetrically at both ends.
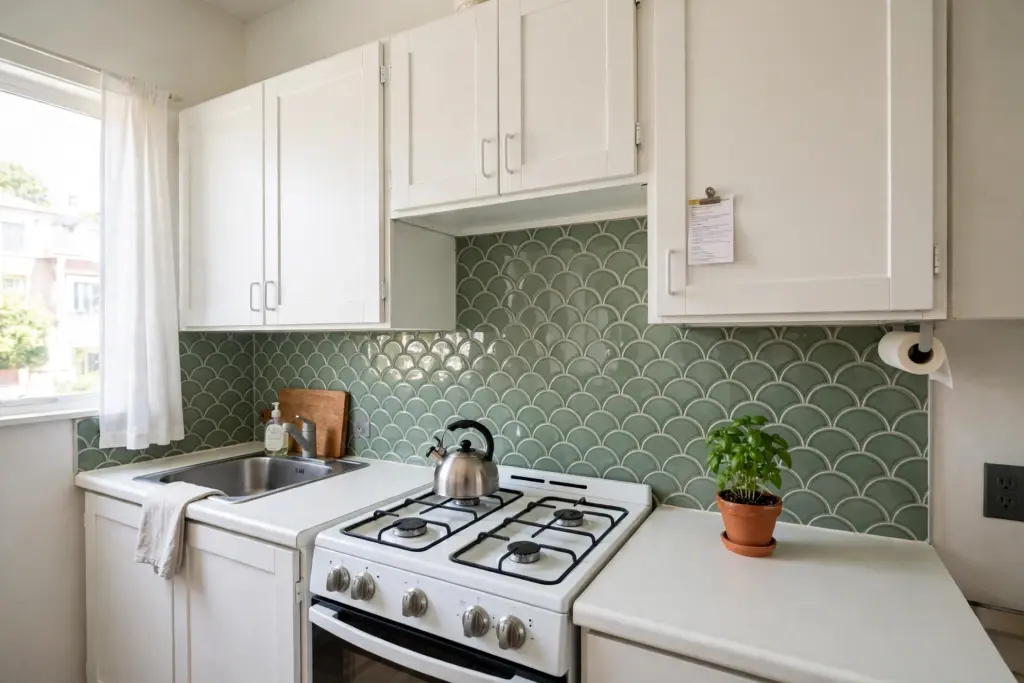
6. Try Scallop Tiles for a Soft Retro Feel
Scallop, or fish-scale, tiles bring a soft retro curve that suits small kitchens with rounded details — arched doorways, curved stools, a round rug. The overlapping profile gives each scale a small shadow, so choose a glaze with some shine rather than a flat matte. Scallops look best in one color, kept to the backsplash strip only.
7. Go Bold With Terrazzo-Look Panels
Terrazzo-look panels pack a lot of personality into a small strip: speckled chips of color on a pale base, with a smooth wipeable surface. Large-format panels work better than small tiles here, because fewer seams mean the speckle pattern reads as one continuous surface. Keep the rest of the kitchen quiet and let the backsplash carry the color. Terrazzo suits white or pale wood cabinets best.
Color and Finish Ideas
Color is the fastest way to make a rental kitchen feel chosen rather than inherited. These three finishes use the 3D profile to keep color looking rich instead of flat, and each one pairs with the cabinets most rentals already have.
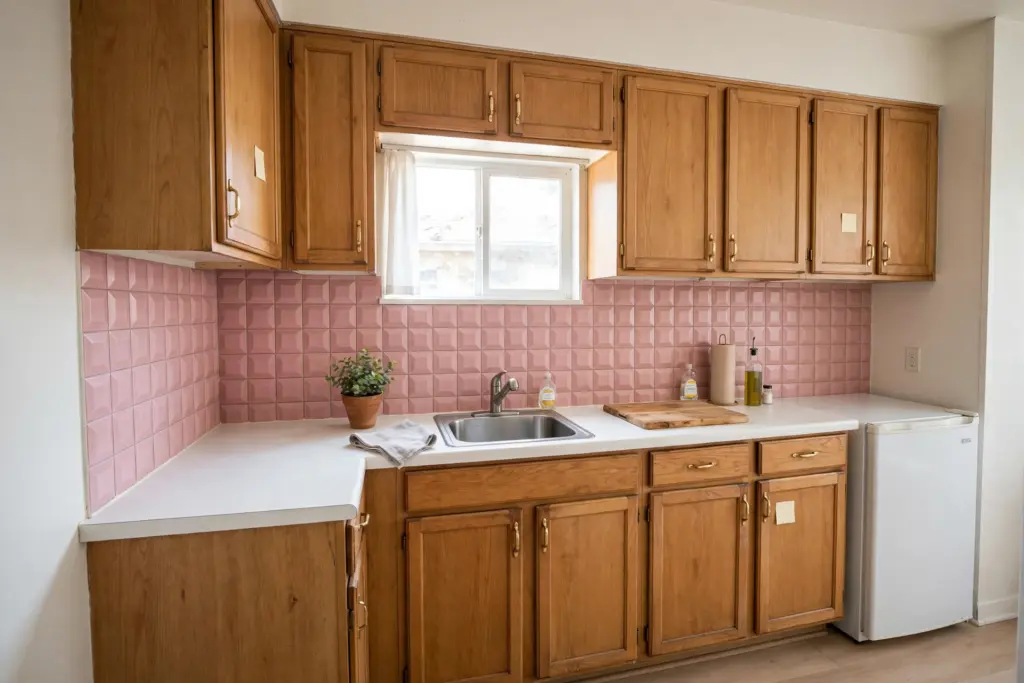
8. Warm Up Dated Oak With Dusty Pink Squares
Dated oak cabinets are the most common rental kitchen problem, and a dusty pink square tile is the most forgiving fix. The warm pink softens the orange in the oak, and the 3D tile edge keeps the color from reading as flat paint. Keep the pink muted — dusty, not bubblegum — and run it as a simple grid with no border tile.
9. Add Calm With Sage Green Tile
Sage green is the color that makes a small kitchen feel calm without feeling dark, and it flatters both white and wood cabinets. In a 3D tile, the sage glaze shifts with the light, so the backsplash looks slightly different at breakfast and at dinner. Pair it with brass or matte black hardware, and let the green be the only strong color in the room.
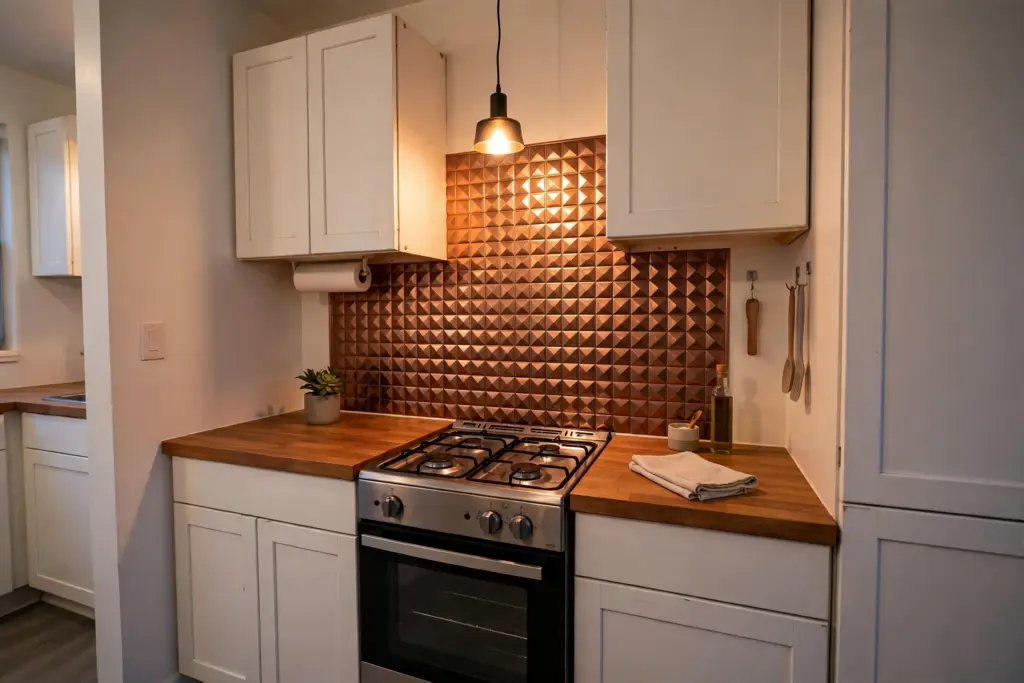
10. Shine a Little With Copper or Faux Tin
Metallic tiles — copper, faux tin, or brushed brass-look — bounce light around a small kitchen in a way no ceramic-look tile can. Peel-and-stick metal tiles or faux tin panels work best kept to a defined zone, from counter to upper cabinets only, with a simple trim edge to finish the run. The shine flatters warm lighting and wood tones, and the pattern reads as intentional when it stops at a clean line. Keep metal away from the hottest part of the stove wall unless the product is rated for it.
Install It Like It Is Permanent
A 3D backsplash only looks permanent when the prep is permanent-grade. Degrease the wall first — cooking oil is the main cause of peel-and-stick tiles lifting — then let it dry fully. Remove the outlet covers, switch off the circuit at the breaker, and plan the layout so seams land at cabinet edges or corners. Cut tiles with a sharp blade, and finish exposed edges with a slim trim piece. Work at normal room temperature, roughly 65 to 80 degrees Fahrenheit. For a full step-by-step with the common mistakes, see the dos and don’ts of installing peel and stick backsplash.
Heat Rules Behind the Stove
Heat is the one place where a 3D backsplash needs respect. Standard vinyl and gel tiles are not designed for direct heat: plastic panels can start to warp when temperatures pass about 140 degrees Fahrenheit, and the adhesive softens long before the tile itself melts. Aspect, a peel-and-stick tile maker, states its tiles withstand heat up to 140 degrees Fahrenheit, with a minimum 6-inch space from the heat source. See the Aspect stone tile heat guidance for the exact limits on its products.
The practical rules follow from that. Keep standard vinyl well away from gas flames, and never install peel-and-stick tile where it touches an open flame. Behind a gas range without a back guard, leave a clear gap covered by a stainless steel or tempered glass panel, or choose a heat-rated metal tile for the cooking zone. Always check the product’s stated temperature limit and recommended distance from burners before buying. For more small-kitchen ideas, the small-apartment kitchen storage ideas guide covers the rest of the room.
Removal Without Damage
When the lease ends, heat is the removal secret. Warm one corner with a hair dryer on low heat so the warmth reaches under the tile and softens the adhesive, then pull slowly straight down. Go slow: if there is resistance, add more heat instead of pulling harder, because force is what takes paint with it. Work tile by tile and wipe any residue with warm soapy water. A 3D panel leaves the wall the way it found it when it comes off with heat and patience.
Frequently Asked Questions (FAQ)
Can you put a 3D peel and stick backsplash behind a stove?
Yes, but only with the right product. A 3D peel and stick backsplash behind a stove must be rated heat-resistant, with at least 6 inches between the burner and the tiles, and never in direct contact with an open flame. Standard vinyl tiles belong on the sink and counter walls instead.
Do 3D peel and stick backsplash tiles look real?
From a normal standing distance, good ones do. The raised profile and shadow lines read as real tile, especially in subway, zellige, and herringbone patterns with a glossy glaze. The giveaway is usually scale, so choose sizes close to real tile and keep the pattern consistent.
How long does peel and stick backsplash last in a rental?
On a clean, smooth, fully cured wall, peel-and-stick backsplash lasts for years with normal kitchen use. The weak points are grease, steam, and heat: degrease before install, keep tiles out of direct steam, and respect the heat limits behind the stove.
Will peel and stick backsplash damage the wall when removed?
Not when it is removed with heat and patience. Warm each tile with a hair dryer on low, pull slowly straight down, and wipe residue with warm soapy water. The risk comes from pulling cold tiles quickly, or installing on fresh paint or textured walls.
Keep Reading
- Peel-and-Stick Backsplash for Renters — the choose, install, and remove guide for flat peel-and-stick tiles.
- Rental Kitchen Makeover Ideas — 17 budget fixes to pair with a new backsplash.
- Peel-and-Stick Wallpaper for Renters — how to choose, install, and remove it without damage.