Renter-Friendly Kitchen Cabinet Makeover Ideas
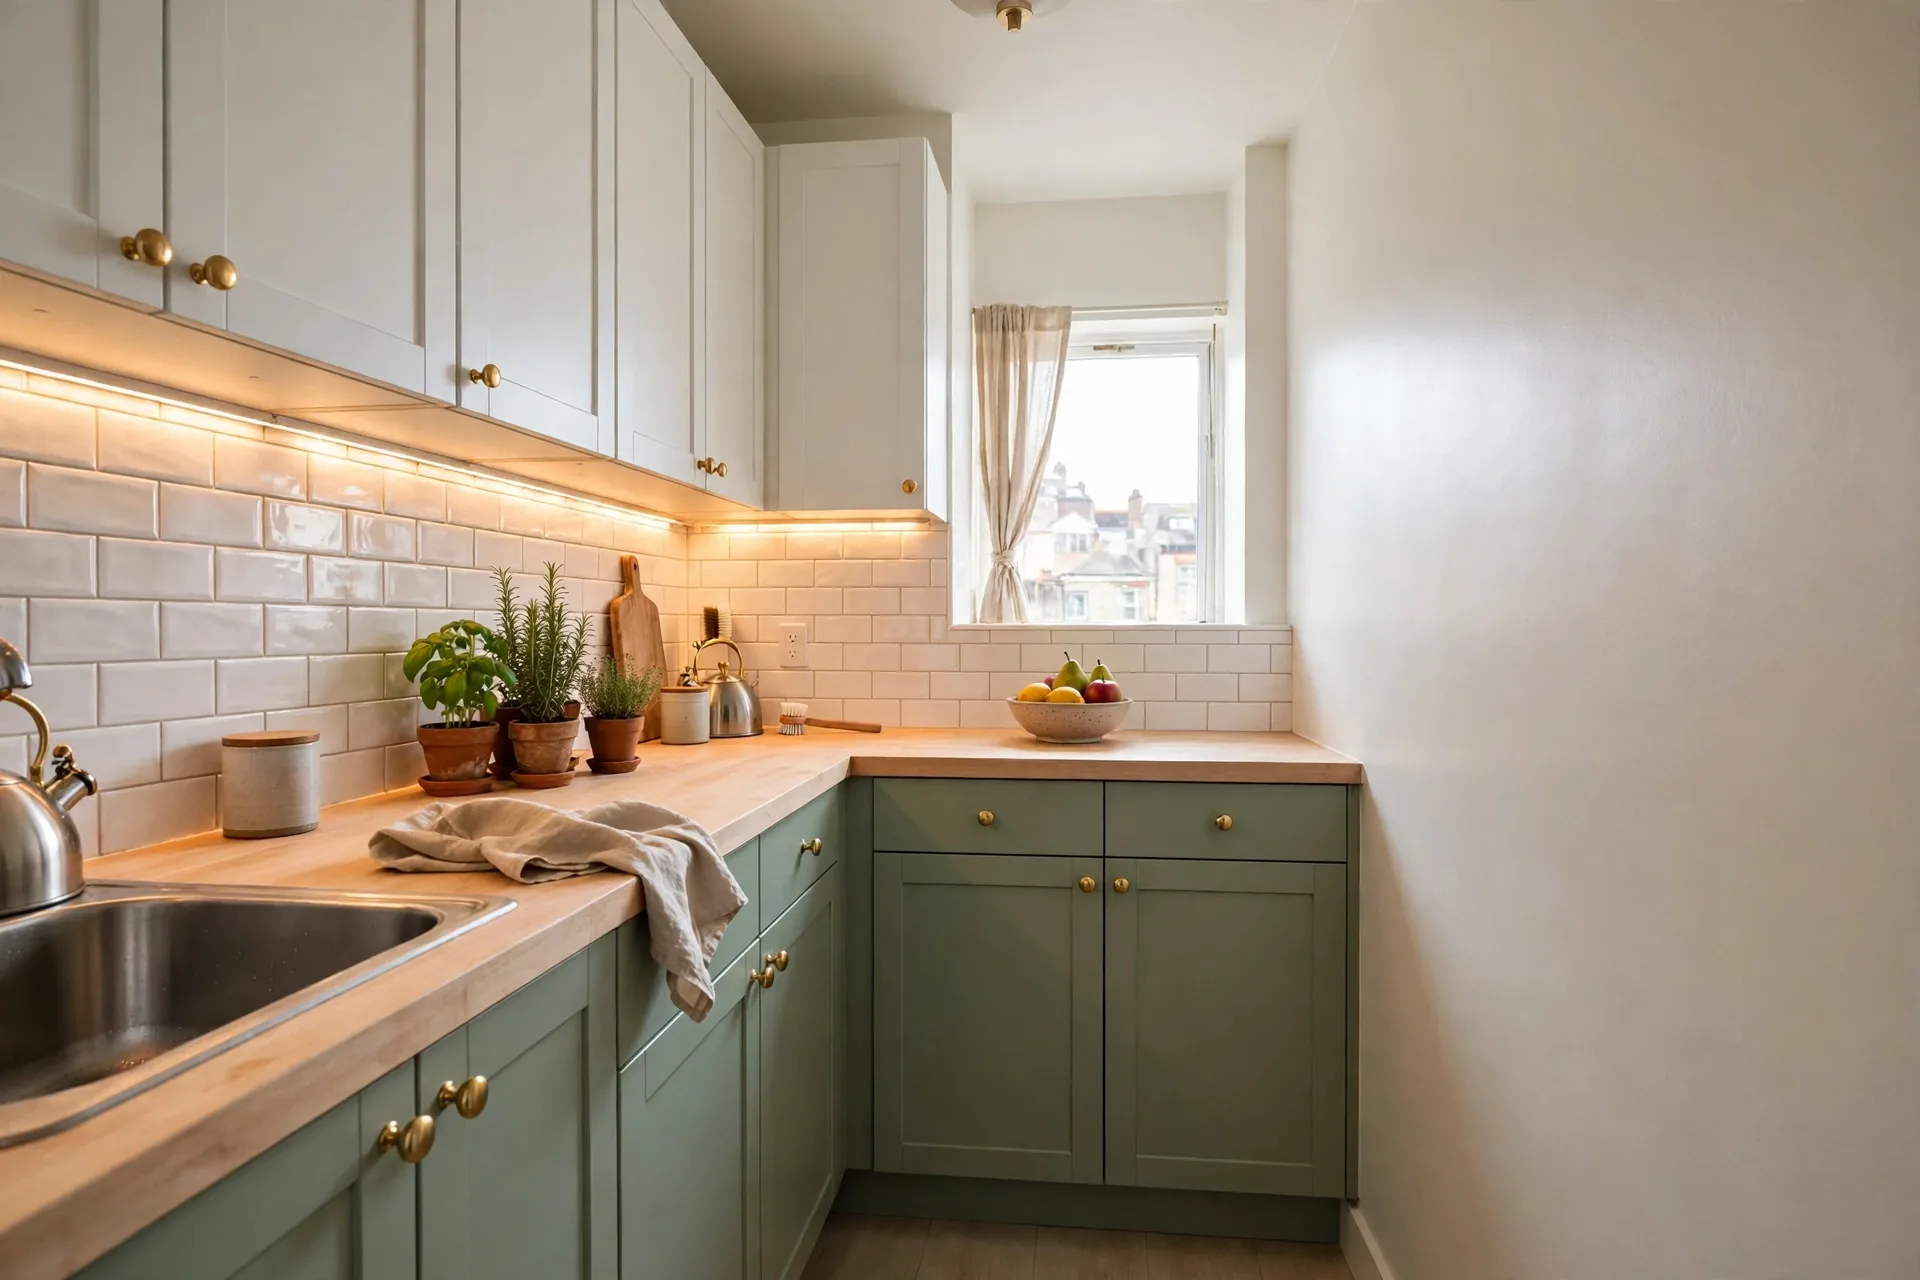
A rental kitchen can look ten years newer after one weekend — without paint, without a contractor, and without a single permanent change. A renter friendly kitchen cabinet makeover works by layering small reversible upgrades: new handles, removable vinyl on the doors, a peel-and-stick backsplash, plug-in lighting, and smarter storage inside the cabinets. Below are 12 ideas, three budget tiers, and a move-out restore plan that puts everything back exactly as it was.
The Weekend Plan: Permission, Budget, and One Room at a Time
Start with the lease, not the shopping list. Most leases allow removable decoration but draw the line at anything that alters the cabinets, so ask the landlord in writing before anything adhesive goes on a door or anything screws into a new hole. Photograph every cabinet front, drawer, and countertop before touching anything — those photos are the move-out reference. Then set a budget tier and stick to it: a renter friendly kitchen cabinet makeover works at every price point, and the order below is also the order to do the work, from the highest-impact change to the finishing touches. For the decorating principles behind the whole project, see these renter-friendly apartment decorating ideas.
12 Renter-Friendly Kitchen Cabinet Makeover Ideas
Work through these in order on a single weekend, or spread them across two weekends if the kitchen is large. Test every adhesive on a hidden spot first, and keep all originals — handles, doors, and screws — in labelled bags.
1. Swap the Hardware First
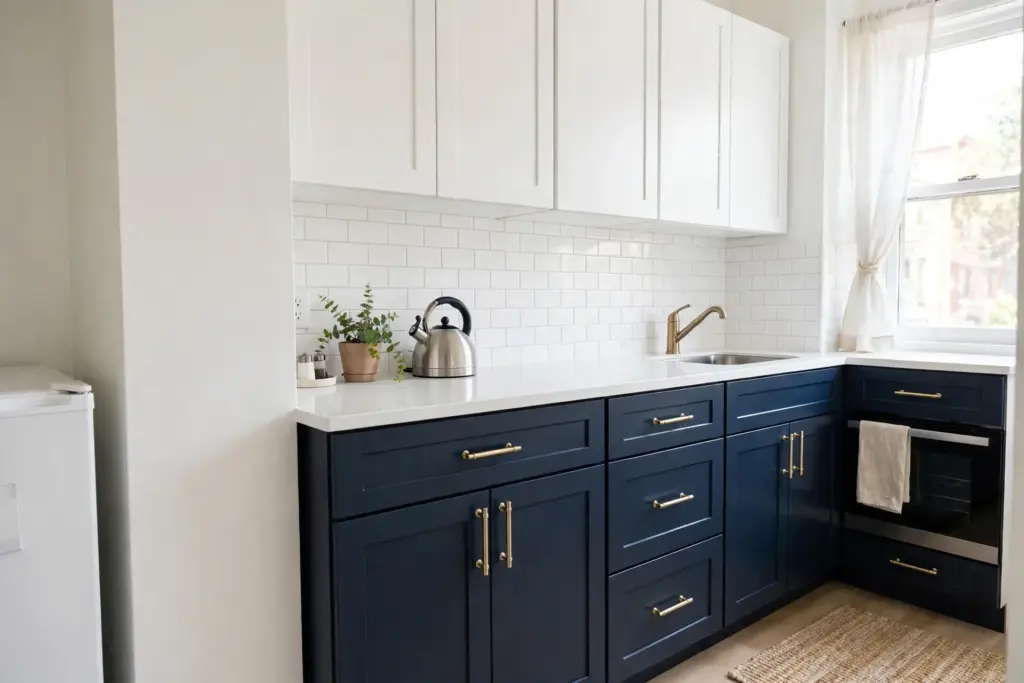
New handles are the highest-impact change for the lowest effort, and they set the finish for everything that follows. Remove one pull, measure centre-to-centre between the screw holes, and buy replacements that reuse the same holes — the two most common sizes are 3 inches and 3-3/4 inches. The full guide to styles, measuring, and no-drill options is in these renter-friendly cabinet handle swaps, and the finish chosen here should match the lighting and faucet for a planned look.
2. Wrap the Doors in Removable Vinyl
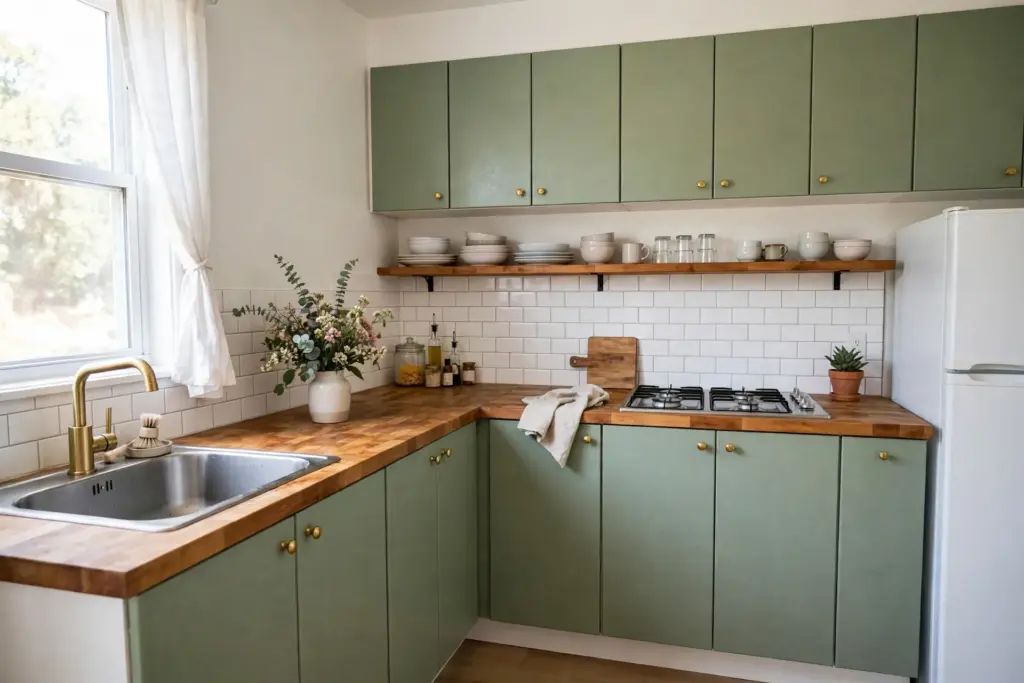
Removable vinyl wrap changes the colour of the cabinets without paint. Peel-and-stick vinyl in a solid colour or a subtle wood grain presses onto clean, flat door fronts and peels off with gentle heat at move-out. It works best on flat-front or Shaker doors with smooth surfaces; heavily textured or damaged doors will show every bump through the film. Wrap one door first and live with it for a day — check the edges in daylight, open and close it a few times, and only then commit to the rest of the run.
3. Add a Peel-and-Stick Backsplash
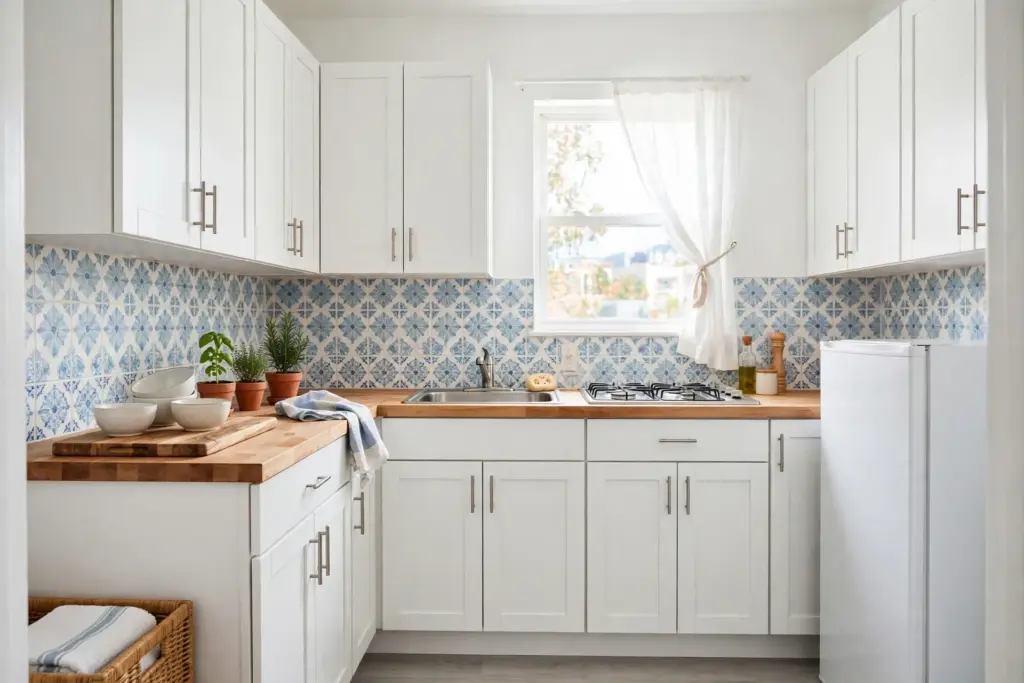
A peel-and-stick backsplash covers the tired strip of wall between the counter and the upper cabinets, and it is the change guests notice first. Clean the wall thoroughly, since grease stops the adhesive from bonding, and dry-fit the sheets before peeling any backing. Check the product label for heat limits near the stove, and test removal on a hidden corner before covering the whole wall — this renter’s backsplash checklist covers the surface and permission checks worth doing first. The matching deep guide is our own peel-and-stick backsplash guide for renters.
4. Plug In Under-Cabinet Lighting
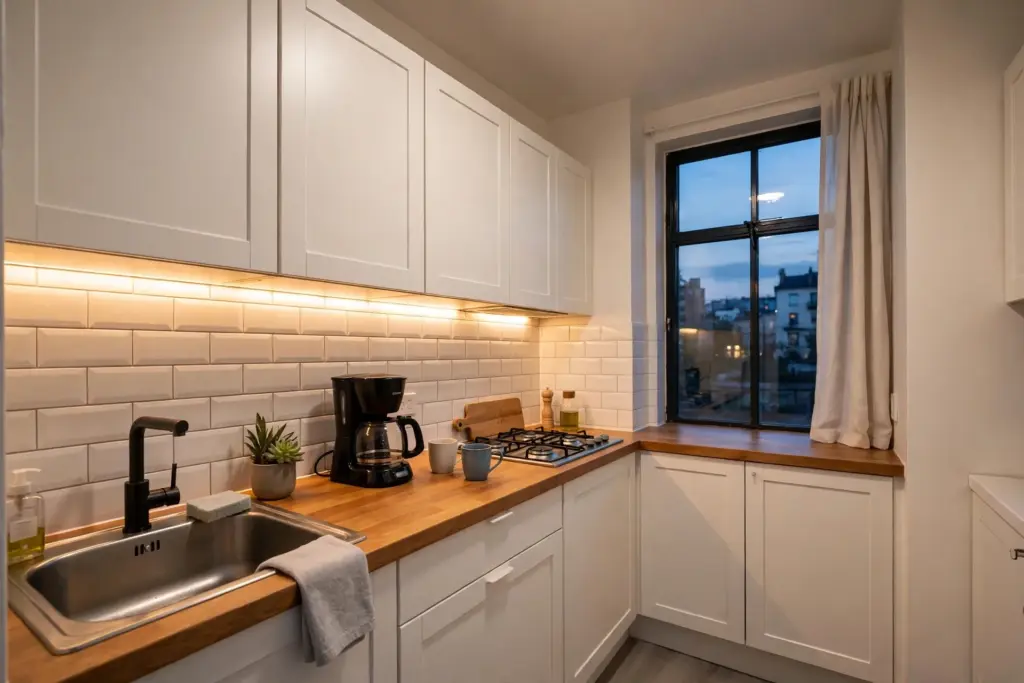
Under-cabinet lighting makes a small kitchen feel twice as bright and makes the counters genuinely easier to work on. Battery or USB-rechargeable LED bars stick under the upper cabinets with removable adhesive or magnetic mounts — no wiring, no electrician, and nothing to undo at move-out. Choose a warm-to-neutral white (around 3000K to 4000K) so food looks natural, and place the bar toward the front edge of the cabinet so the light falls on the counter rather than the wall. This renter-friendly lighting guide compares puck, bar, and strip options for rentals.
5. Hang Curtains Instead of Doors
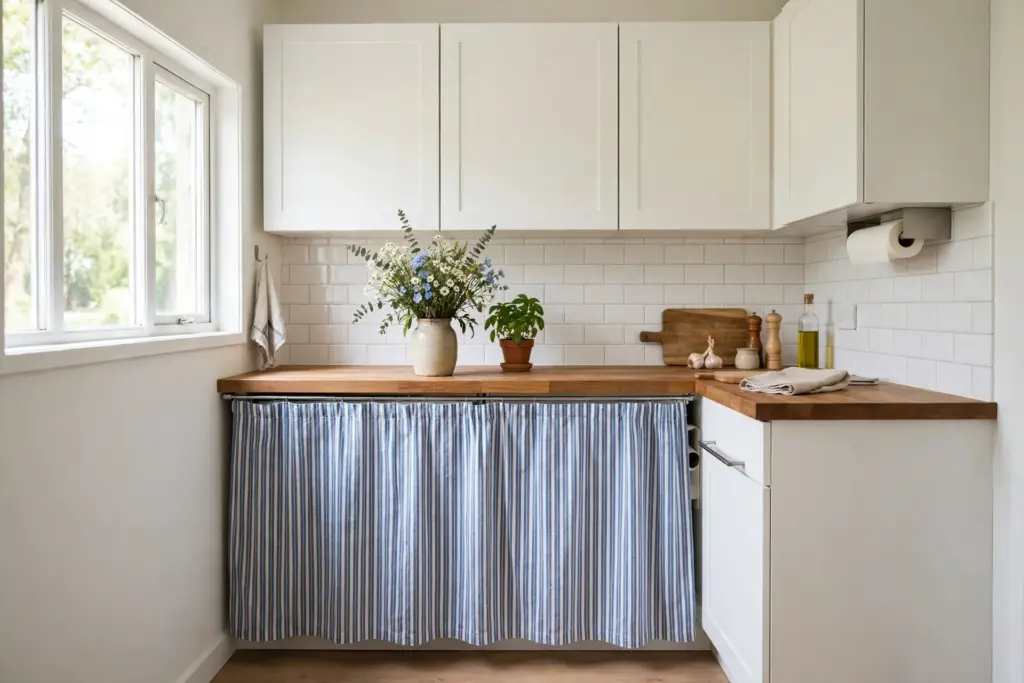
Taking a lower cabinet door off and hanging a short curtain in its place softens the whole kitchen and hides whatever is stored behind it. A tension rod fits inside the door frame with no screws, and a washable cotton or linen curtain in a plain colour keeps the look calm. This works best on one or two cabinets — the under-sink cabinet or a cabinet holding cleaning supplies — rather than the whole run, since too many curtains can look unfinished.
6. Take a Few Doors Off for Open Shelving
Removing the doors from one upper cabinet turns it into open shelving, which makes a small kitchen feel larger and puts everyday dishes within reach. Unscrew the hinges, label each door and its screws, and store the doors flat somewhere safe — a closet shelf or under the bed, wrapped in an old sheet so they do not scratch. Style the open shelves with the prettiest everyday items: matching plates, glasses, and a plant or two, keeping heavier pieces on the lower shelf.
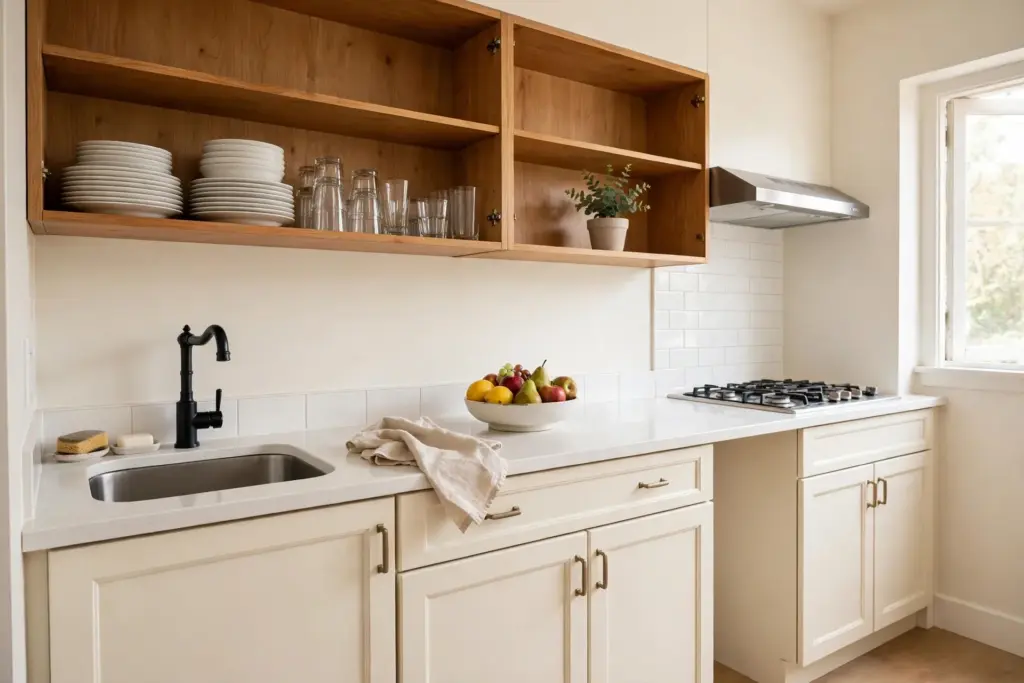
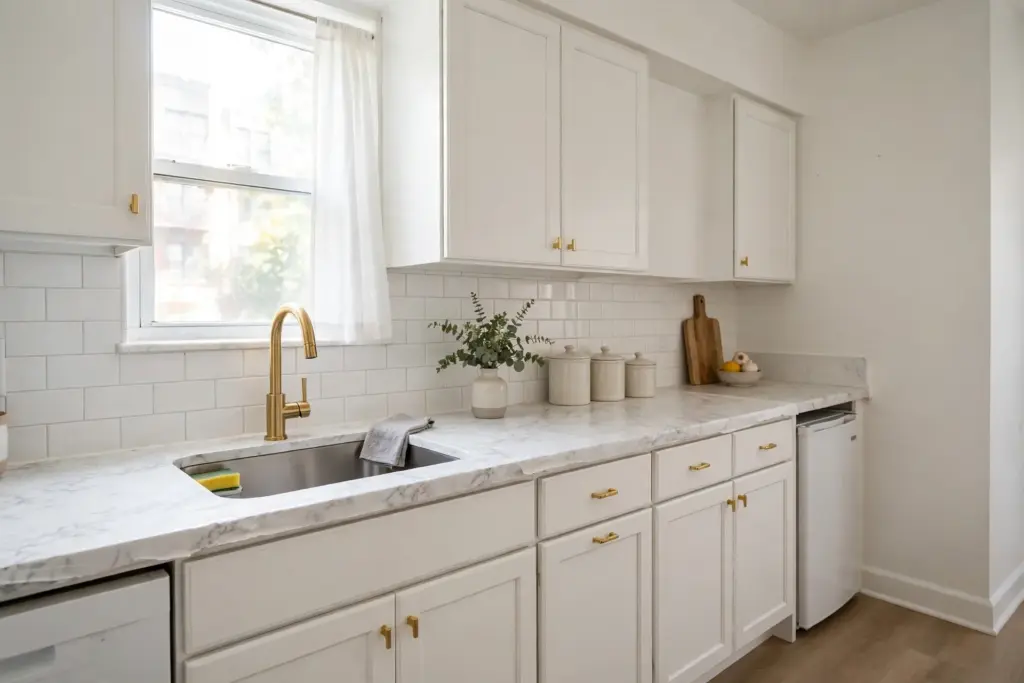
7. Cover the Countertop With Contact Paper
Contact paper in a marble or butcher-block look covers a stained or dated countertop for the length of a lease. Clean and dry the counter completely, measure with extra to spare, and apply slowly from one edge while smoothing out air bubbles with a credit card. Cut carefully around the sink with a sharp blade, and seal the edges near the sink with clear waterproof tape so water cannot creep underneath. At move-out it peels off with gentle heat, and any residue usually lifts with warm soapy water.
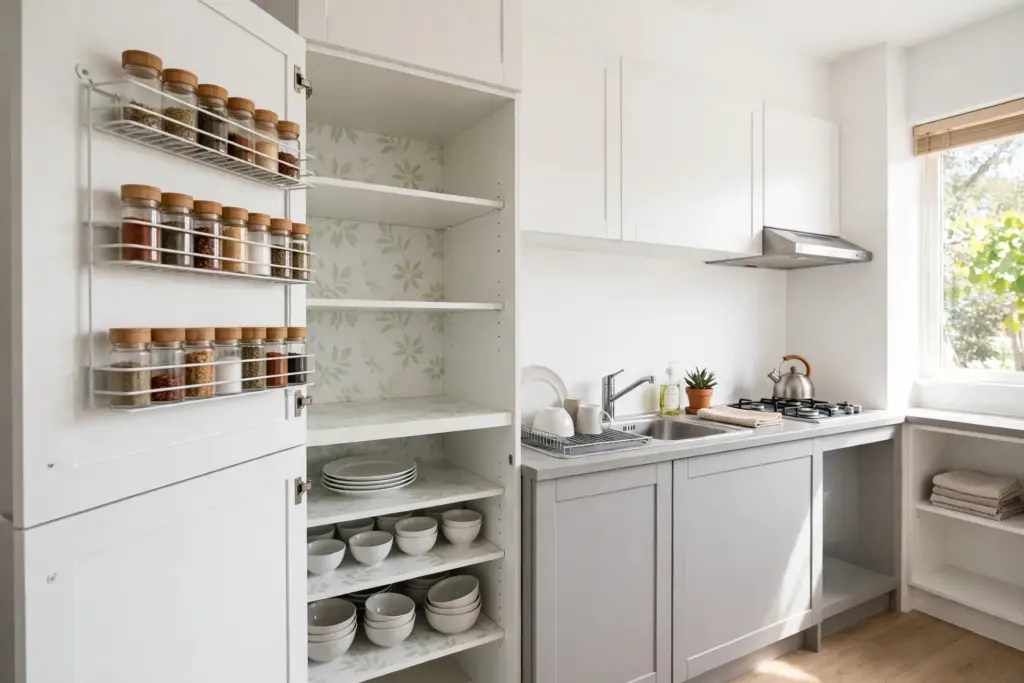
8. Line the Shelves and Add Door Racks
The inside of the cabinets deserves the same attention as the outside. Non-adhesive shelf liner protects shelves from rings and spills and lifts out for washing, while slim racks that hook over the inside of a door hold spices, foil, and cleaning sprays without a single screw. Measure the door thickness before buying a rack, since rental cabinet doors vary, and keep the heaviest items on the shelves rather than on the door racks so the hinges are not strained.
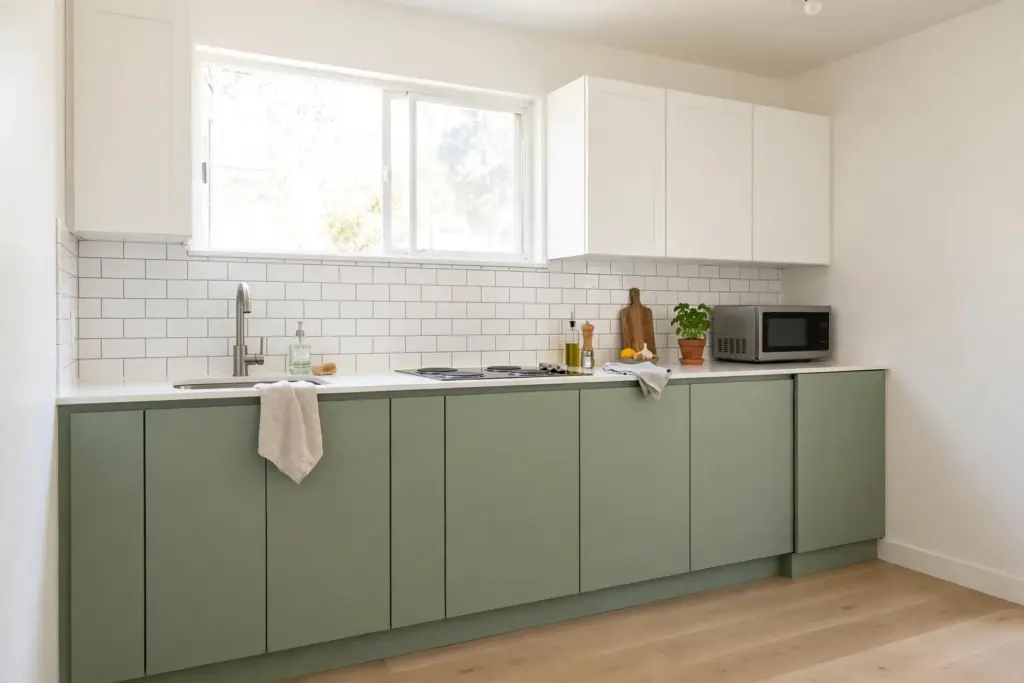
9. Cover the Toe-Kick and End Panels
The toe-kick — the recessed strip at the bottom of the base cabinets — and the exposed end panels are the parts of a kitchen that show scuffs first. Removable vinyl or a thin peel-and-stick panel in the same finish as the doors covers both, and the result reads as a fitted kitchen rather than a collection of boxes. Clean the surfaces well, since the toe-kick collects grease and dust, and cut the vinyl slightly oversized before trimming it flush with a sharp blade.
10. Frost the Glass-Front Doors
Glass-front cabinets show every mismatched mug, so frosted window film turns them into a soft, private display instead. Static-cling film needs no adhesive at all — it sticks with water, peels off cleanly, and can be repositioned while it is still wet. Measure each pane, cut the film slightly larger, and smooth it on with a squeegee or a credit card, trimming the edges once it is in place.
11. Add Pull-Outs and Turntables Inside
A cabinet makeover should make cooking easier, not just prettier. A pull-out shelf on the base cabinet brings the back of the shelf within reach, and a turntable in a corner cabinet stops jars from disappearing into the dark. Both install without tools — pull-outs sit on the shelf, turntables spin on it — and both move to the next rental. For the hardest corner of all, these corner kitchen cabinet organization ideas cover the layouts that waste the most space.
12. Match the Hinges and Mind the Gaps
The final step is the one nobody notices when it is right and everybody notices when it is wrong: the hinges. If the new handles are matte black, swap visible hinges for matching ones using the same screw holes — a mismatched hinge breaks the illusion. Check every door for sagging or rubbing after the other changes, and adjust the hinge screws slightly until each door closes cleanly without catching. Then step back and look at the whole kitchen: the makeover is done when every change looks like it was always there.
Budget Tiers: Three Weekends, Three Price Points
A renter friendly kitchen cabinet makeover scales to whatever the budget allows, and the tiers below are planning guides — costs vary with kitchen size, material choice, and how many cabinets the kitchen has. The light tier covers new handles and shelf liner, which alone changes the look of the room. The middle tier adds a peel-and-stick backsplash and plug-in lighting, the two changes guests notice most. The full tier adds vinyl wrap, a contact-paper countertop, and inside organizers for the complete weekend transformation. For a whole-kitchen plan on the same budget thinking, see these rental kitchen makeover ideas on a budget.
Move-Out Day: The Restore Plan
Restoring the kitchen is the makeover in reverse, and the labelled bags plus the move-in photos make it a single afternoon’s work. Peel the vinyl and contact paper off with gentle heat, working slowly so the adhesive lifts rather than tears. Take the backsplash sheets down the same way, and wipe any residue with warm soapy water following the product maker’s removal steps. Refit the original handles and doors from the labelled bags, check every hinge, and walk the room against the photos to confirm each cabinet sits exactly as it did on move-in day.
Frequently Asked Questions (FAQ)
Can renters make over kitchen cabinets?
Yes — a renter friendly kitchen cabinet makeover uses only reversible changes: hardware that reuses existing holes, removable vinyl and contact paper, peel-and-stick backsplash, plug-in lighting, and organizers that need no screws. Check the lease and ask the landlord in writing first, keep every original, and restore the kitchen before moving out.
Do I need my landlord’s permission for a cabinet makeover?
Ask in writing before starting, even for changes that seem temporary. Describe each planned change, how it attaches, and how it will be removed, and keep the landlord’s reply with the rental documents. Written permission protects the deposit and avoids a surprise at inspection time.
What is the cheapest renter-friendly cabinet makeover?
New handles plus shelf liner is the cheapest meaningful change: the handles transform the look of every door and drawer, and the liner freshens the insides. Adding a peel-and-stick backsplash is the next best value, since it covers the largest visible wall area for the cost of a few sheets.
Will peel-and-stick backsplash damage the wall?
Peel-and-stick products made for renters are designed to remove cleanly from sound, smooth, painted walls when the maker’s removal steps are followed, usually with gentle heat. Test a hidden spot first, avoid damaged or peeling paint, and never install adhesive products near an open flame or on a surface the maker warns against.
How long does a renter-friendly cabinet makeover take?
One weekend is enough for most small rental kitchens: handles and lighting on Saturday morning, backsplash and vinyl in the afternoon, and organizers plus the final check on Sunday. A larger kitchen, or a full vinyl wrap, may need a second weekend — spread the work rather than rushing the adhesive steps.