15 Kitchen Counter Organization Ideas for Small Kitchens
Kitchen counter organization is the difference between a small kitchen that works and one that fights you every morning. In a rental, counters are short, cabinets are full, and drilling holes is not an option, so the system has to sit on the counter or hang from removable hooks.
This guide shares 15 renter-friendly ideas in five zones — prep, coffee and breakfast, sink, stove, and the landing strip — plus appliance rules and a two-minute nightly reset. Every idea is removable and deposit-safe. Start with the clear-first method below, and see the small-apartment storage ideas guide.
Start With a 15-Minute Clear-Out
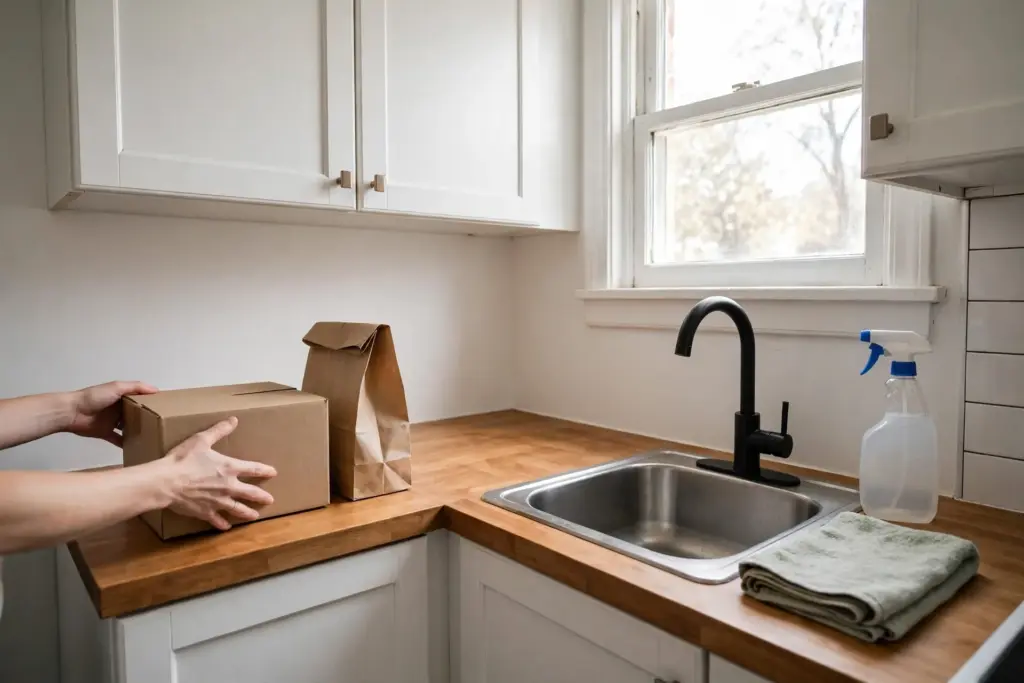
Good kitchen counter organization starts with an empty counter, not a shopping trip. Set a timer for 15 minutes and take everything off one stretch of counter at a time. Sort each item into three groups: daily use, weekly use, and rarely or never used. Daily-use items earn a counter place; weekly-use items go into a nearby cabinet or drawer. Rarely used items go to a higher shelf, a closet, or out of the apartment if they are broken or duplicated. Wipe the bare counter before anything goes back.
Be honest about the “maybe one day” pile. A bread machine used twice a year and a chipped mug nobody reaches for take up the same space as the coffee maker. If an item has not been used in three months, store it away or let it go. The goal is a counter holding only things used every day.
The Prep Zone: Ideas 1–3
The prep zone is the counter between the sink and the stove. Protect it: it is the only counter space that does real work, so nothing from another zone should live here.
1. Give the Cutting Board a Permanent Home
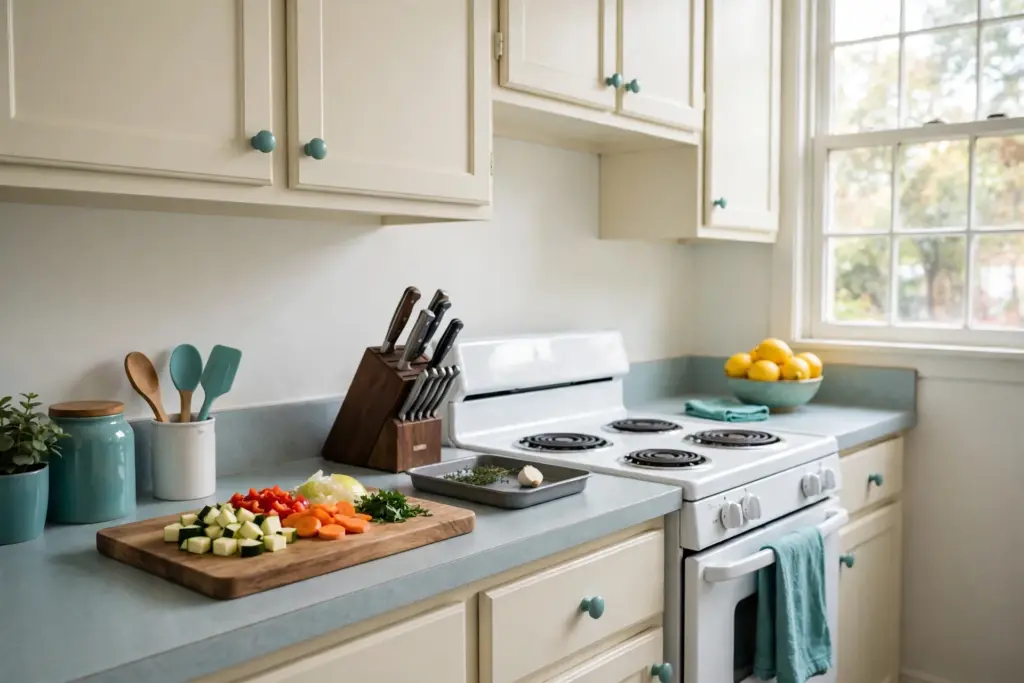
Keep one large cutting board on the counter in the prep zone instead of digging it out of a cabinet for every meal. A board that lives on the counter gets used. Choose one that fits with room to spare. When it is not in use, stand it upright in a dish rack or lean it against the backsplash.
2. Keep Knives and Tools in One Block or Crock
A knife block plus one utensil crock holds almost every tool a small kitchen needs within reach of the prep zone. Keep the block at the back of the counter, and keep only weekly-use tools in the crock — spatulas, tongs, a whisk, and wooden spoons. Specialty gadgets that appear once a month belong in a drawer.
3. Contain Messy Prep on a Tray
A rimmed tray or a large sheet pan turns the prep zone into a contained work station. Chop vegetables or mix a salad on the tray, and crumbs and drips stay inside the rim instead of spreading across the counter. When dinner is ready, the tray lifts away and the counter underneath is already clean.
The Coffee and Breakfast Zone: Ideas 4–6
Morning routines are the biggest source of counter creep, because coffee, tea, toast, and breakfast dishes all happen in the same twenty minutes. Give them one contained zone — a corner or one end of a counter run. For more small-kitchen ideas, see the small-apartment kitchen storage ideas guide.
4. Build a Coffee Station on a Tray
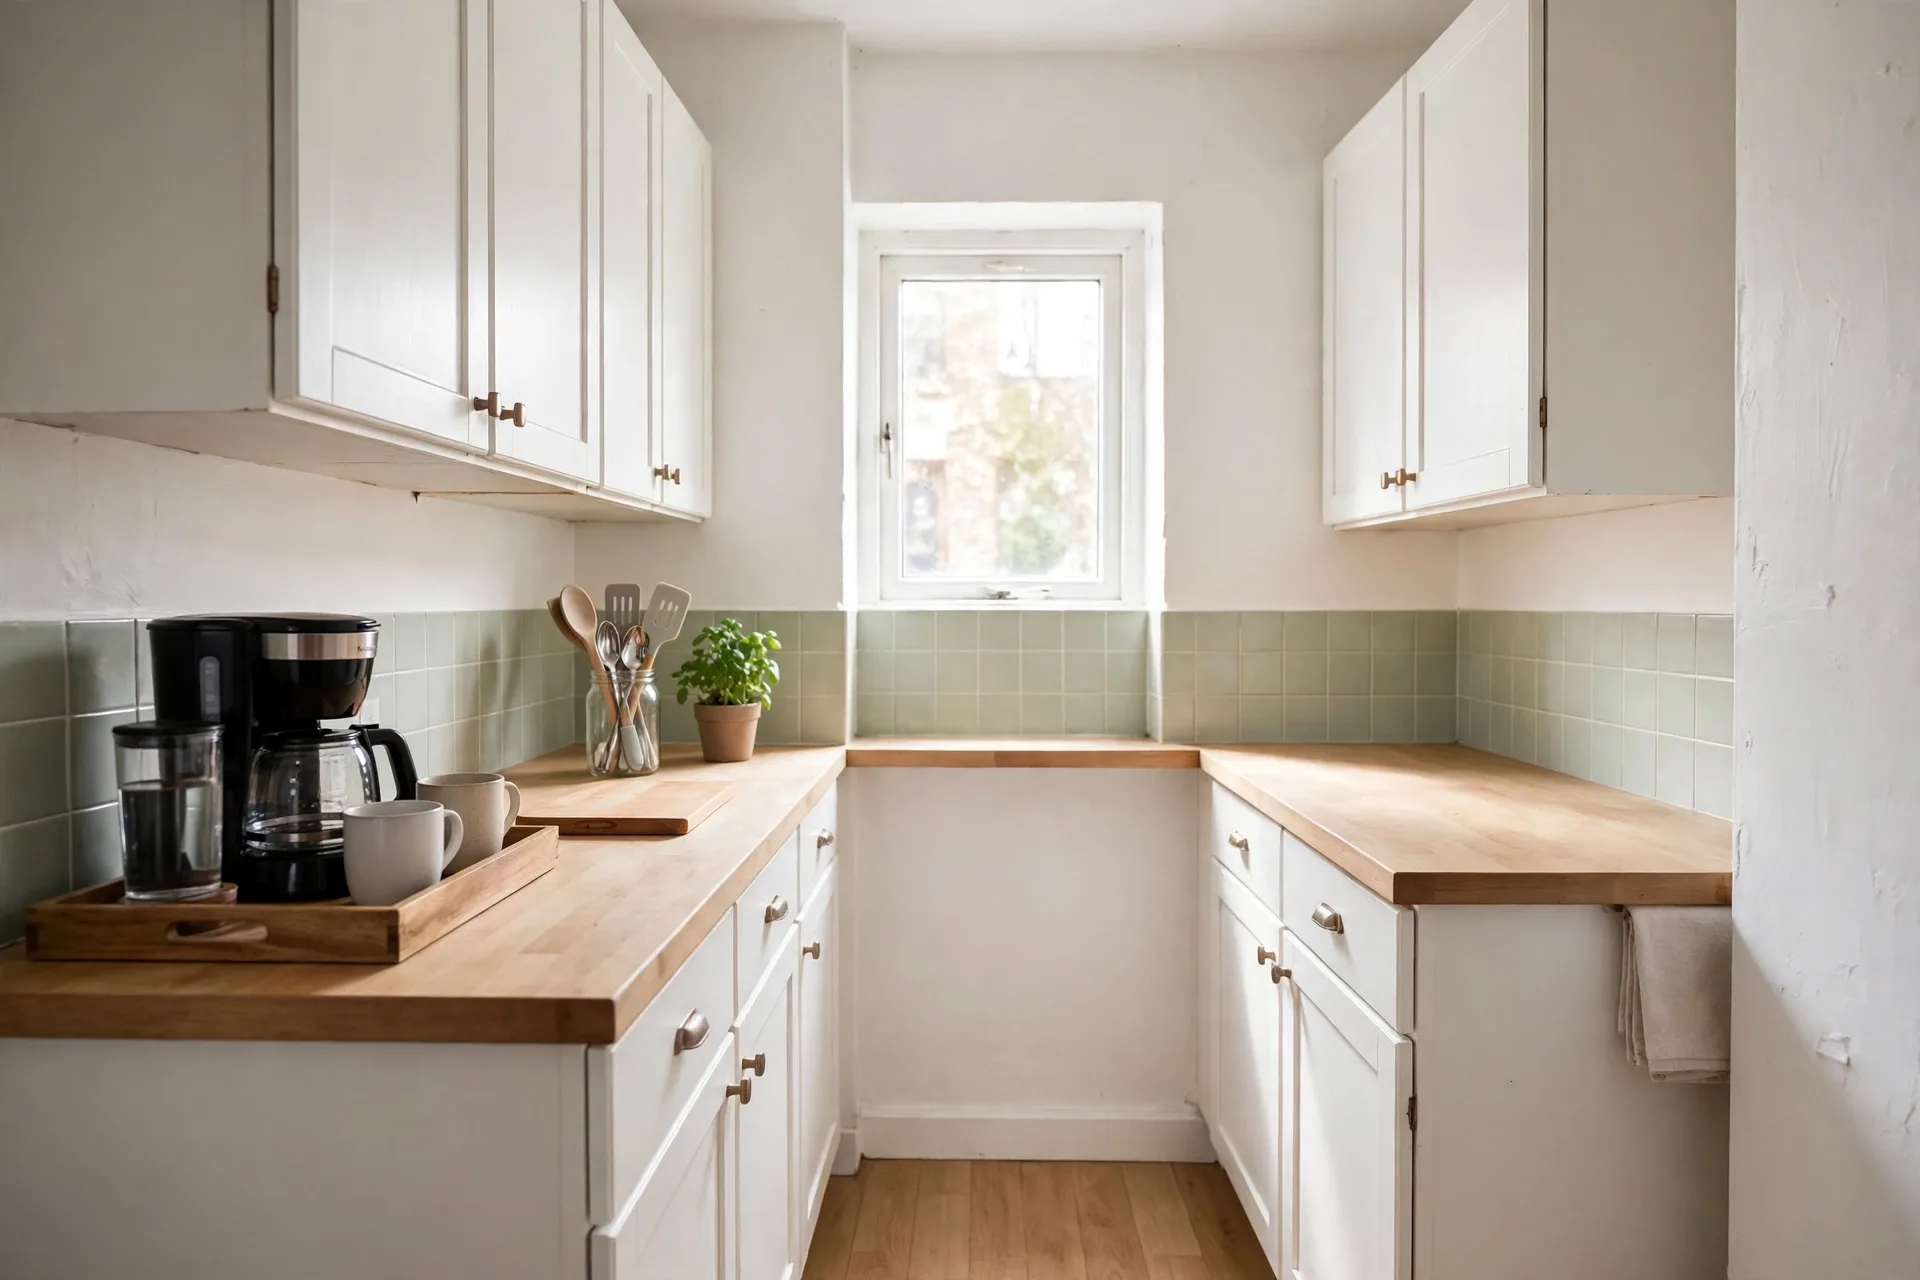
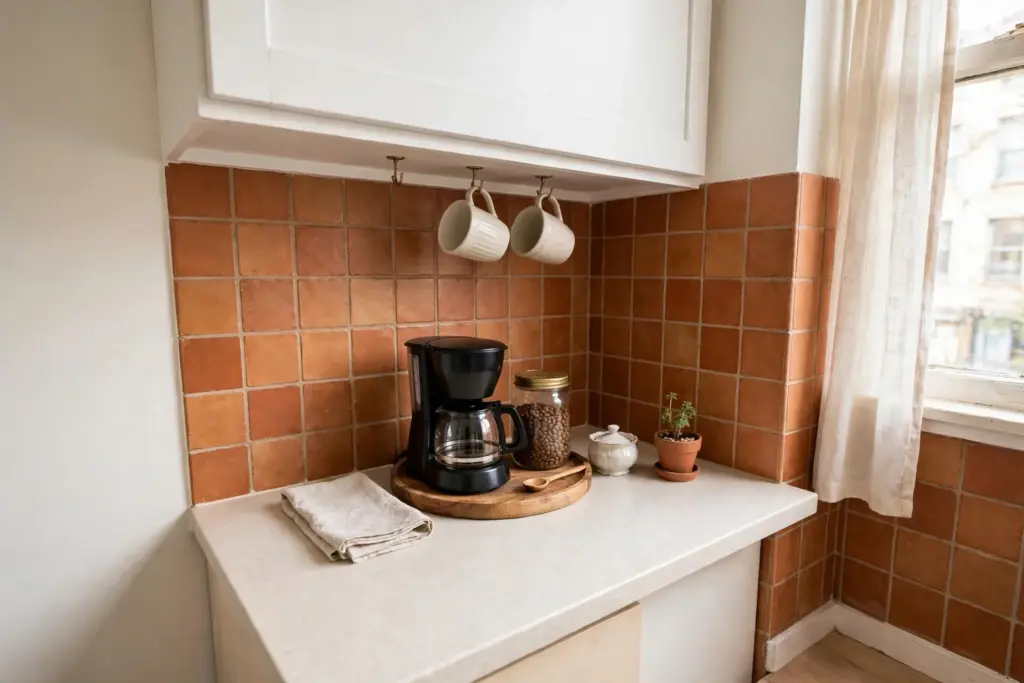
Put the coffee maker, mugs, sugar, and spoons on a single tray and the whole morning routine stays inside one rectangle. The tray catches drips, defines coffee’s space, and slides aside when the counter is needed for cooking. Size it to the coffee maker plus two mugs.
5. Hang Mugs on Hooks Instead of Stacking Them
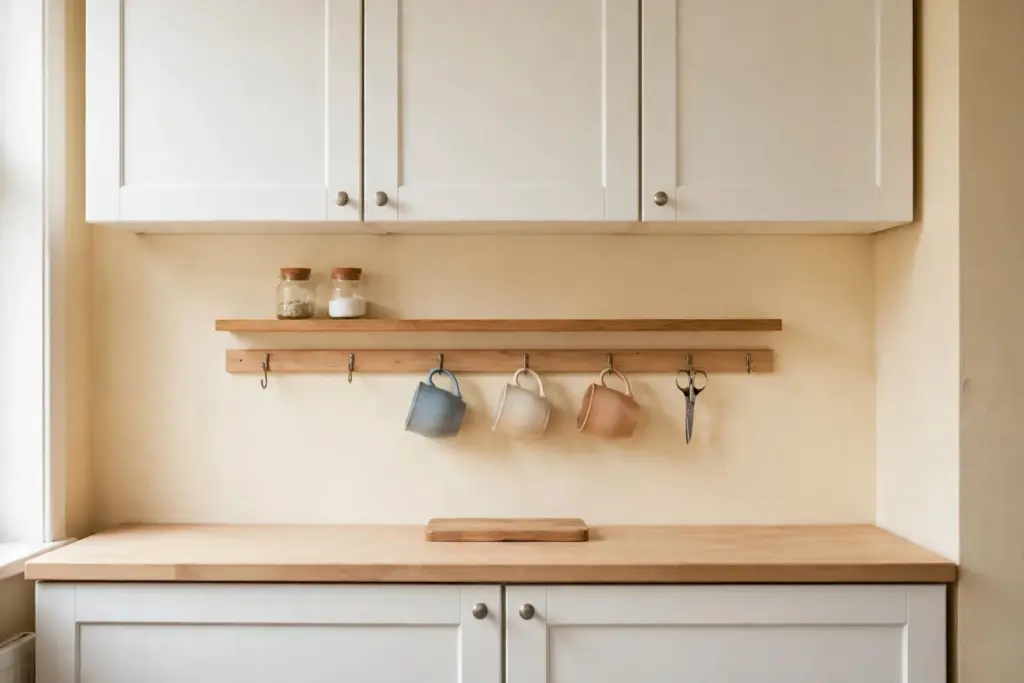
Mugs take up surprising counter space when they sit in a row, and stacking them chips rims and wastes the space under the upper cabinets. A removable adhesive hook rail under a cabinet holds four to six mugs in the air, where they are easy to grab and easy to see. Check the weight rating on the hooks before loading them.
6. Keep Breakfast Supplies in One Basket
Tea bags, oatmeal packets, honey, and jam jars scattered across a counter look messy even when each item is small. Corral them in one open basket that lives in the coffee zone, and breakfast becomes a one-motion job: pull out the basket, make breakfast, put it back. Keep only breakfast items in it.
The Sink Zone: Ideas 7–9
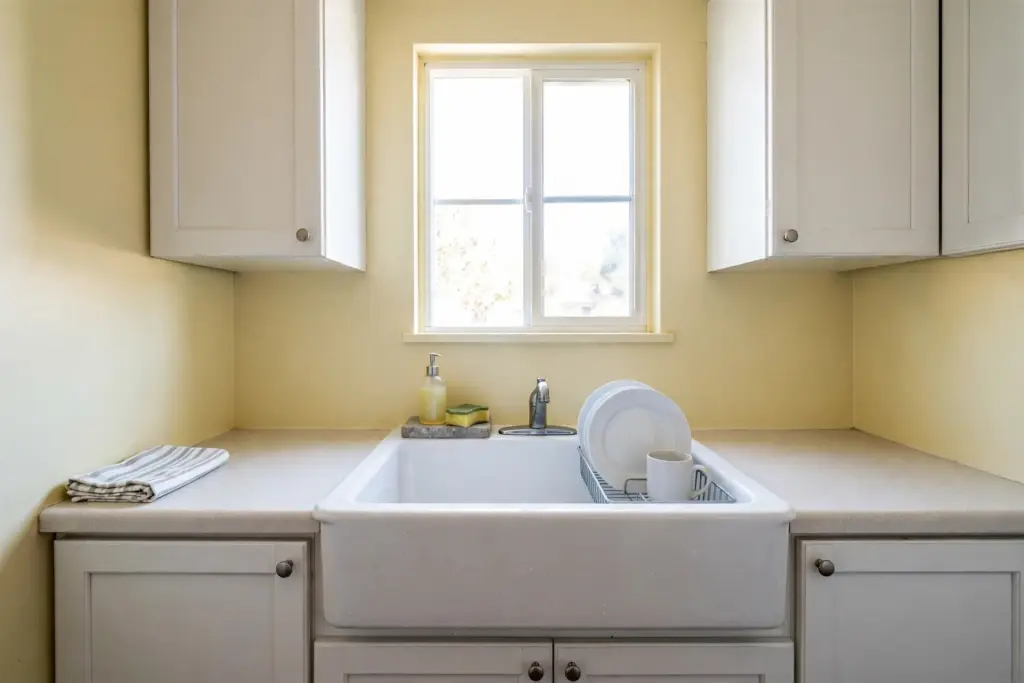
The sink zone collects more clutter than any other spot: drying dishes, soap, sponges, and the cutting board that was rinsed “for a second” and stayed all day. Give everything wet a defined home, and keep the counters on either side clear.
7. Use a Dish Rack That Fits Inside the Sink
A dish rack that sits over or inside the sink keeps drying dishes off the counter entirely. An over-sink or in-sink rack holds dishes while water drains into the sink, and folds away when needed. If the sink is too small, use the smallest rack that holds one meal’s dishes and empty it nightly. For more on keeping food zones tidy, the small-apartment pantry ideas guide covers overflow storage that keeps counters clear.
8. Put Soap and Sponges on a Stone Tray
Soap dispensers and sponges left loose on the counter leave rings, puddles, and a damp patch that never quite dries. A small stone or ceramic tray under them catches drips, keeps the bottles upright, and can be rinsed in the sink in seconds. Choose a tray with a raised edge.
9. Wash the Counter After Raw Food, Every Time
Food safety is part of counter organization, not a separate chore. FoodSafety.gov advises washing cutting boards, dishes, utensils, and countertops with hot, soapy water after each use, especially after they have held raw meat, poultry, seafood, or eggs, and never thawing or marinating food on the counter. See the full guidance on FoodSafety.gov’s four steps to food safety.
The Stove Corner: Ideas 10–12
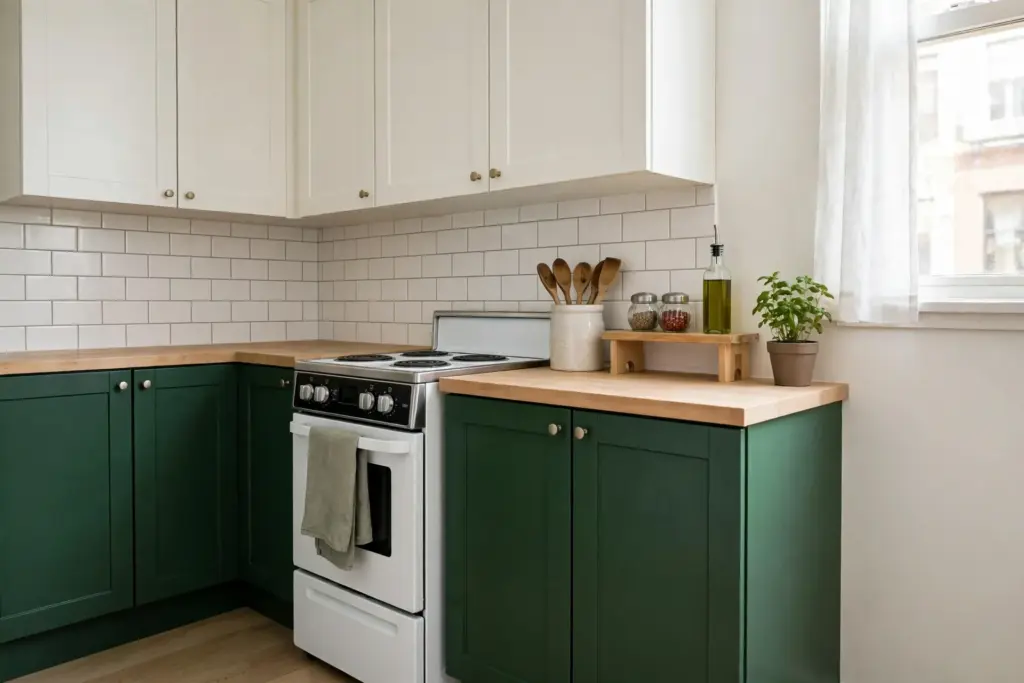
The stove corner is the hottest and busiest spot in the kitchen, so it needs the fewest items and the clearest rules. Only the things used while cooking belong here.
10. Keep One Utensil Crock by the Stove
A single crock of cooking utensils beside the stove means no more crossing the kitchen with a dripping spoon. Keep it to the tools used during cooking: a wooden spoon, a spatula, tongs, and a ladle. If the crock is full, something in it is not earning its place.
11. Raise Spices on a Small Riser
A narrow wooden riser or a small two-tier shelf beside the stove lifts everyday spices into view without spreading them across the counter. Keep five to eight spices on it — salt, pepper, and the seasonings used most — and store the rest in a cabinet. Keep the riser a few inches from the burners so heat and steam do not reach the jars.
12. Corral Oils and Sauces on a Turntable
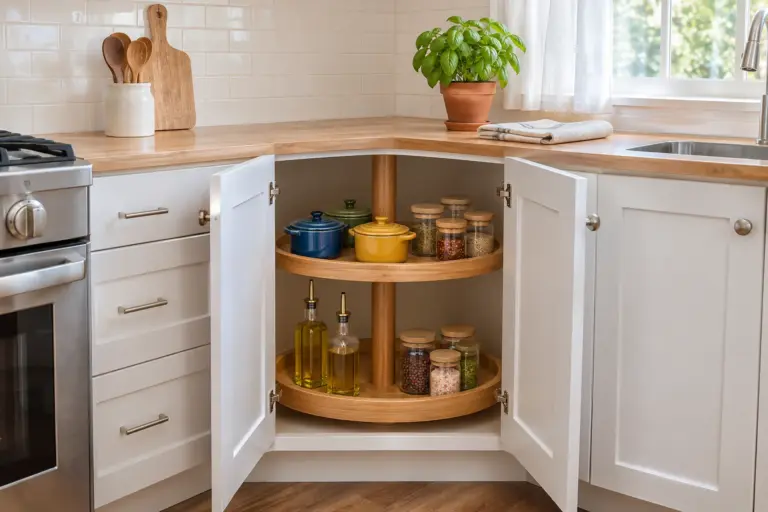
Cooking oil, vinegar, soy sauce, and hot sauce bottles multiply quietly until they cover a whole corner. A small turntable or a narrow tray holds them in one group that spins out as a unit, so every bottle is easy to reach. Keep only weekly-use bottles; the rest belong in a cabinet or the refrigerator.
The Landing Strip: Idea 13
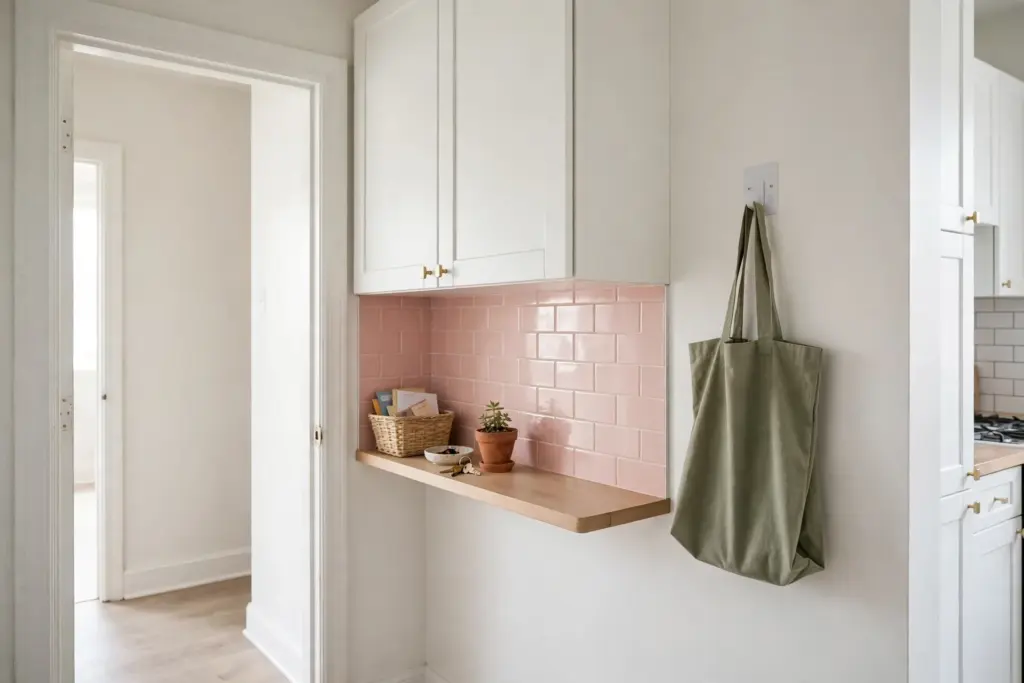
Every kitchen has a spot where things land the moment someone walks in: keys, mail, a bag, a phone. If that spot is the kitchen counter, the clutter spreads from there across the whole kitchen.
13. Claim One Small Spot for Keys, Mail, and Bags
Choose the smallest useful stretch of counter — ideally the end nearest the door — and make it the landing strip. A shallow basket for mail, a tiny dish for keys, and one removable adhesive hook on the wall for a tote bag are all it needs. The rule: when the basket is full, sort the mail, and nothing else joins the strip.
Appliance Rules: Idea 14
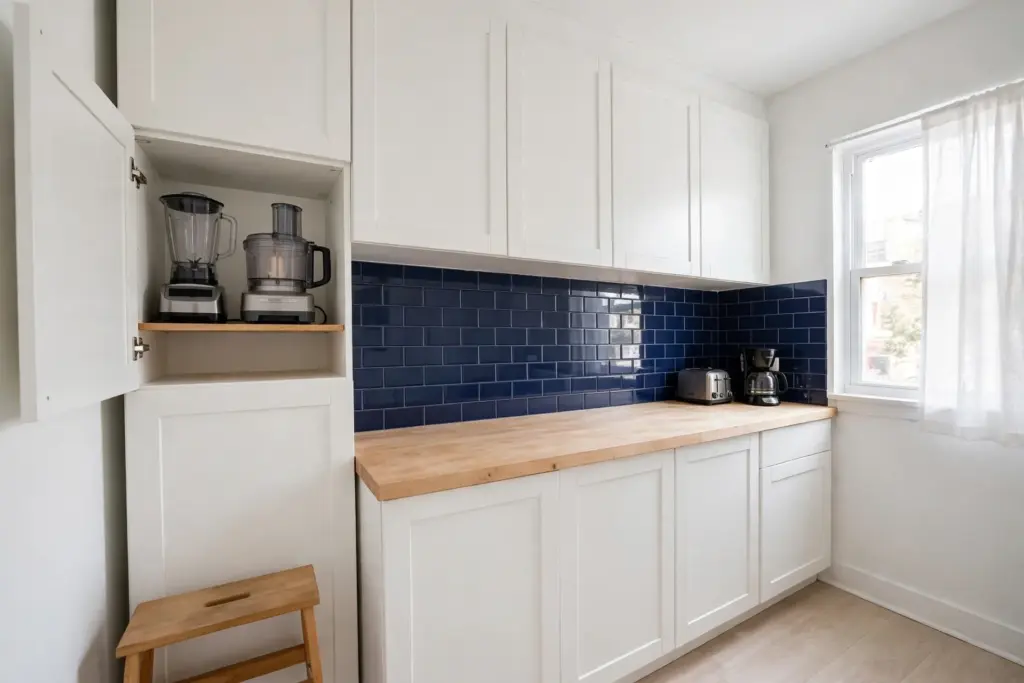
Appliances are the biggest counter hogs in a small kitchen because each one feels essential. The rule that works is simple: the counter holds the appliances used daily, and everything else lives in a cabinet.
14. Follow the One-In, One-Out Appliance Rule
Count the appliances on the counter right now. In most small kitchens, two earn their place — usually the coffee maker and the toaster. Move the blender, food processor, and slow cooker into a nearby cabinet, and bring each out only when needed. When a new appliance arrives, an old one leaves the counter. For more countertop inspiration, see HGTV’s 15 clever ways to organize a kitchen countertop. See also the rental kitchen makeover ideas guide.
The 2-Minute Nightly Reset: Idea 15
A system only stays organized if it is reset daily, and the reset has to be short enough to survive a tired evening. Two minutes is enough, because everything already has a home.
15. Run a 2-Minute Reset Every Night
Before bed, set a two-minute timer and work through the zones in order: clear the prep zone and wipe it, return the coffee station to its tray, empty the dish rack, put the sponge on its tray, and clear the landing strip of anything that is not mail or keys. Finish by wiping the largest clear stretch of counter so the kitchen starts the morning clean. Skip a night and the kitchen survives; skip a week and the zones need a full clear-out again. The nightly reset holds the other fourteen ideas together.
Frequently Asked Questions (FAQ)
What is the best way to start kitchen counter organization in a rental?
Start with a 15-minute clear-out: take everything off one stretch of counter, sort items into daily, weekly, and rarely used, and only put daily-use items back. Then assign each remaining item to a zone — prep, coffee, sink, stove, or landing strip — with trays, baskets, and removable hooks.
How many appliances should stay on a small kitchen counter?
Two daily-use appliances are a good limit for most small kitchens, usually the coffee maker and the toaster. Appliances used weekly or less, like a blender or food processor, work better stored in a nearby cabinet and brought out only when needed.
How do I keep kitchen counters clear without drilling holes?
Use trays and baskets to contain groups, adhesive hooks under cabinets for mugs, and a riser or turntable for spices and oils. Check the weight rating on any adhesive hook before loading it.
What should never live on a kitchen counter?
Mail, chargers, paperwork, and anything not used in the kitchen should not live on the counter, because they spread clutter into the cooking zones. Raw meat should never be thawed or marinated on the counter either — FoodSafety.gov advises thawing and marinating in the refrigerator instead.
Keep Reading
- Small Apartment Kitchen Storage Ideas — more renter-friendly ways to fit a small kitchen’s storage into cabinets, walls, and corners.
- Small Apartment Pantry Ideas — overflow food storage that keeps supplies off the counters.
- Rental Kitchen Makeover Ideas — deposit-safe upgrades to pair with a newly organized counter.