16 Renter-Friendly Bathroom Makeover Ideas Without Renovating
A dated rental bathroom can feel impossible to fix: the lease bans paint, drilling and anything permanent, yet the room still has to work every morning. If you are wondering how to make a rental bathroom look nice without renovating, a renter friendly bathroom makeover solves that by working only with layers — things that sit on top of the existing room, stick with removable adhesive, hang from tension, or simply stand on the floor. Nothing is plumbed in, nothing is screwed into tile, and everything here can come out on move-out day, leaving the bathroom exactly as found. Work through the zones in order, or pick the few ideas that target what bothers you most.
Before You Start: Three Lease-Safe Rules
First, read the bathroom clauses of the lease. Most leases ban permanent changes but say nothing about freestanding furniture, tension fittings or removable adhesive products; anything involving plumbing, electrical work or wall fixings needs written permission. Second, take dated photos of the floor, walls, grout and fixtures before changing anything — the same habit that protects a deposit across the whole apartment, as the renter-friendly decorating rules explain. Third, respect moisture: every product must be rated for humid conditions, and ventilation matters — the EPA’s guide to mold and moisture is clear that controlling moisture is the key to preventing mold, so run the fan after showers and never seal damp surfaces behind coverings.
Floors, Walls and the Big Surfaces
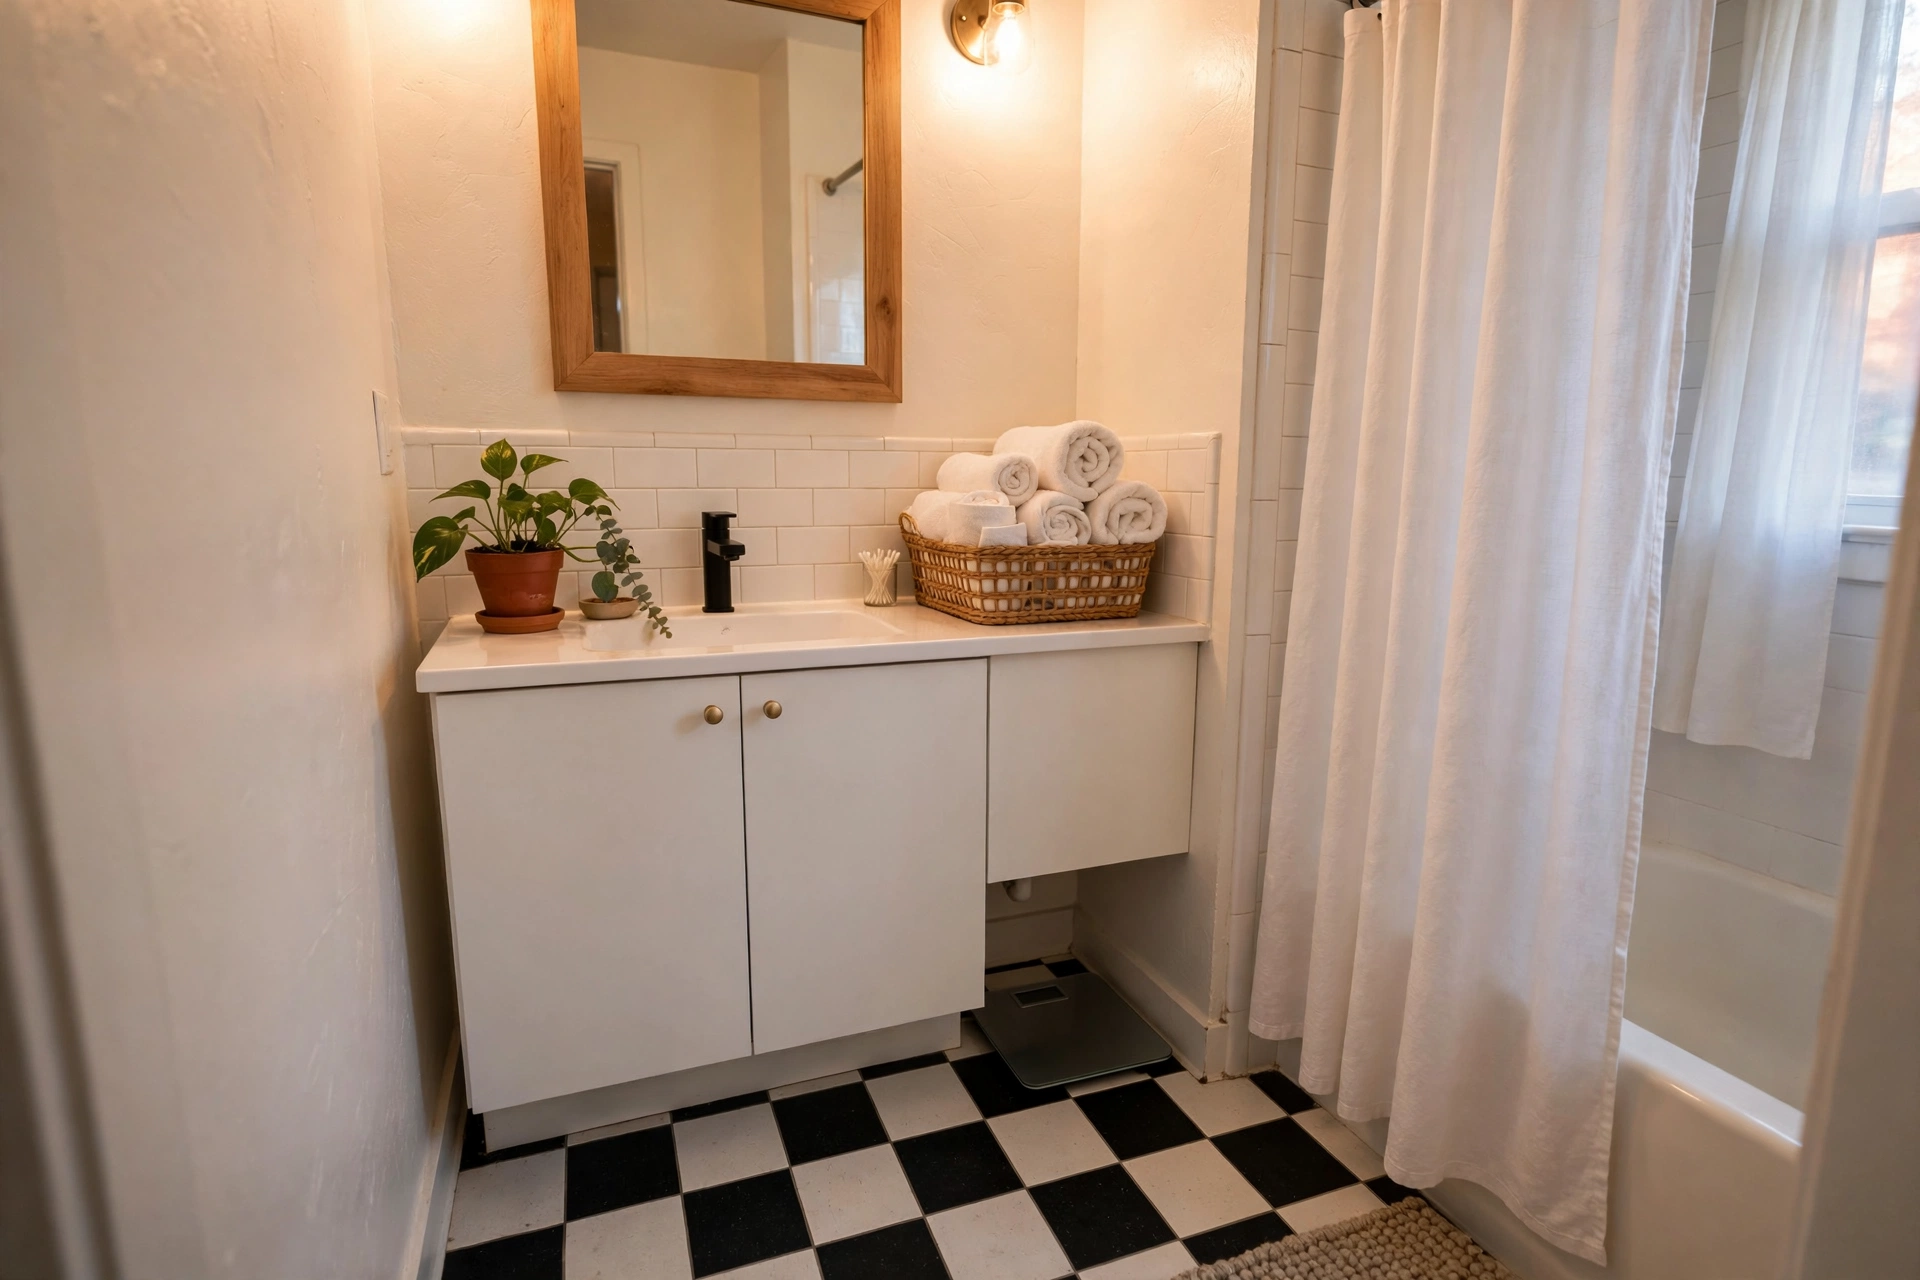
1. Cover the floor with peel-and-stick tiles
The floor sets the tone of the room, and rental bathroom floors are often the most dated surface in the apartment. Peel-and-stick vinyl tiles go straight over a clean, dry, smooth existing floor and lift again at move-out. A bold checker pattern hides a multitude of sins; a quiet stone look suits a calmer scheme. Cut tiles with a utility knife, work from the center outward, and keep one spare tile in case a corner lifts. If the floor is heavily textured, a vinyl floor cloth — a printed rug with a waterproof surface — gives a similar result with zero adhesive.
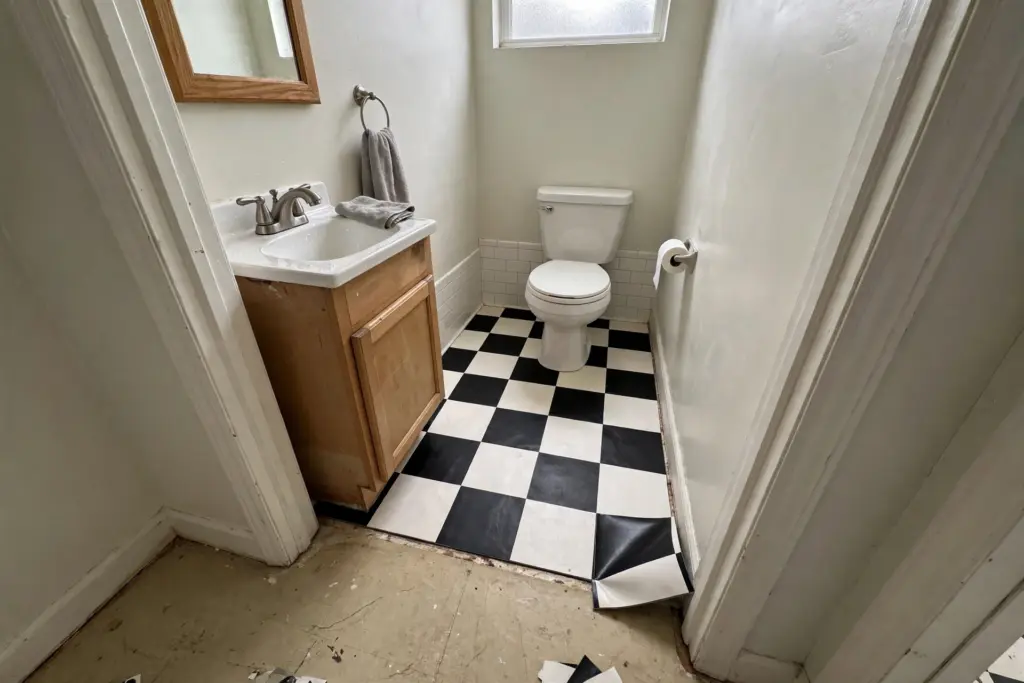
Peel-and-stick floor tiles cover a dated floor in an afternoon and lift cleanly at move-out.
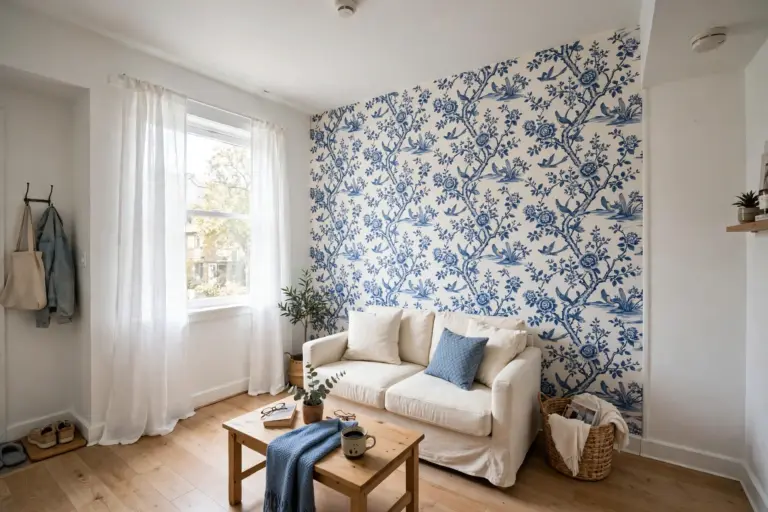
2. Put removable wallpaper on one dry wall
One patterned wall behind the vanity transforms a plain box into a designed room. Keep the paper on a dry wall — behind the sink, never inside the shower or above the tub splash zone — and choose a vinyl-faced removable paper that tolerates humidity. The full method is covered in the guide to peel-and-stick wallpaper for renters; the short version is to test one panel first and keep the room ventilated while it settles.
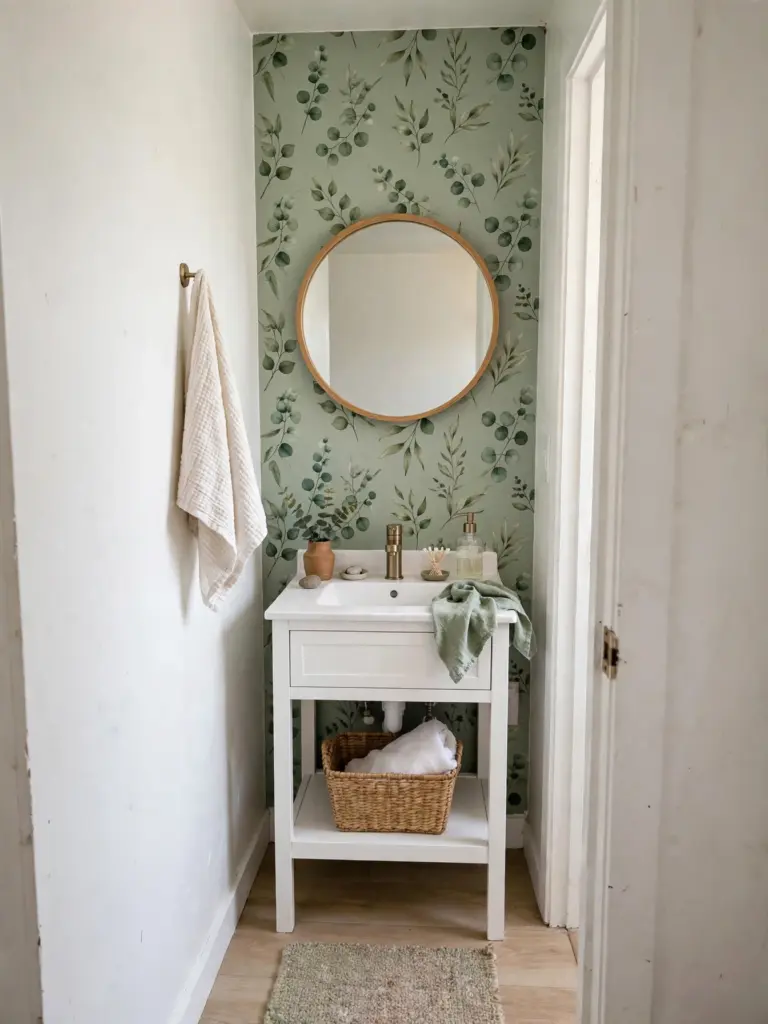
Removable wallpaper belongs on one dry wall, where it makes the vanity zone feel intentional.
3. Add a peel-and-stick backsplash behind the sink
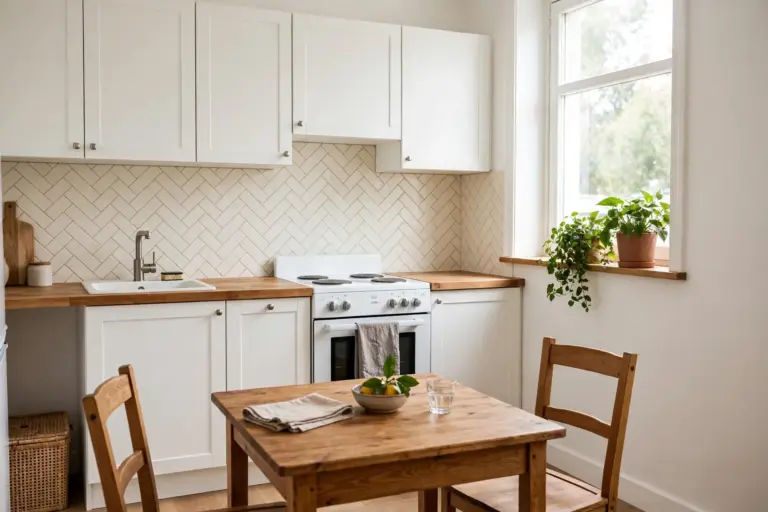
Many rental sinks sit against bare painted wall that soaks up every splash. Peel-and-stick tile panels behind the faucet add a wipeable surface that reads as real tile from a normal distance. Subway layouts are the most forgiving because the pattern hides small alignment slips. Keep panels out of direct shower spray, press edges down firmly, and the same trick that refreshes a kitchen in the rental kitchen makeover ideas works just as well here, at a fraction of the area.
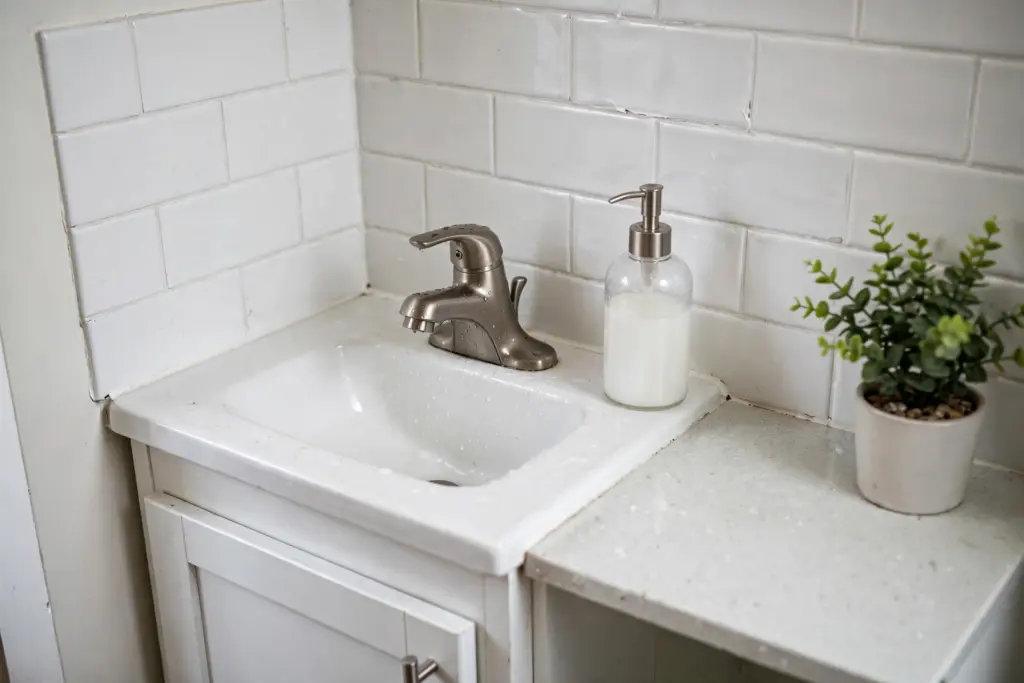
A stick-on backsplash protects the wall behind the faucet and makes the sink zone look finished.
The Vanity and Mirror Zone
4. Frame the builder-grade mirror
A frameless sheet mirror is the clearest signal of a basic rental bathroom. Adhesive frame strips made for mirrors, or a lightweight framed mirror hung from removable hooks rated for the weight, give the vanity a focal point in minutes. Warm wood suits most schemes and repeats well in baskets and trays. Measure the glass, not the wall. If the mirror is a medicine cabinet, frame only the door’s outer edge so it still opens freely.
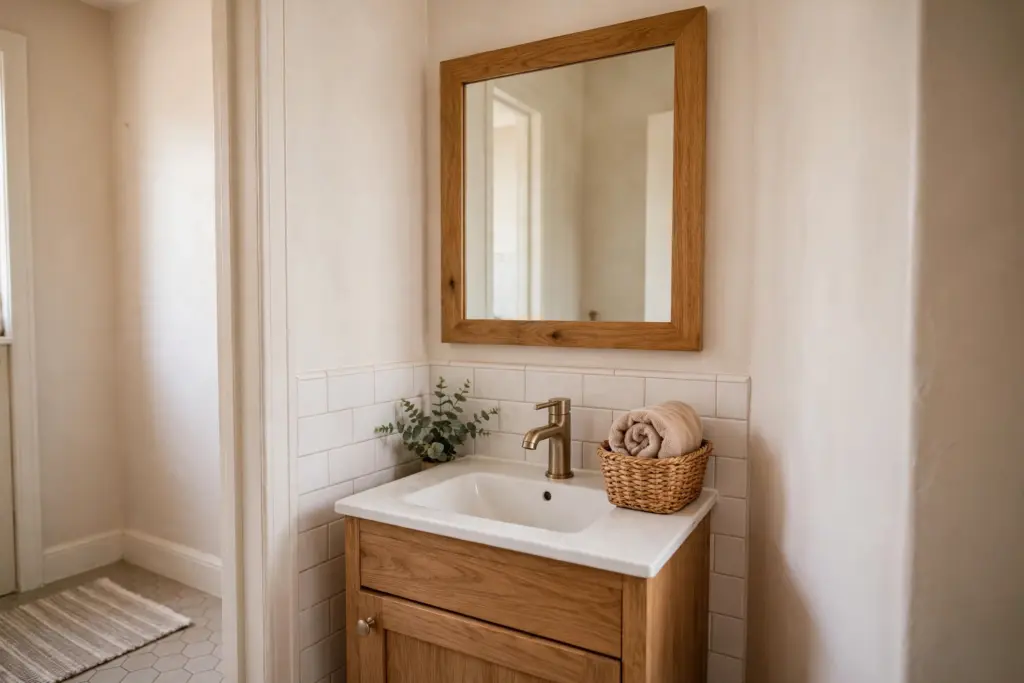
A frame turns the standard-issue mirror into the room’s focal point — no new holes required.
5. Swap the cabinet knobs — and keep the originals
Knobs are one of the few fittings a renter can usually change without touching plumbing: most unscrew by hand or with one screwdriver. Swap dated knobs for a single repeated finish — brushed brass and matte black hide water spots better than chrome. Bag and label the originals; they go back on at move-out. If a knob is seized or the lease is strict about fixtures, skip this one and get the same effect from the tray below.
6. Corral the counter on one tray
A small counter looks cluttered fast. One shallow tray holding matching refillable dispensers and a small plant instantly reads as styled rather than stored. Decanting products into amber or white dispensers removes the visual noise of mixed labels, and a tray lifts off in one move for cleaning. Keep it narrow enough that the sink stays fully usable, and choose a material — sealed wood, resin, metal — that tolerates a damp surface.
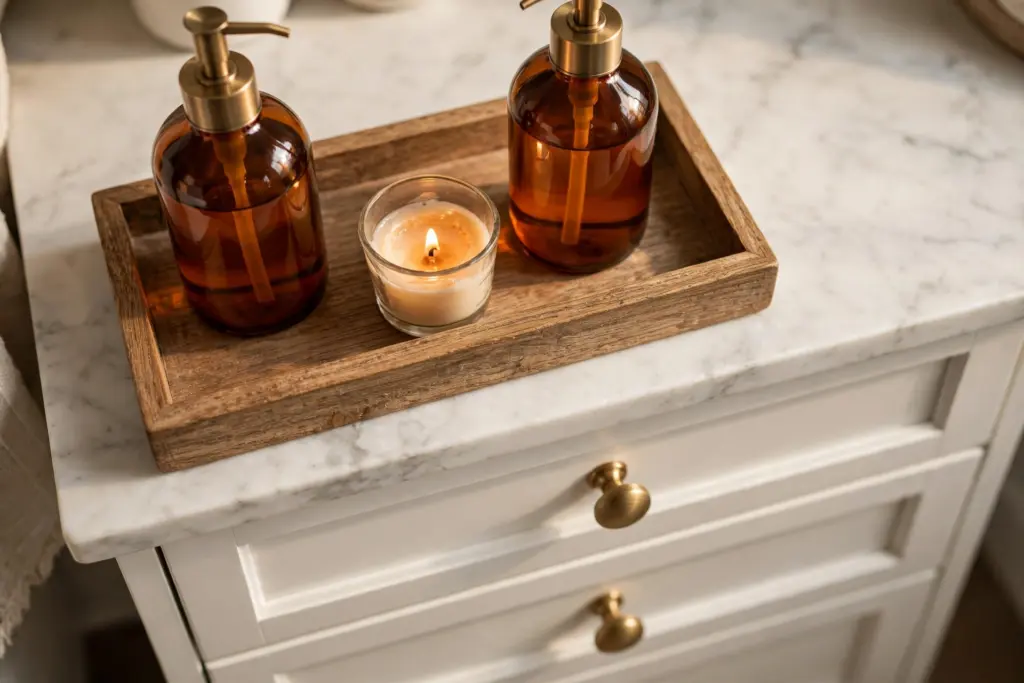
One tray, matching dispensers and a repeated metal finish make a small counter look deliberate.
The Shower and Tub Zone
7. Trade the plastic curtain for a fabric one
The shower curtain is the largest textile in the room, and a fabric curtain in linen-look cotton or a waffle weave upgrades the whole space for very little money. Hang it from a tension rod if the existing rod is tired, keep a washable liner behind it, and wash both regularly. A slightly longer curtain that just clears the floor looks more tailored than a short one.
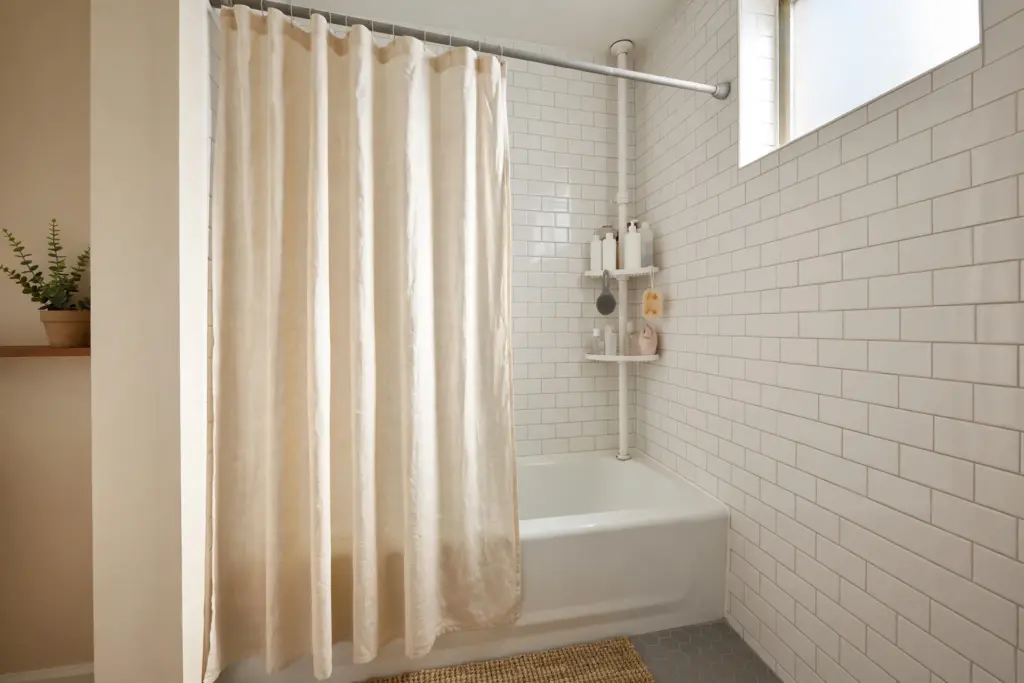
A fabric curtain and a tension-pole caddy organize the tub zone without a single screw.
8. Use a tension-pole caddy instead of drilling
Bottles lined up on the tub edge look messy and fall constantly. A tension-pole caddy wedges between the tub and the ceiling and holds shelves at useful heights; a good hanging caddy over the shower head is the smaller-budget alternative. Follow the manufacturer’s height and weight guidance, check the pole’s tension after the first week, and keep the heaviest bottles on the lowest shelf.
9. Add adhesive storage inside the shower — carefully
Bathroom-rated adhesive shelves can work on smooth tile and glass, but they are the least forgiving idea here: surfaces must be clean, dry and smooth, the adhesive needs its full curing time before loading, and the stated weight limit is a ceiling, not a target. On textured tile, painted walls or failing grout, skip adhesive fittings and rely on the caddy and the over-toilet shelf instead. Used within their limits they keep items off the tub rim; pushed past them, they fall — usually at 3 a.m.
Light and Storage That Earn Their Space
10. Add a battery or plug-in light bar above the mirror
Harsh ceiling light is why rental bathrooms feel institutional. A rechargeable LED light bar mounted above the mirror with removable adhesive pads adds warm, face-level light without any wiring. Warm-white light in the 2700–3000K range flatters skin, and ENERGY STAR’s LED guidance notes that LEDs use light far more efficiently than incandescent bulbs, so a small bar costs very little to run. For a wider plan, borrow from these renter-friendly lighting ideas.
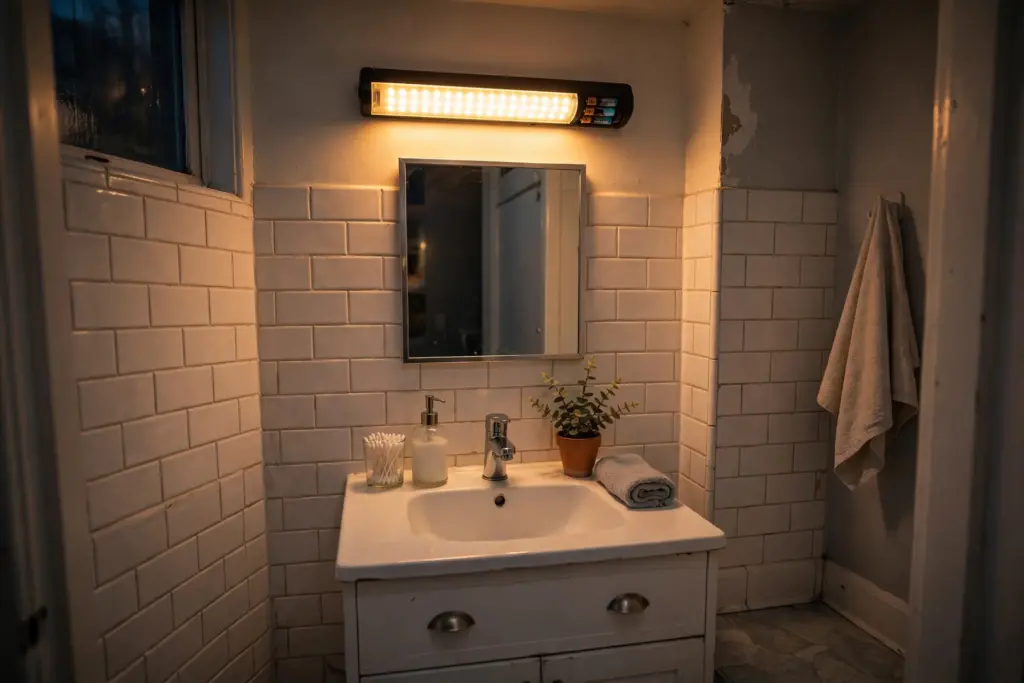
Face-level warm light from a stick-on LED bar fixes the harshest thing about most rental bathrooms.
11. Stand a slim shelf over the toilet
The wall above the toilet is usually the only unused storage volume in a small bathroom. A freestanding over-toilet shelf needs no fixings at all — it stands on the floor and bridges the tank. Measure the tank height and flush clearance before buying, keep heavy items low, and use baskets so small bottles stay grouped. This is the backbone of most small bathroom storage ideas for renters, because it adds a cupboard’s worth of space with zero installation.
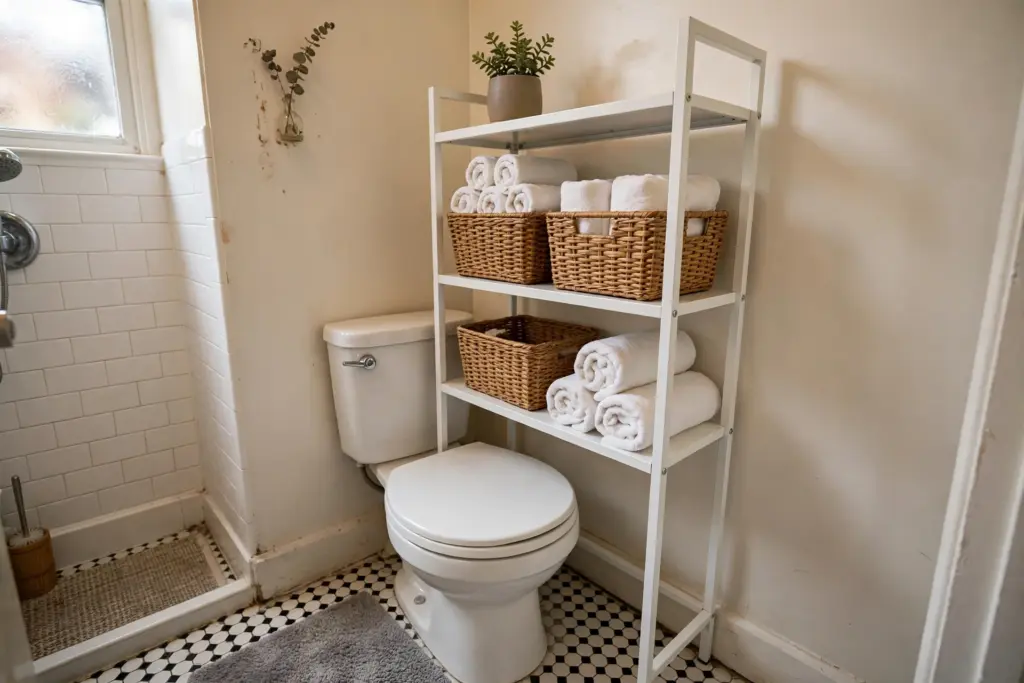
An over-toilet shelf adds closed-looking storage where the room previously had none.
12. Roll a narrow cart into the gap
Most small vanities leave a gap of a few inches beside the cabinet. A slim rolling cart sized to that gap swallows spare toilet rolls, cleaning supplies and hair tools, then slides out only when needed. Measure the gap at its narrowest point — baseboards steal more space than expected — and pick a cart with a handle so it moves without tipping.
13. Match the containers, roll the towels
Open storage only looks tidy when the containers agree with each other. Pick one basket material and one towel color family, roll towels instead of folding them (rolls stack neatly and show a clean spiral), and decant cotton swabs and pads into lidded jars. It is the cheapest idea in this entire renter friendly bathroom makeover, and it is the one that makes guests assume the room was professionally styled.
Finishing Touches That Pull It Together
14. Lay a washable runner instead of a small mat
A small bath mat floating in the middle of a cold floor looks accidental. A washable runner that spans the vanity length grounds the room, covers more of a tired floor, and adds the strongest block of color in the space. Choose a low-pile runner with a non-slip backing, and wash it on the same rhythm as the towels.
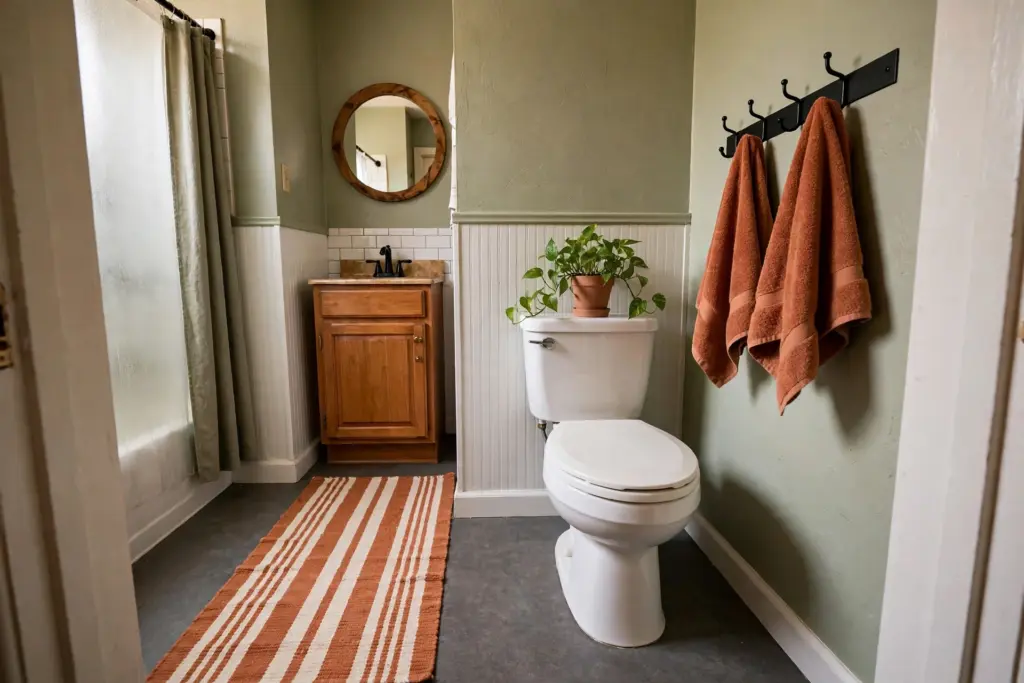
A runner plus one repeated towel color ties the whole room together for the price of a takeaway dinner.
15. Hang art and hooks with bathroom-rated adhesive
One framed print above the toilet finishes the room. Use moisture-resistant adhesive strips rated for bathroom use and for the frame’s weight, and keep paper art behind glass or acrylic so humidity cannot ripple it. Over-door hooks add towel space with no adhesive at all — often the better choice in a steamy room with no fan.
16. Finish with one plant that suits the room
A plant softens all the hard, wipe-clean surfaces in a bathroom. In a room with a window, humidity-tolerant plants such as pothos suit the conditions; in a windowless bathroom, a good faux stem in a real ceramic pot gives the same effect with no care at all. Keep pots on the tray, shelf or tank — never balanced on the tub edge — and the room is done.
FAQ: Renter-Friendly Bathroom Makeover Questions, Answered
What is the cheapest way to start a rental bathroom makeover?
Start with textiles and containers: a fabric shower curtain, a washable runner, matching towels and one tray with dispensers. Together they change the color and order of the room for a modest budget, and none of them touches a wall, a pipe or a fixture.
Will peel-and-stick products damage the bathroom at move-out?
Products designed to be removable, used on the surfaces they are rated for and removed slowly according to their instructions, are made to come away cleanly. Problems start when they are used on damaged paint, fresh paint, textured surfaces or inside direct shower spray — which is why testing one panel or tile in a hidden spot first is always the safe move.
Can a renter change a bathroom faucet or shower head?
That counts as plumbing, and most leases require written permission for it — some landlords agree readily, especially if the original fitting is kept and reinstalled at move-out, but it should never be assumed. Every idea in this renter friendly bathroom makeover avoids plumbing entirely, so the room can be transformed without opening that conversation at all.
How do you keep a small rental bathroom from feeling cluttered after a makeover?
Give everything a container and a home: bottles on the caddy or in the cart, daily items on the tray, towels rolled on the shelf. The discipline is one item in, one item out — plus a five-minute weekly reset of the counter.