Cheap Kitchen Organization DIY Ideas for Renters
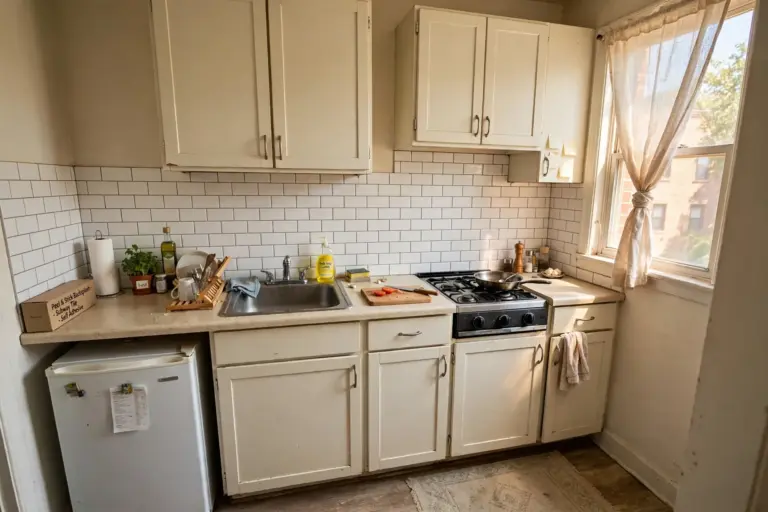
A cramped rental kitchen does not need a big budget to feel organized. With cheap kitchen organization diy ideas, a few dollars of supplies — and often just things you already own — can turn cluttered counters, jammed drawers and chaotic cabinets into a kitchen that actually works. Every idea below is renter-safe: no drilling, no permanent changes, nothing a landlord could flag at move-out, and everything comes down or moves with you when you leave.
Before You Start: 3 Cheap Kitchen Organization DIY Ground Rules
First, measure before you buy or build anything — cabinet interiors, drawer depths and the gap under your sink are all smaller than they look, and a divider that does not fit is wasted money. Second, check your lease: most leases ban drilling and permanent adhesive, but removable hooks and tension rods are almost always fine. When in doubt, ask your landlord in writing. Third, empty the spot before you organize it: pull everything out, wipe the surface, toss expired items, and only then put back what you actually use. For a bigger-picture plan, the guide to small apartment storage ideas shows how the kitchen fits into a whole-home system.
1. Turn Tension Rods Into Vertical Dividers for Baking Sheets
Baking sheets, cutting boards and cooling racks are the worst cabinet clutter in a small kitchen because they lie flat, slide around and bury each other. Two tension rods fix that for very little money: stand them upright inside a wide cabinet, a few inches apart, and slide your trays and boards between them like files in a drawer. The rods press against the cabinet walls, so there is no drilling, no screws and nothing to patch later. Measure the cabinet height first and choose rods that extend a little beyond it — a rod that is too short will not hold tension and will slip.
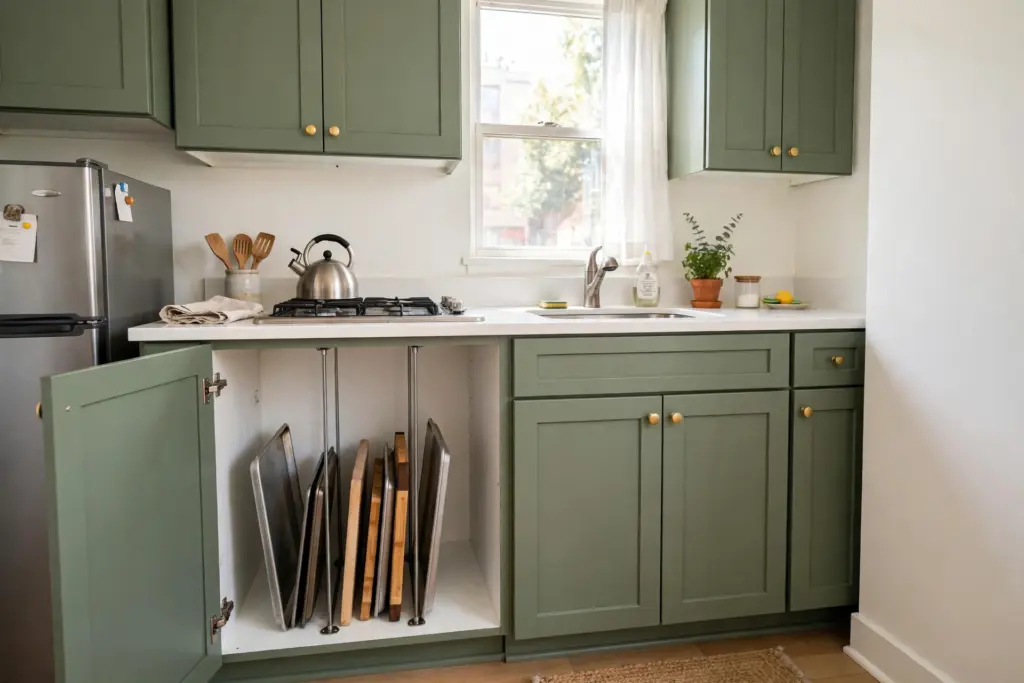
Tension rods turn a wide cabinet into vertical file storage for trays and boards — no drilling needed.
2. Make Drawer Dividers From Cardboard Boxes You Already Own
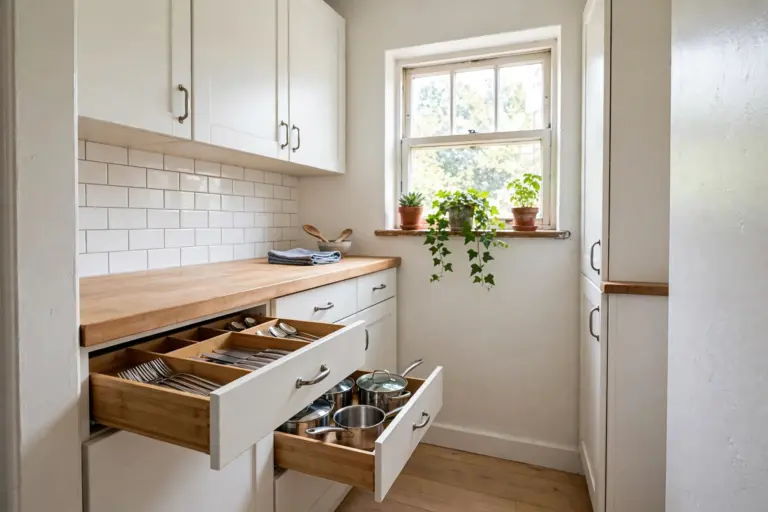
Kitchen drawers turn into junk drawers because everything migrates. Before buying a divider set, look in your recycling: cereal boxes, cracker boxes and small shipping boxes cut to size make perfectly good drawer dividers, and they cost nothing. Cut the boxes down to the height of your drawer, wrap them in contact paper if you want them to look tidy, and arrange them into compartments for utensils, wraps and gadgets. Measure the drawer first and cut each divider a fraction short so the drawer still slides freely, and line the bottom with a non-slip shelf liner to keep the boxes from sliding.
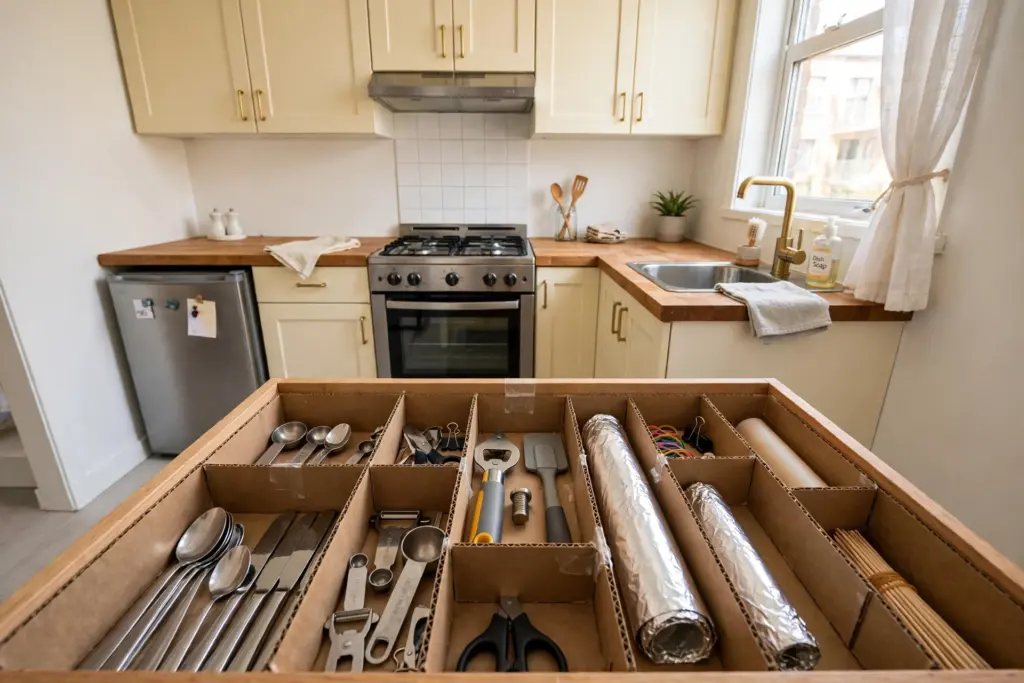
Cereal and cracker boxes, cut to size, make free drawer dividers that keep utensils from migrating.
3. Hang Over-Door Hooks and Baskets Inside Cabinet Doors
The inside of a cabinet door is free storage space most renters never use. Over-the-door hooks and small wire baskets hook over the top edge of the door — no screws, no adhesive, no holes — and instantly hold measuring cups, pot lids, cleaning cloths or cutting boards. Choose hooks sized to your door thickness so they sit flat and the door still closes fully, and test the fit before you load them up: close the door slowly and check that nothing catches on the shelf inside. Keep the weight light — a few measuring cups or a small basket of cloths, not a stack of heavy lids. For the trickiest cabinet of all, see the guide to under-sink storage ideas for renters, which covers the pipe-clearance rules that matter there.
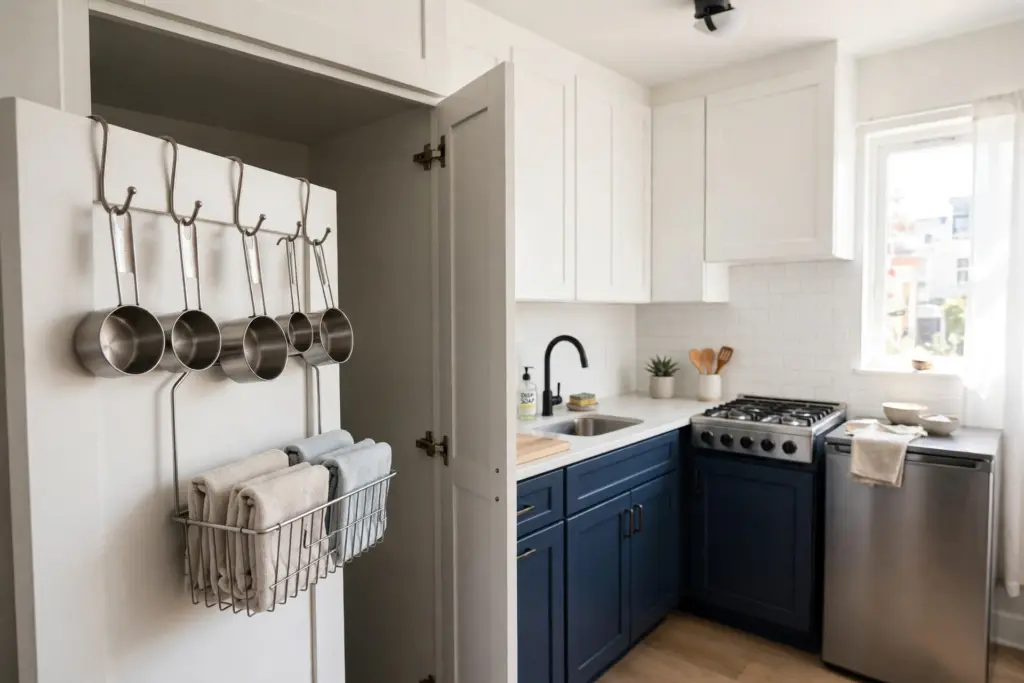
Over-door hooks use the wasted space inside cabinet doors — they lift off in seconds at move-out.
4. Stick Magnetic Spice Jars on the Fridge Side
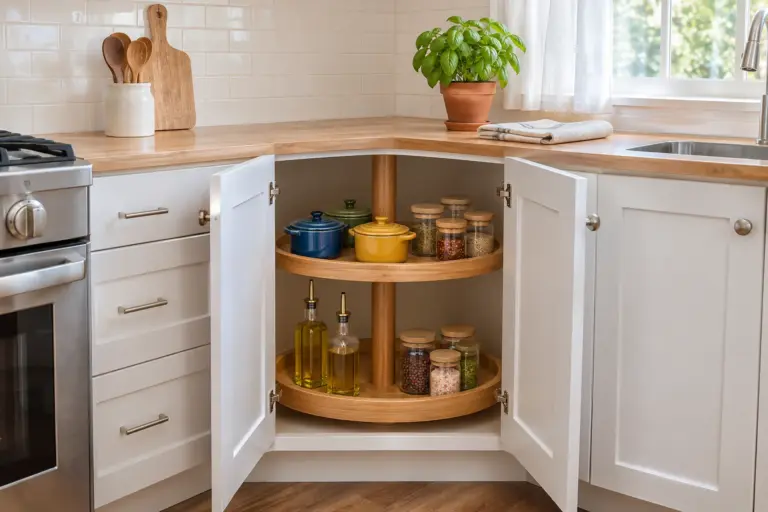
Spices are small, numerous and impossible to find when they live at the back of a cabinet. Small magnetic spice jars on the side of the fridge solve the problem without taking a single inch of counter or shelf space. Fill the jars, label them clearly, and line them up where you can see every label at a glance while you cook. Use jars with strong magnets and keep them low enough to reach easily — the middle of the fridge side is usually the sweet spot. If your fridge is not magnetic or the side is hidden, the same jars stick to a magnetic strip mounted with removable adhesive on a wall or the side of a cabinet. For more ways to tame the collection, see the guide to spice storage ideas for small kitchens.
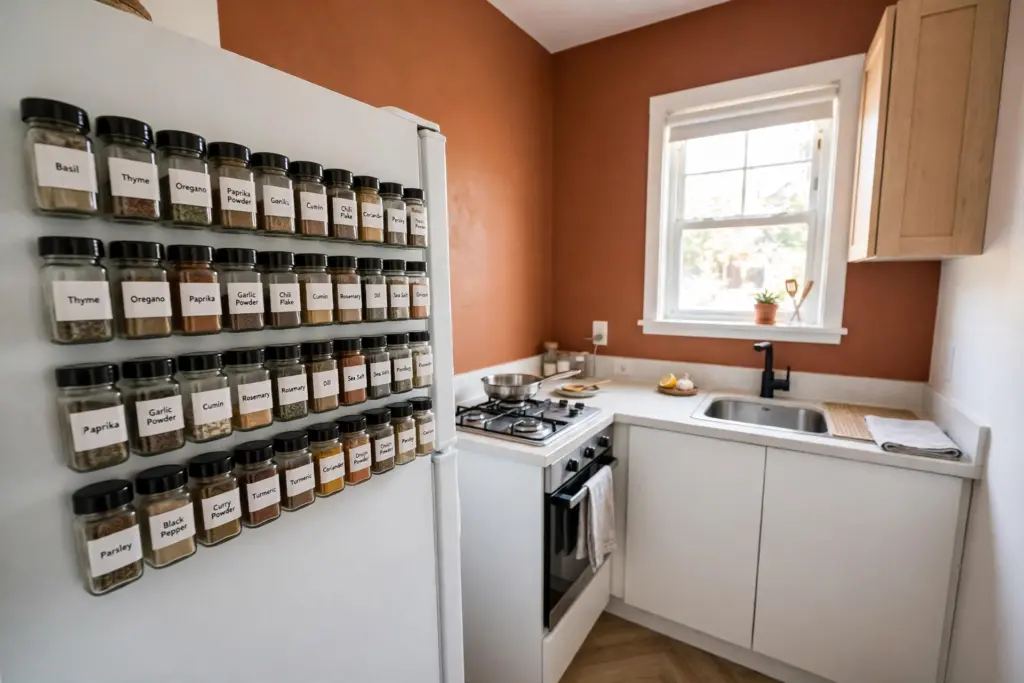
Magnetic spice jars on the fridge side free up cabinet space and keep every label visible while you cook.
5. Decant Pantry Staples Into Labeled Jars You Already Have
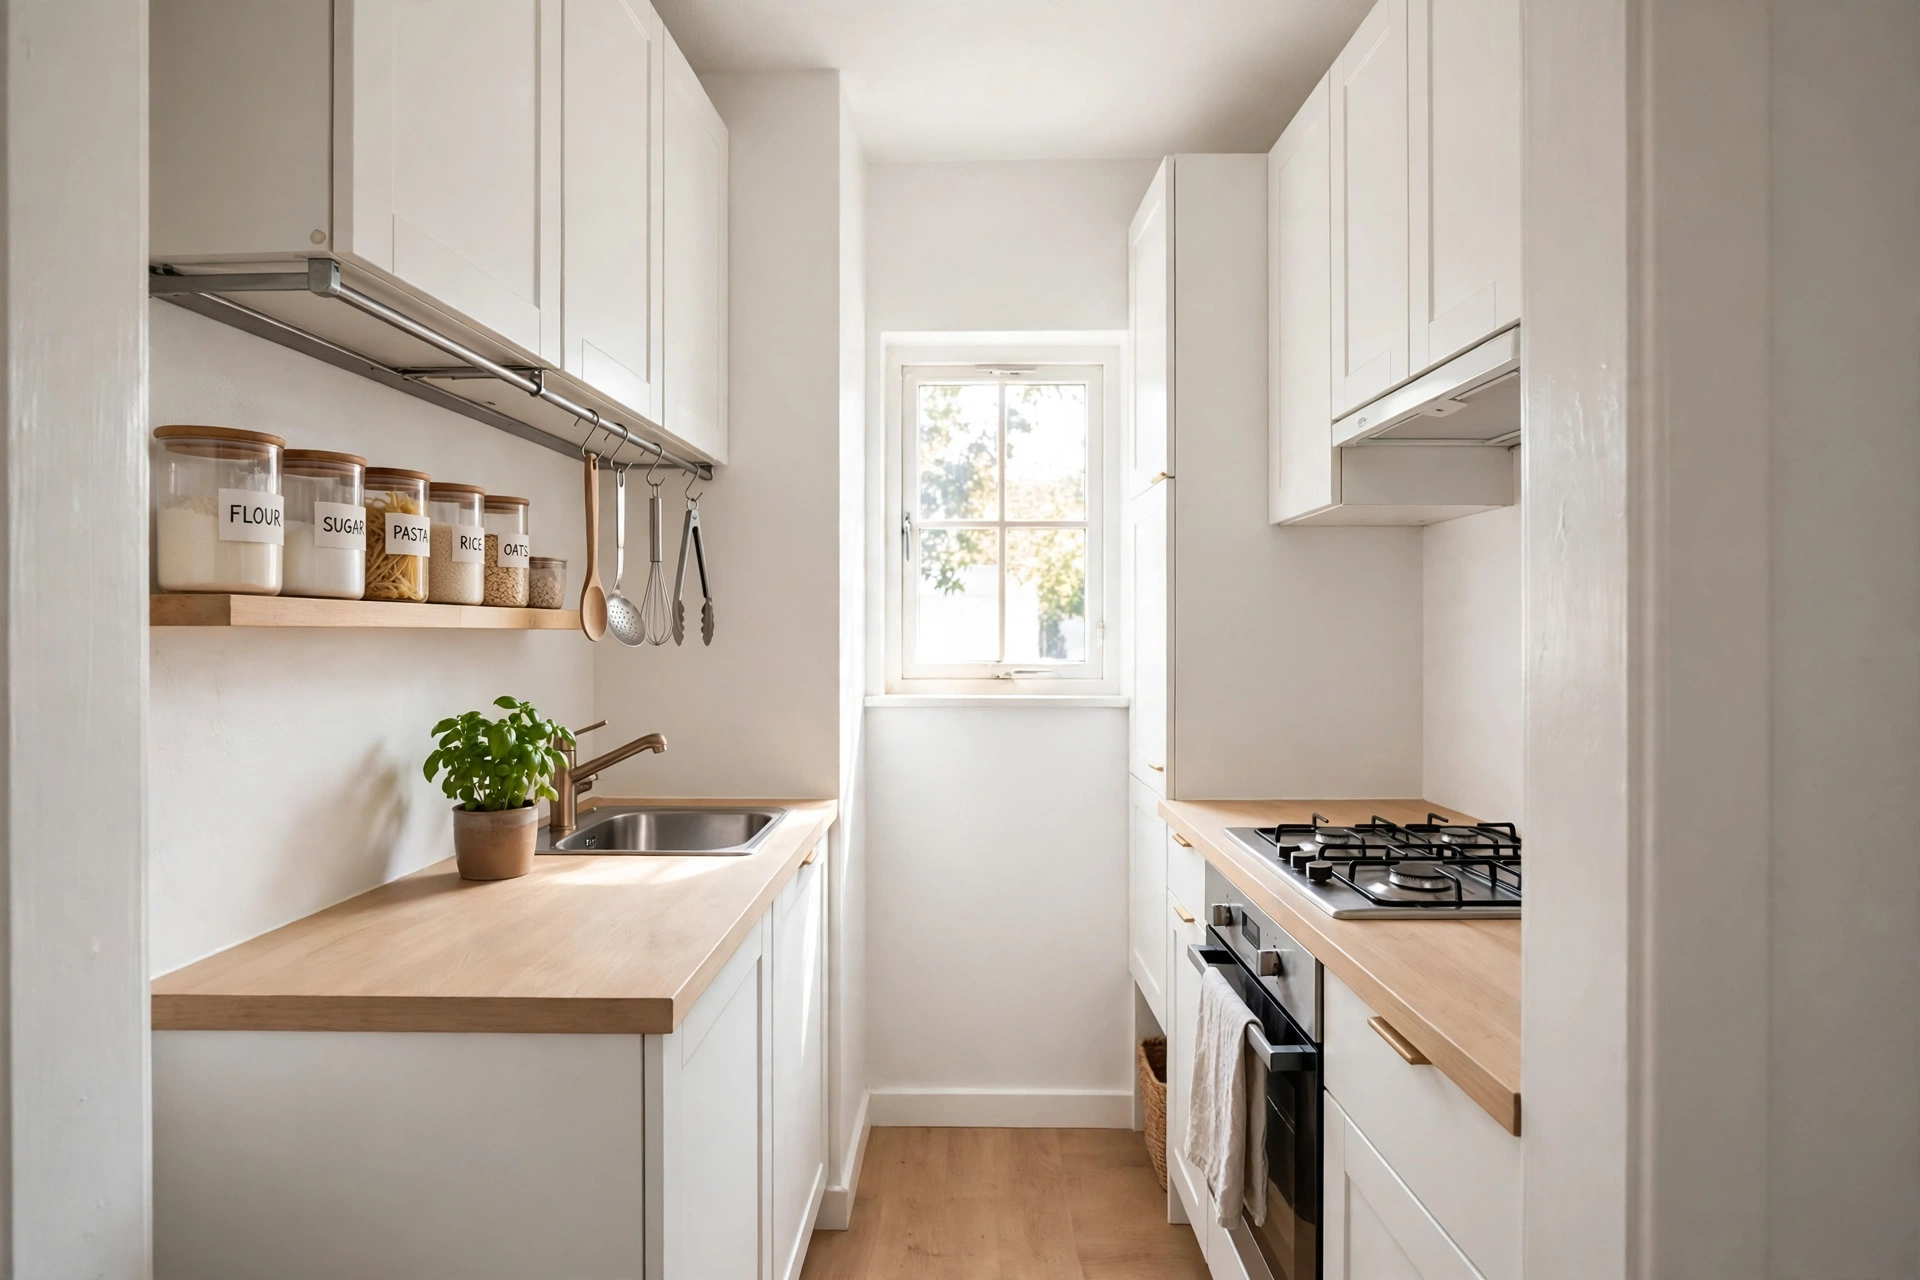
Half-empty bags of rice, flour, pasta and sugar are the main reason pantry shelves look chaotic. You do not need a matching container set to fix it — clean glass jars from pasta sauce, pickles and jam work just as well, and they cost nothing. Wash them thoroughly, dry them completely, fill them with one staple each, and add a simple label with the contents and the date you filled it. If your kitchen has no pantry at all, the same jars work on a single dedicated shelf — the guide to small apartment pantry ideas shows how to build one from a bookcase or a cart.
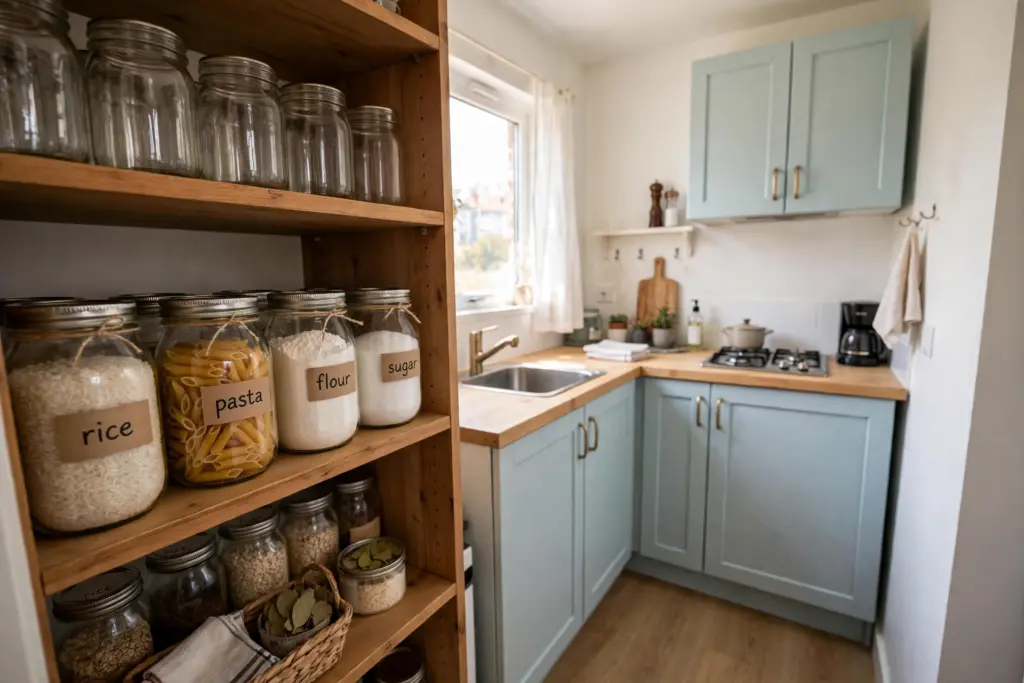
Repurposed glass jars with simple labels turn a messy pantry shelf into straight, scannable rows.
6. Add a Tension Rod Under the Sink for Spray Bottles
The cabinet under the sink is the most awkward space in a rental kitchen because the pipes eat the middle of it. A tension rod mounted high across the cabinet, above the pipes, gives spray bottles a place to hang by their triggers — and hanging them frees the entire floor of the cabinet for bins below. Measure the width of the cabinet and the height of the pipework first: the rod must sit above the P-trap, with clear space around the pipes, so nothing presses against the plumbing. Below the rod, use one or two small stackable bins for sponges, gloves and dishwasher tablets, and keep them shallow enough to slide in and out without hitting the trap.
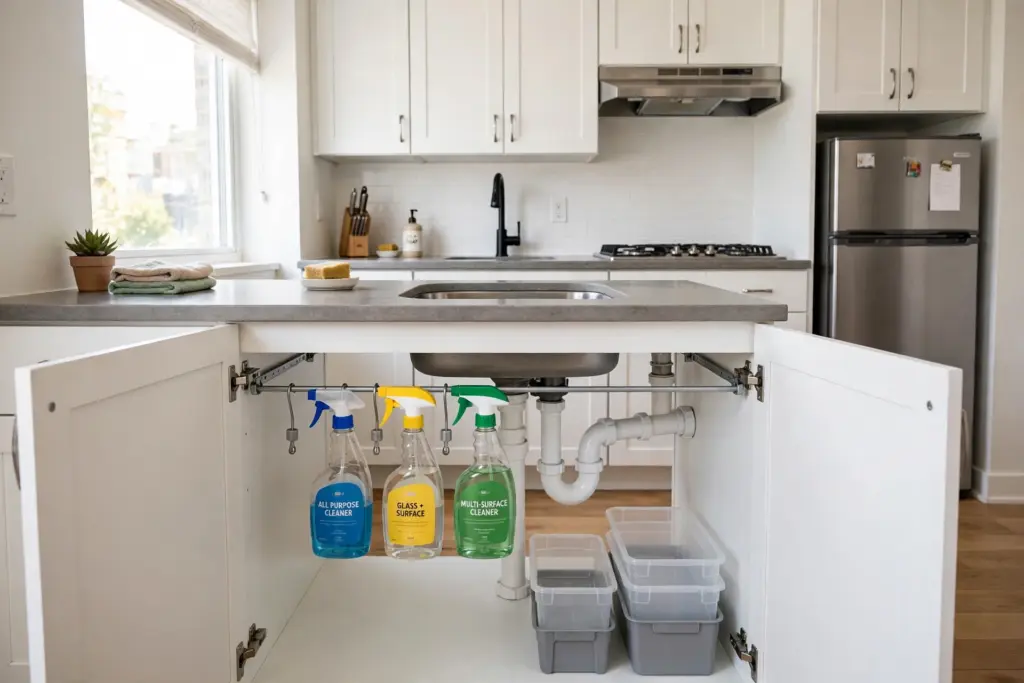
A high tension rod hangs spray bottles above the pipes, leaving the cabinet floor free for bins.
7. Turn a Shoe Organizer Into Pantry-Door Storage
A clear over-the-door shoe organizer is one of the cheapest storage tools in a rental kitchen, and it was never really about shoes. Hang it on the inside of the pantry door — or any full-height door near the kitchen — and every clear pocket becomes a home for spice packets, snack bars, sauce sachets, tea bags and the small items that otherwise vanish into drawers. Put the items you grab daily at eye level and the rarely used ones near the bottom. Check that the door still closes and latches with the organizer on — if it rubs the frame, move it to a door with more clearance.
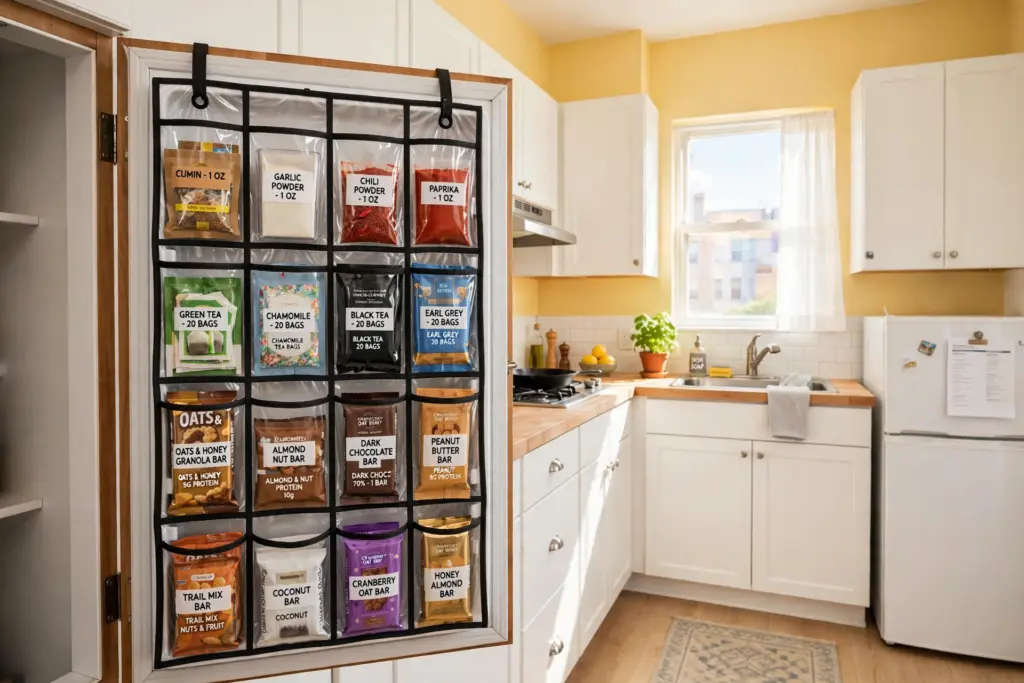
Clear pockets on a pantry door hold packets and sachets you can see at a glance — no drilling, no damage.
8. Build DIY Shelf Risers Inside Deep Cabinets
Deep cabinets waste their top half: you stack plates or mugs two high and the top one is always the one you need. A shelf riser — a small raised platform inside the cabinet — creates a second level so nothing sits on top of anything else. You can buy simple wire risers for very little, or make one from a sturdy box or a small wooden crate turned upside down, as long as it is stable and sits flat. Measure the cabinet height and the height of your tallest mug or stack of plates before choosing a riser, and leave enough clearance to lift items out without tilting them.
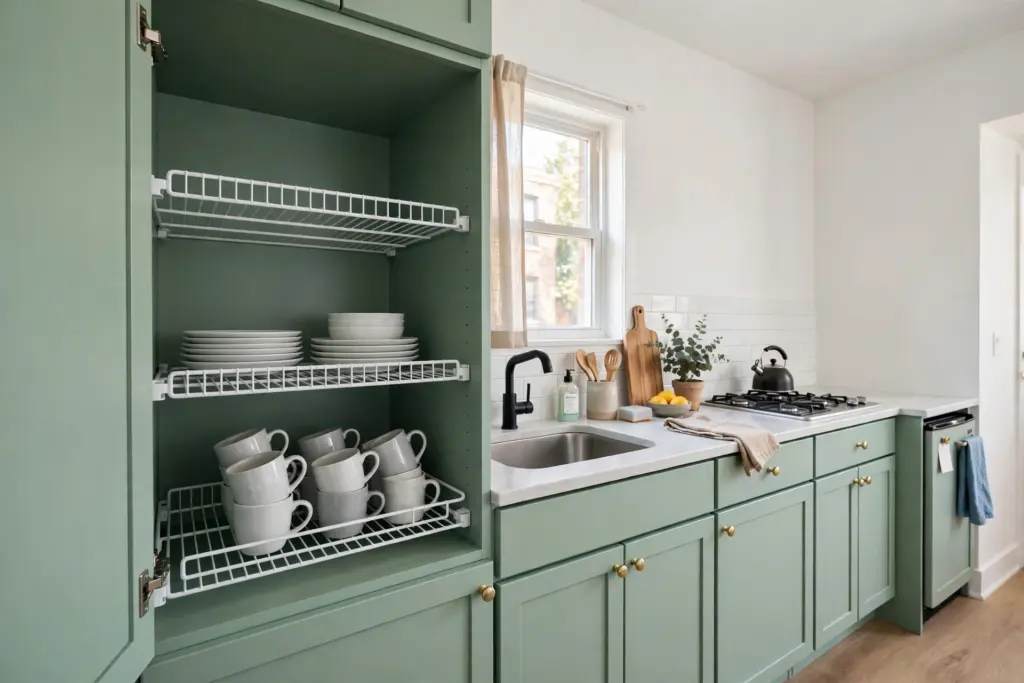
A simple shelf riser adds a second level inside deep cabinets so plates and mugs stop stacking.
9. Mount an Adhesive Utensil Rail on the Backsplash Wall
Utensils in a drawer or a crowded countertop jar are hard to reach and harder to see. A short rail mounted on the backsplash wall with strong removable adhesive hooks holds spatulas, ladles, tongs and measuring cups in a neat row, right where you cook. Clean the wall surface first so the adhesive bonds properly, and wait the time the hook packaging recommends before hanging anything. Keep the rail short — a row of five or six tools you use every day, not a display of everything you own. When you move out, the hooks peel off without damaging tile or paint, as long as you follow the removal instructions instead of pulling them straight off the wall.
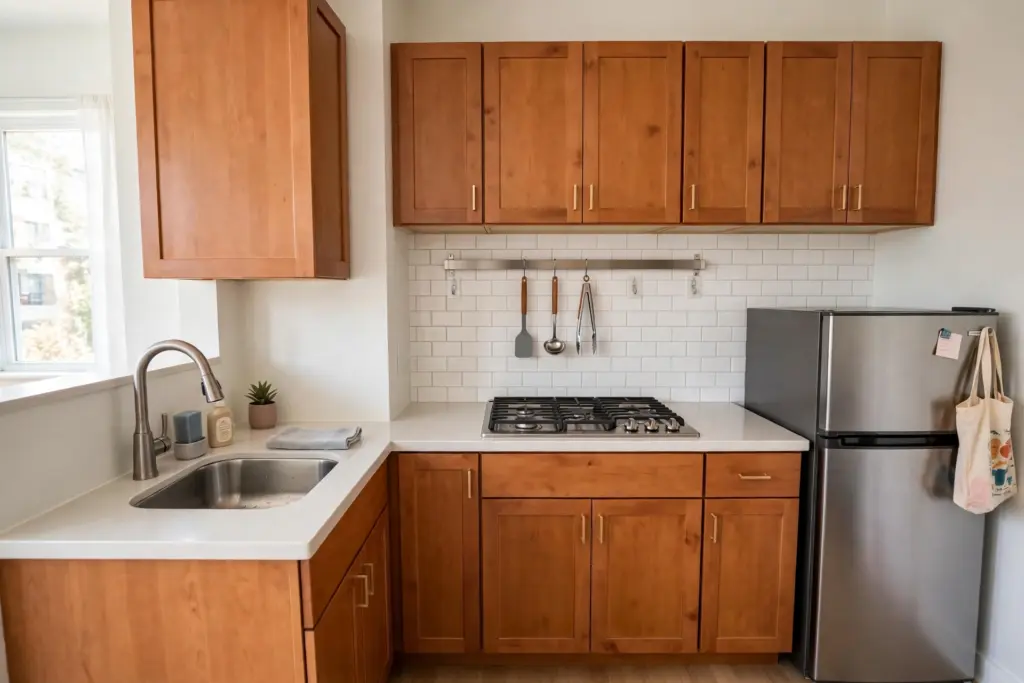
A short adhesive utensil rail keeps daily tools visible and within reach — and peels off cleanly at move-out.
10. Clip a Magnetic Caddy to the Fridge and Label Everything
The last idea costs almost nothing and ties the other nine together: a small magnetic caddy on the fridge door holds the odds and ends that otherwise land on the counter — pens for the shopping list, scissors, a notepad, spare batteries. Pair it with a simple labeling habit: every bin, jar and basket gets a label, even a strip of masking tape with a marker, so everyone in the household puts things back in the same place. Labels are what keep an organized kitchen organized. Without them, a tidy drawer drifts back into a junk drawer within a month, because nobody remembers the system except the person who built it.
Cheap Kitchen Organization DIY: Frequently Asked Questions (FAQ)
What is the cheapest way to organize a small rental kitchen?
Start with what you already own: cardboard boxes become drawer dividers, glass jars become pantry storage, and a tension rod becomes a vertical divider or an under-sink spray-bottle hanger.
Can I organize my kitchen without drilling holes?
Yes. Every idea in this guide avoids drilling: tension rods press into place, over-door hooks lift off, magnetic jars stick to the fridge, and adhesive hooks peel off cleanly when you follow the removal instructions. Check your lease first, and skip any product that needs screws.
How do I organize a kitchen with no pantry?
Give one shelf or one rolling cart the job of a pantry. Decant staples into labeled jars so they stack neatly, keep daily items at eye level, and hang a clear over-door organizer on the nearest door for packets and sachets.
What should I do first if my kitchen is a total mess?
Empty one trouble spot completely — one drawer, one cabinet or one shelf — and only put back what you use. Toss expired food, donate duplicates, then organize the empty space with the cheapest fix that fits it, such as cardboard dividers or a tension rod.
Will cheap DIY organizers damage my rental?
Not if you stick to removable methods. Tension rods, over-door hooks, magnetic storage and removable adhesive hooks are designed to come down without a trace — but never hang heavy items from adhesive hooks, and always follow the product’s removal instructions.
Keep Reading
- 17 Small Apartment Kitchen Storage Ideas for Renters — the full kitchen storage guide this article builds on.
- 15 Small Apartment Pantry Ideas for Kitchens With No Pantry — build a pantry from a shelf or a cart.
- 15 Kitchen Counter Organization Ideas for Small Kitchens — clear the counters once the cabinets are sorted.
For more inspiration, see the kitchen organization ideas at Good Housekeeping and the small-space storage suggestions from The Spruce.