Renter-Friendly Shiplap Ideas (Temporary, Removable)
A renter friendly shiplap wall gives a plain rental the layered, farmhouse look of horizontal planks — without nails, without glue, and without risking the deposit. Shiplap means horizontal overlapping planks with a thin shadow line between each board, and every idea below recreates that look with removable materials only. Below are 12 temporary ideas, ordered lightest-first, plus the lease checks, the no-drill install steps, and the move-out restore plan.
Before You Start: The Lease, the Wall, and the No-Drill Rule
Start with the lease, not the shopping list. Most leases allow removable decoration but draw the line at anything that alters the wall, so read the decoration clause and ask the landlord in writing before anything adhesive goes up. Then check the wall: adhesive holds best on smooth, sound, painted drywall, so patch-test every product on a hidden spot first. Photograph every wall before starting. Glued vinyl planks are not renter-safe: the glue tears paint and drywall paper on removal. Nailed or screwed MDF panels are not renter-safe either: every nail leaves a hole, and the panels are too heavy for adhesive. Board and batten is vertical strips and grids; shiplap is horizontal planks with a grooved shadow line. Our own renter-friendly board and batten ideas cover the vertical-strip look, and our renter-friendly wall panel ideas cover the wider panel options. For the decorating principles behind the whole project, see these renter-friendly apartment decorating ideas.
12 Renter-Friendly Shiplap Ideas
Work through these lightest-first. Every idea below uses removable fixings or freestanding panels — nothing here needs a drill, a nail gun, glue on the wall, or a hole in the plaster.
1. Peel-and-Stick Shiplap Wallpaper
Peel-and-stick shiplap wallpaper is the fastest route: printed horizontal planks in rolls that press onto a clean wall and peel off at move-out. A renter friendly shiplap accent wall takes one afternoon: measure, cut the first strip to a level line, and smooth each length down, trimming around outlets with a sharp blade. Cover one wall only, behind the sofa or the bed. Choose a light whitewashed print for small rooms. For the wider method, see this peel-and-stick wallpaper guide for renters.
2. Foam Shiplap Panels on Command Strips
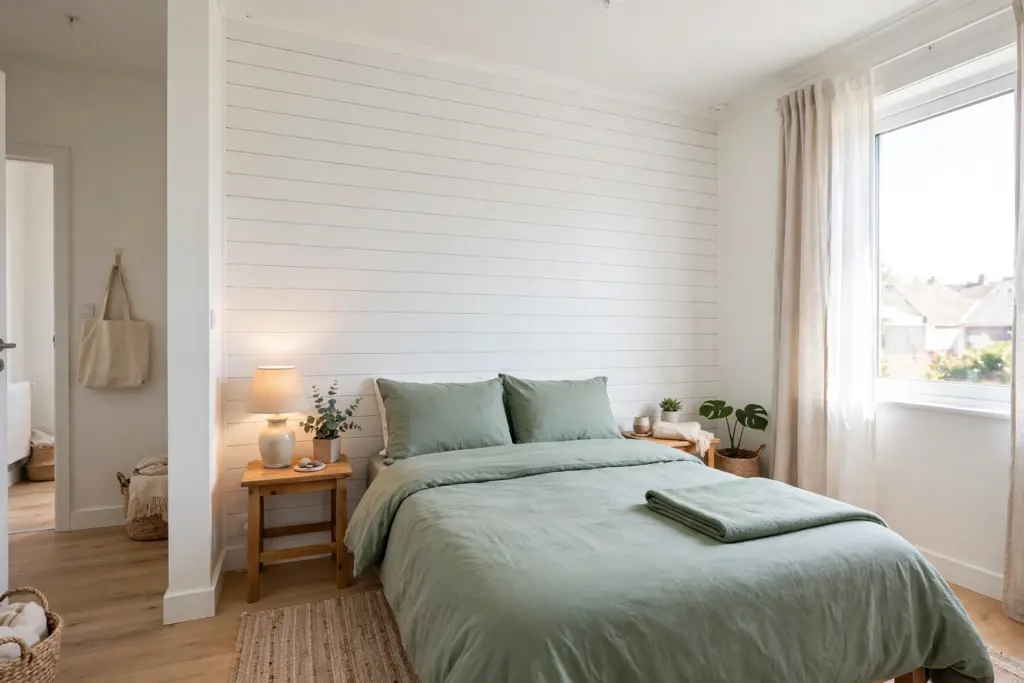
Foam shiplap panels give the look real depth without real weight: each lightweight panel carries the grooved plank profile, cuts with a craft knife, and hangs on removable adhesive strips rated for its weight. Space the strips evenly, press firmly, and level the first panel before the rest go up. Foam suits a bedroom accent wall best, and it peels off with gentle heat at move-out. Buy one spare panel for trimming around corners and outlets.
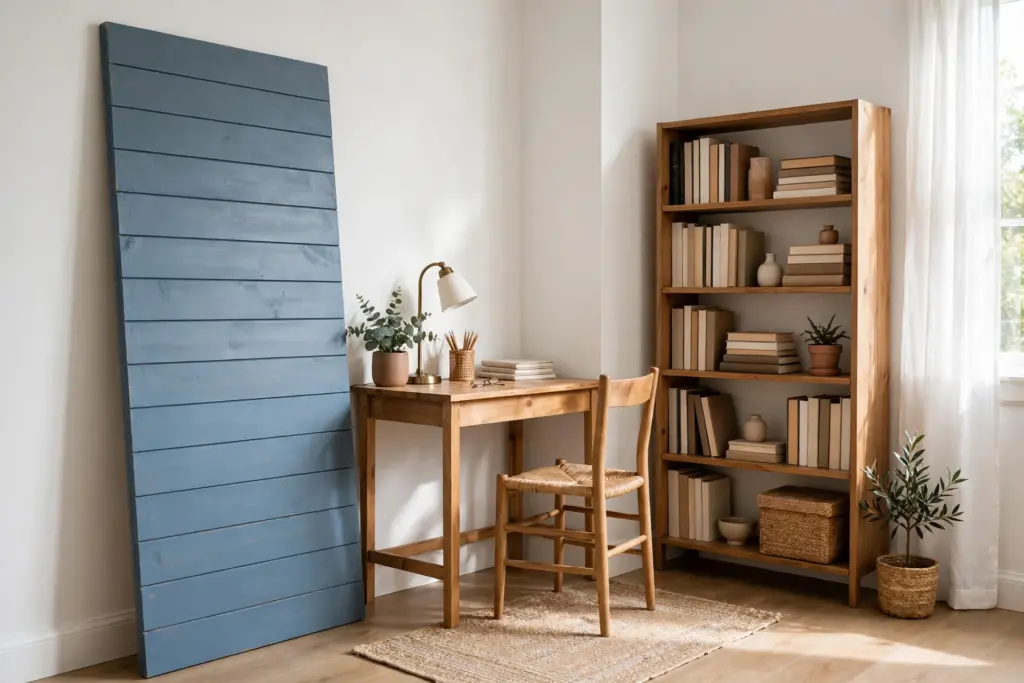
3. Lean a Freestanding Shiplap Panel Against the Wall
The only idea here that touches the wall not at all: build or buy a single panel of horizontal planks on a plywood backer, paint it, and lean it against the wall behind a desk, a bed, or a reading chair. It reads as a shiplap wall from the front, moves to the next rental in one piece, and needs no permission at all. Wedge it behind heavy furniture so it cannot tip. A freestanding panel also works as a studio room divider.
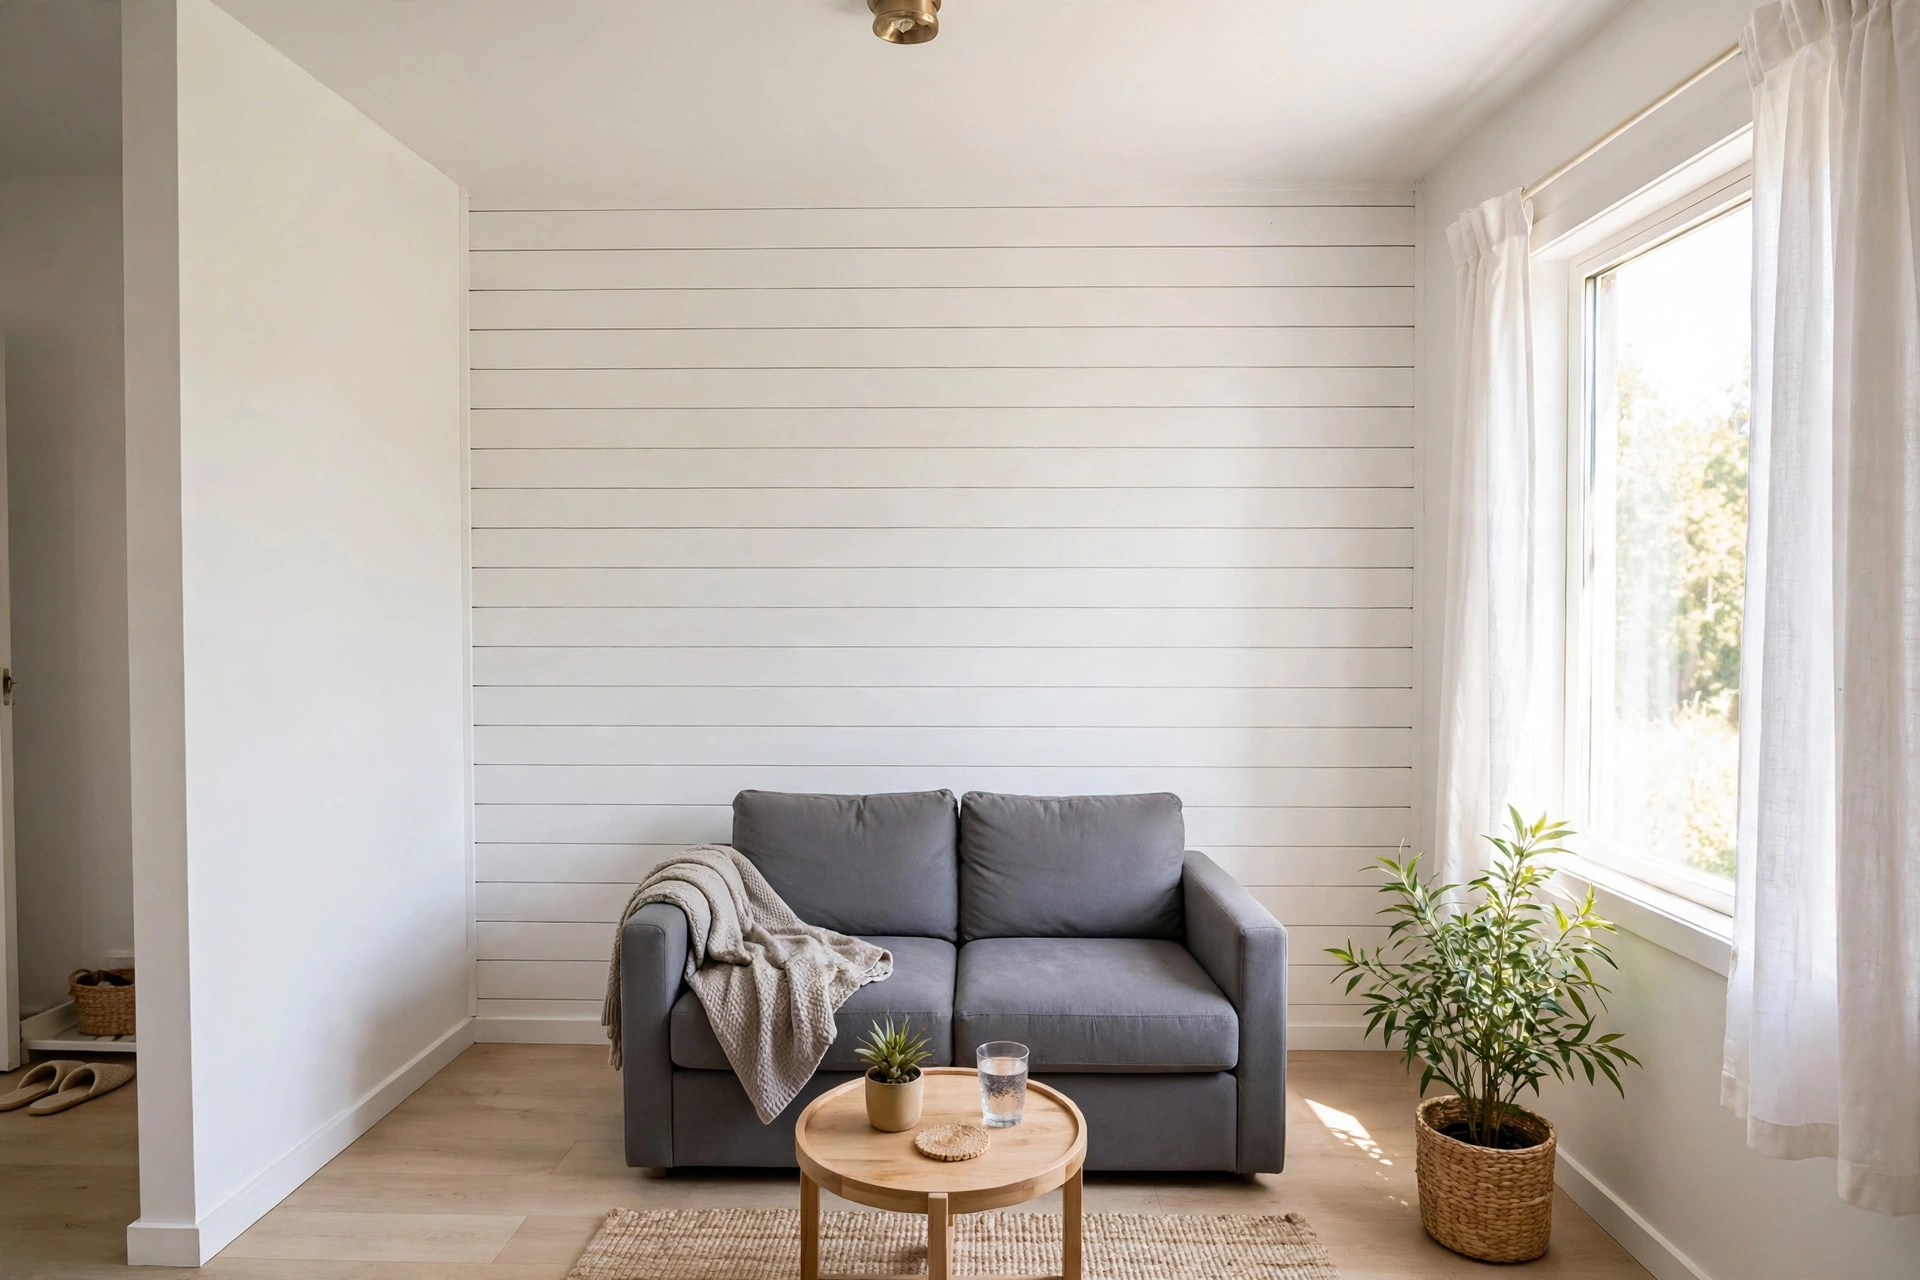
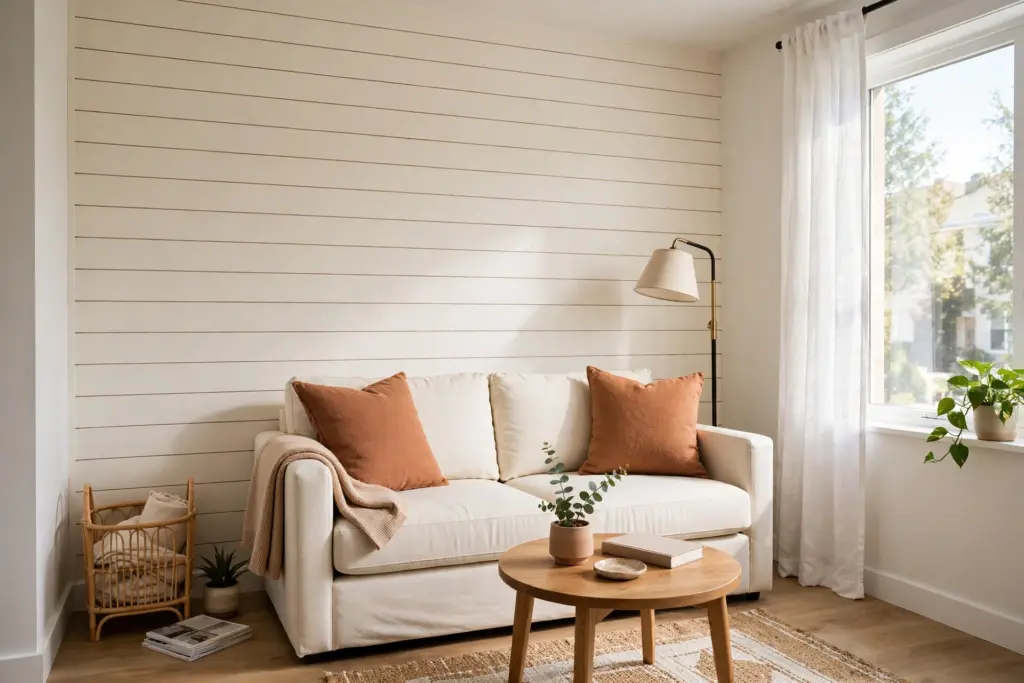
4. Shiplap Accent Wall Behind the Sofa
One shiplap wall behind the sofa does more than panelling every wall, and it uses half the material. Centre the planks on the sofa and extend them past it on each side, so the furniture frames the feature. Keep the planks white or whitewashed and the rest of the room pale, so the shadow lines do the work. This is the best first shiplap project: one wall is easy to patch-test, finish in a day, and remove.
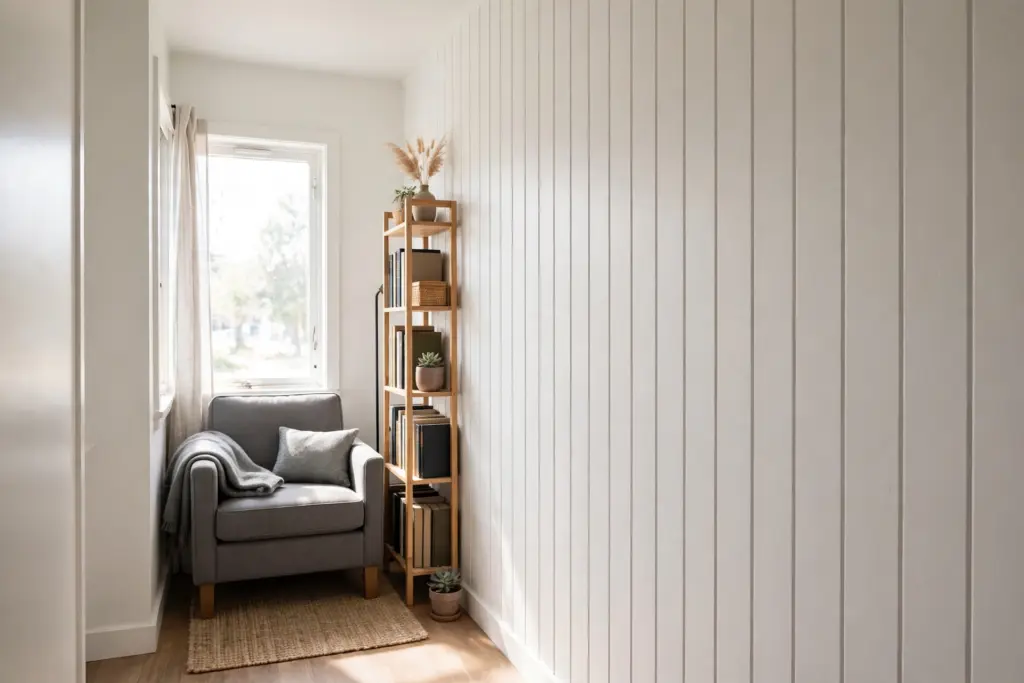
5. Vertical Shiplap to Make a Small Room Feel Taller
Turning the planks vertical makes a low-ceilinged room feel taller, because the eye follows the lines upward. The trick works best on a single narrow wall — behind a desk, in a hallway, or beside a bed. Keep the planks pale and the furniture low. Avoid vertical planks on a wide wall, where the effect flips and the room starts to feel like a corridor.
6. Paint the Strips Before They Go Up
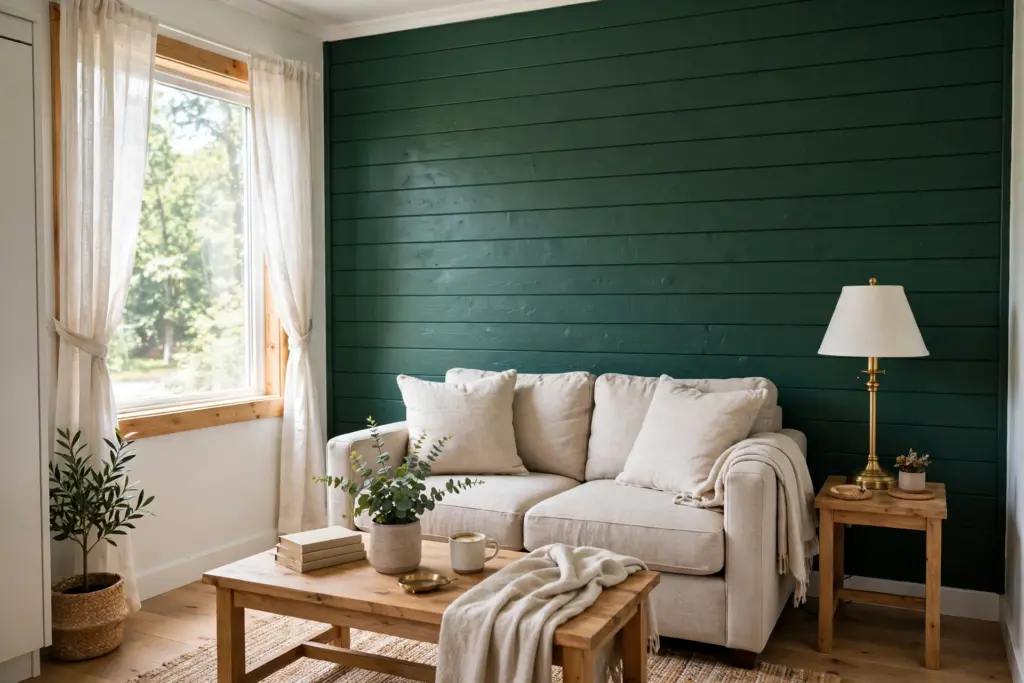
One bold colour turns a single wall into the room’s centrepiece — paint the strips before they go up, never the wall itself. Choose one deep shade — navy, forest green, or charcoal — and paint every plank on a drop cloth. The wall underneath stays its original colour. Paint the grooves too, since an unpainted groove shows as a pale stripe and breaks the effect.
7. Moisture-Safe PVC Shiplap in the Bathroom
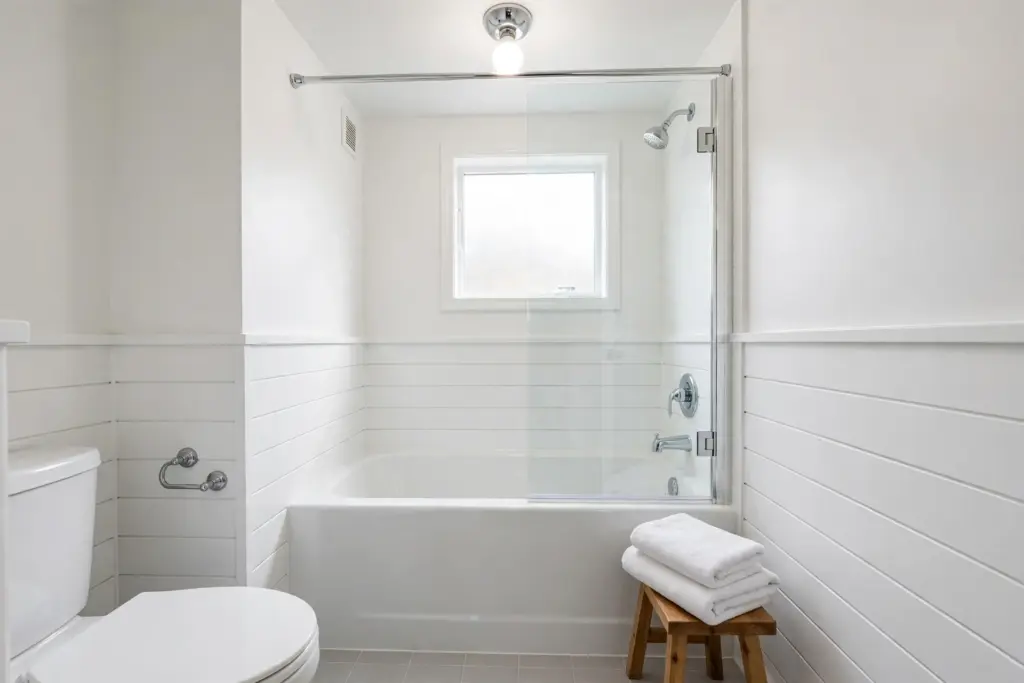
Bathrooms need planks that shrug off steam, so moisture-safe PVC shiplap is the bathroom version: it wipes clean, never swells, and sticks with removable adhesive on smooth tile or painted walls. Keep it to the lower half of the wall or one feature wall, and seal the top edge with thin trim so steam cannot creep behind the panels. Choose pale PVC in a small bathroom. This rental shiplap panel guide shows the same look in a real rental bathroom — note its install used nails, so follow the removable-adhesive version here instead.
8. Peel-and-Stick Shiplap as a Kitchen Backsplash Strip
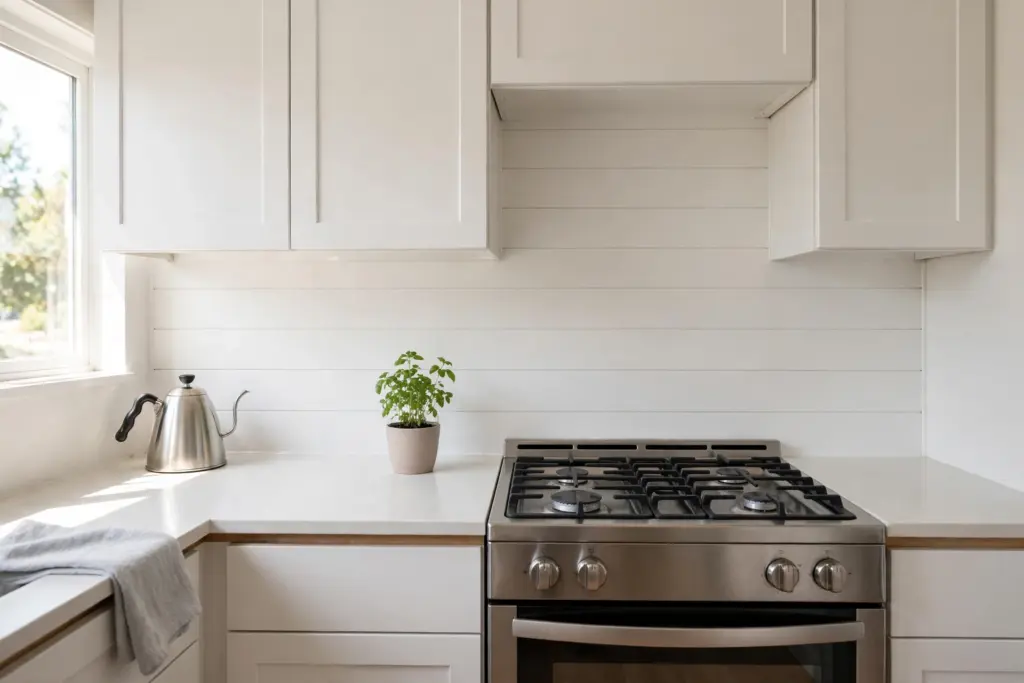
A narrow strip of peel-and-stick shiplap between counter and cabinets gives a rental kitchen the farmhouse look. Cut the wallpaper or foam panels to fit before peeling any backing. Wipe the wall clean and let it dry, since cooking grease stops adhesive bonding. Keep the strip short and easy to reach, so a stained section can be replaced without redoing the whole run. Choose a wipeable finish.
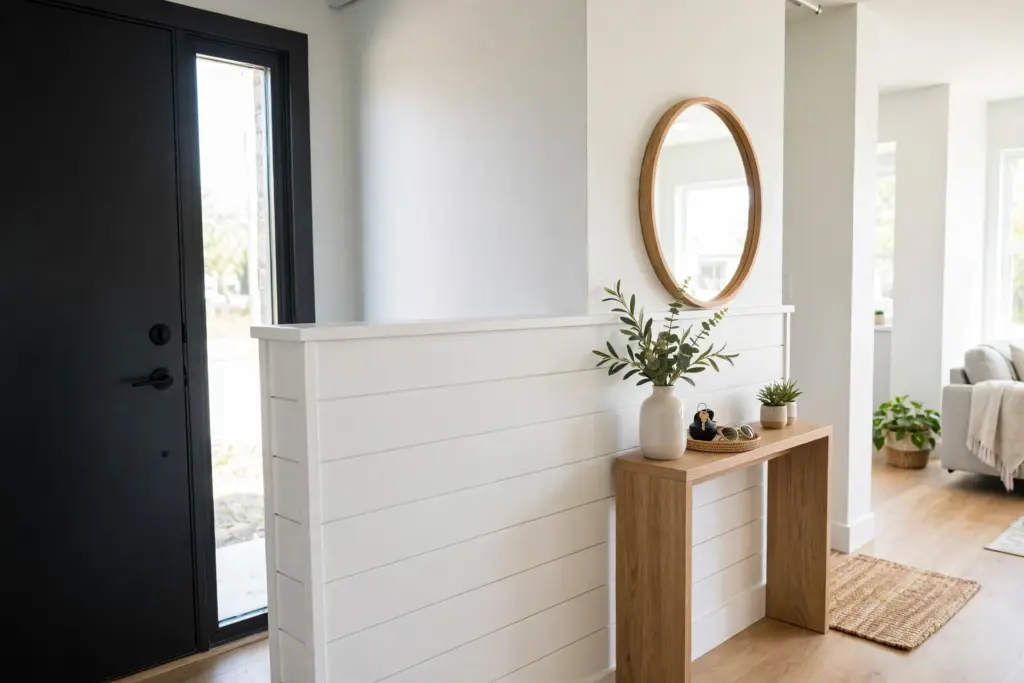
9. Half-Height Shiplap
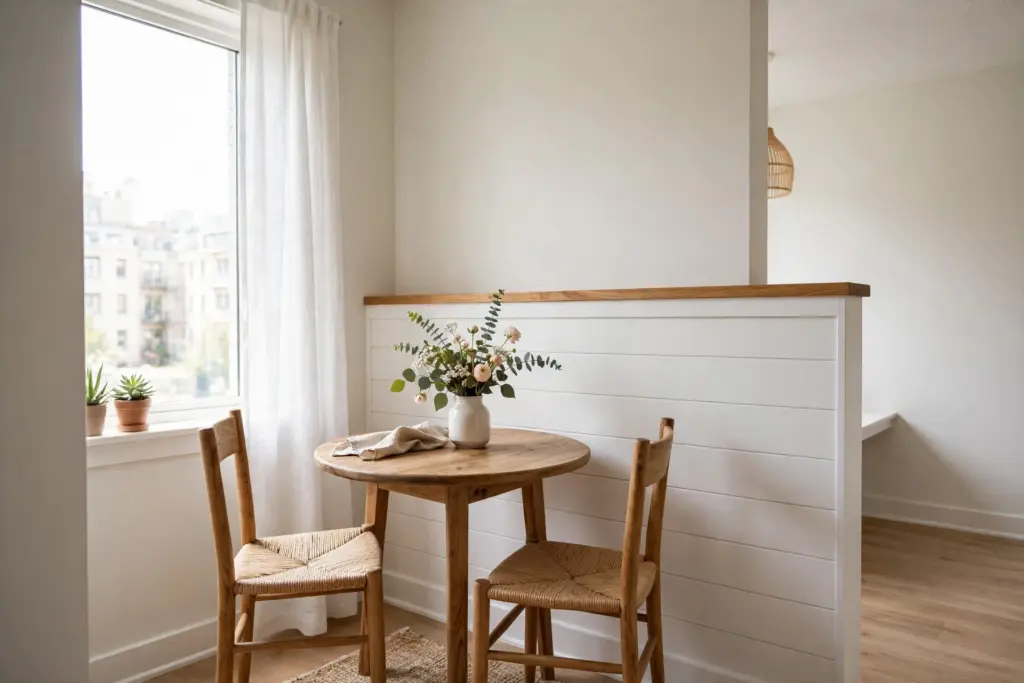
Half-height shiplap runs the planks up to wainscot height and finishes with a top rail that doubles as a narrow ledge. The lower half takes the wear, while the plain wall above keeps the room open. Cap the top edge with a slim painted rail, and lean small frames on the ledge rather than hanging anything from it. Half-height works best in a dining nook or hallway, and it uses half the material of a full wall.
10. Sharpie / Tape Faux Shiplap Lines
The cheapest shiplap costs almost nothing: draw the plank lines onto the wall with a pencil, a level, and a fine marker, or lay thin strips of painter’s tape to suggest the grooves. The lines read as shiplap from across the room. This is the one idea here that marks the wall itself, so get the landlord’s written OK first — even though a coat of the original paint covers the lines at move-out, permission still protects the deposit. Test the marker on a hidden spot first.
11. Shiplap in the Entryway or Hallway
An entryway is the smallest wall in the apartment and the first guests see, so shiplap there gives the biggest first impression for the least material. Panel the narrow wall opposite the front door, and add removable hooks on the planks themselves for coats and keys. Keep the planks white so the narrow space stays bright. A single roll of peel-and-stick wallpaper is usually enough for the whole project.
12. Shiplap-Wrapped Flat Closet Doors
Flat closet doors are the blankest surface in a rental, and removable shiplap panels turn them into a feature. Cut foam or thin PVC planks to the door size, attach them with removable adhesive strips, and keep them clear of hinges and handles so the doors still open. Paint the planks before fitting. When moving out, peel the panels off and the doors look exactly as they did on move-in day. This suits renters whose lease bans wall adhesive outright.
How to Install Without Drilling
Every idea above follows the same install order. Clean the wall and let it dry completely — dust and grease stop adhesive from bonding. Patch-test the adhesive on a hidden spot, then check the paint when it comes off. Measure twice, mark the layout in pencil, and level the first plank, since every row follows it. A renter friendly shiplap install stays light: foam, PVC, and wallpaper only, with removable strips rated for the panel weight. Paint the planks before they go up, then press each one firmly so it grips. Trim around outlets with a sharp blade, and finish the top edge with a thin cap rail. These renter-friendly wall decor ideas without nails cover the other no-drill options that pair well with shiplap.
What It Costs: Three Budget Tiers
Shiplap scales to any budget, and the tiers below are planning guides — costs vary with wall size and material choice. The light tier covers marker or tape faux lines and one strip of peel-and-stick wallpaper for a single accent wall. The middle tier adds foam or PVC panels for a full wall, plus a painted finish. The full tier adds a freestanding panel and a bold painted wall, and still needs no drilling. This renter-friendly decor ideas guide covers more low-cost removable projects in the same spirit, including faux shiplap lines made with tape or a marker.
Move-Out Day: The Restore Plan
Restoring the wall is the install in reverse, and the move-in photos make it one afternoon’s work. Peel the wallpaper and panels off slowly with gentle heat, working from one end, and follow the product maker’s removal steps. Lift freestanding panels away whole and carry them out in one piece. Wipe any residue with warm soapy water, repaint marker lines only if the lease requires it, and check each wall against the photos. Keep the landlord’s written permission with the rental documents until the deposit is returned.
Frequently Asked Questions (FAQ)
Can renters do shiplap?
Yes — a renter friendly shiplap wall uses only removable materials: peel-and-stick wallpaper, foam panels on adhesive strips, and freestanding panels that lean rather than attach. Check the lease and ask the landlord in writing first, keep every original, and restore the wall before moving out.
Will peel-and-stick shiplap damage the wall?
Peel-and-stick shiplap made for renters is designed to remove cleanly from sound, smooth, painted walls when the maker’s removal steps are followed. Test a hidden spot first, avoid damaged paint, and never use glued vinyl planks — the glue tears paint and drywall on removal.
Do I need my landlord’s permission for shiplap?
Ask in writing before starting, even for changes that seem temporary. Describe each planned change, how it attaches, and how it will be removed, and keep the landlord’s reply with the rental documents. Written permission protects the deposit and avoids a surprise at inspection time.
How much does renter-friendly shiplap cost?
A marker or tape faux shiplap wall is the cheapest route, costing almost nothing. A peel-and-stick wallpaper wall costs more but needs no cutting or painting, foam or PVC panels for a full wall cost more again, and a freestanding panel costs the most.
How long does it take to install?
One afternoon is enough for most small rental walls. A full wall of foam or PVC panels may need a second day.