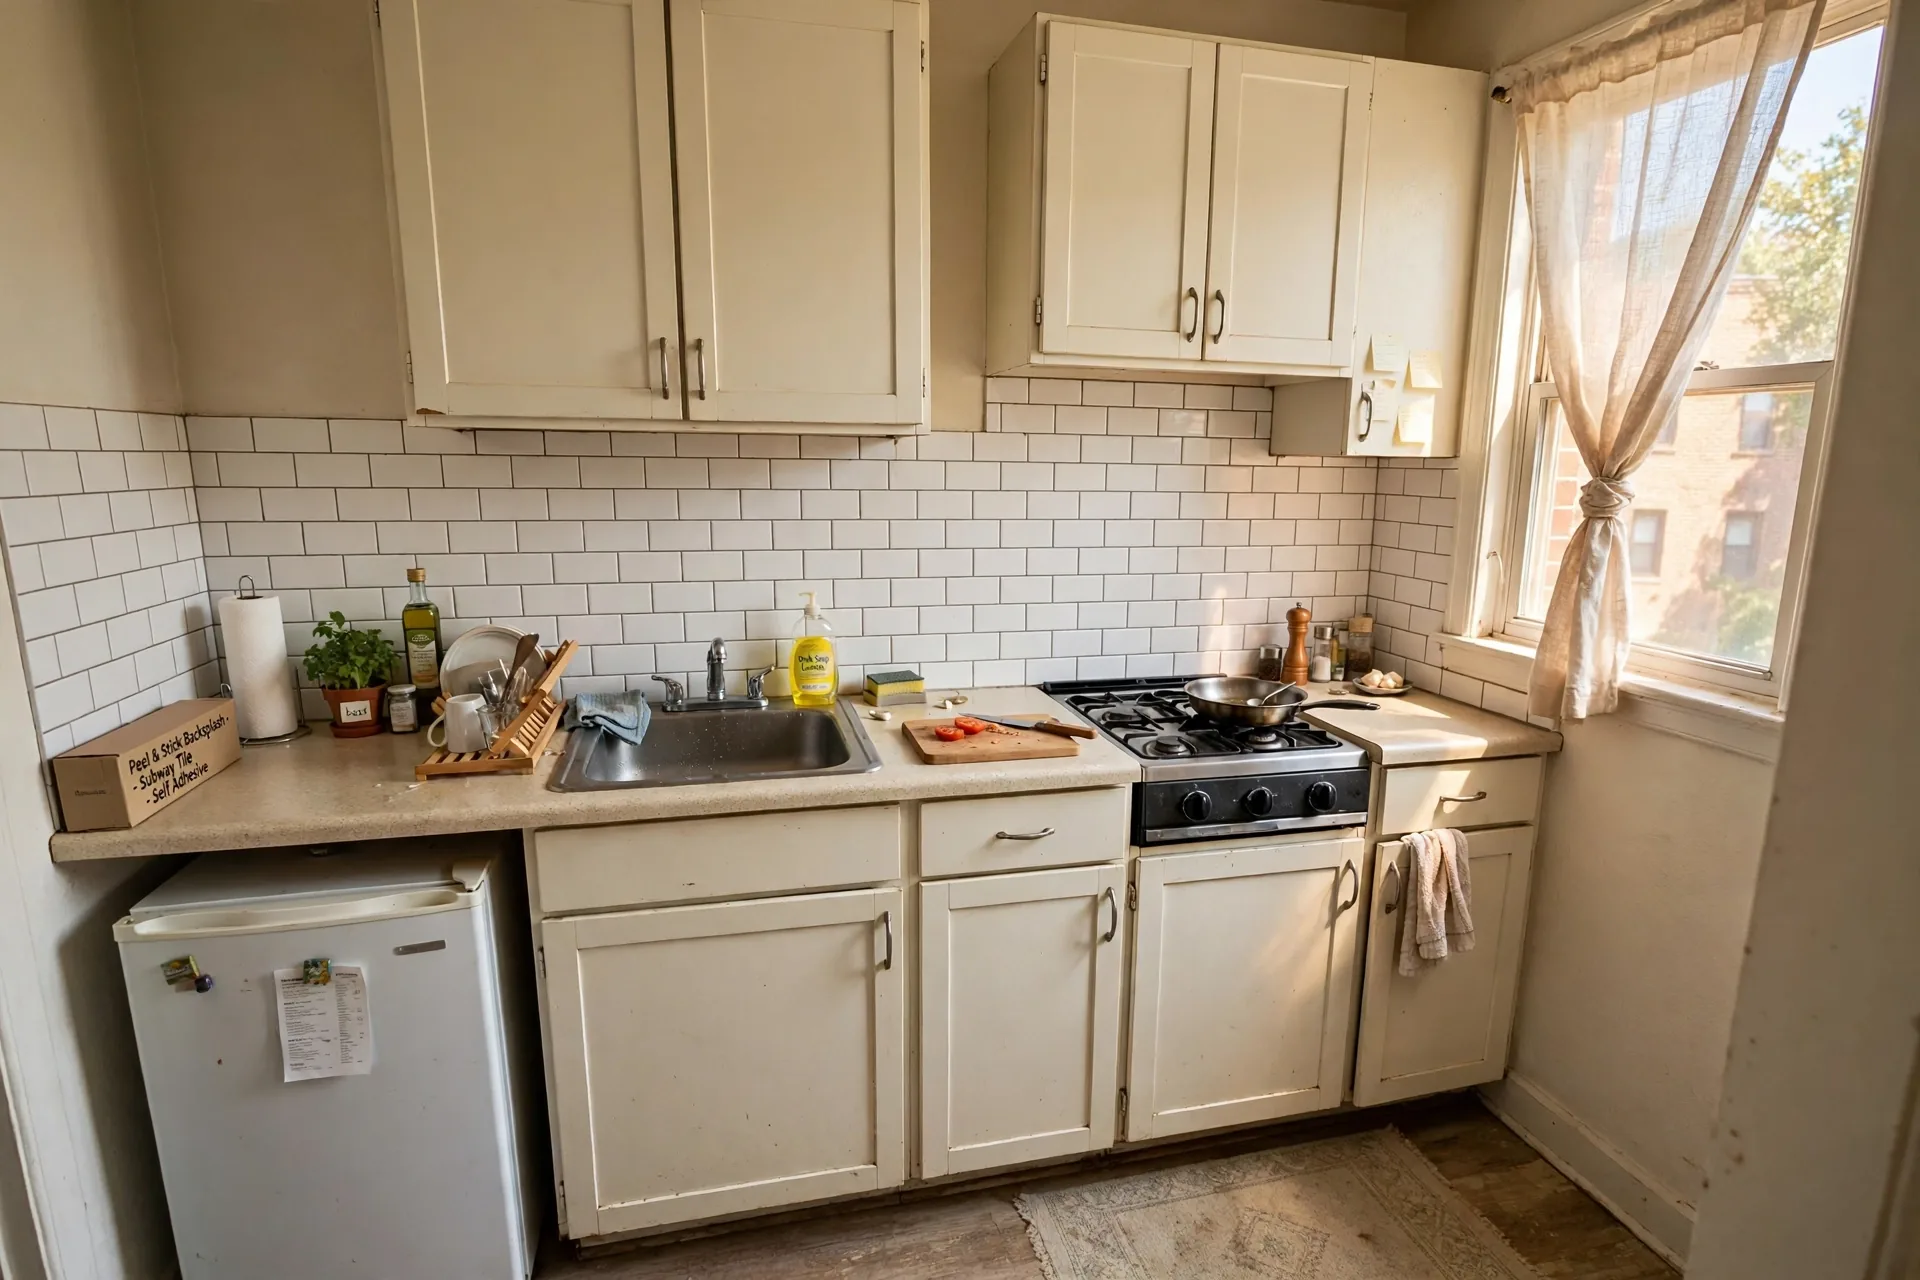
Peel-and-Stick Backsplash for Renters: How to Choose, Install and Remove It
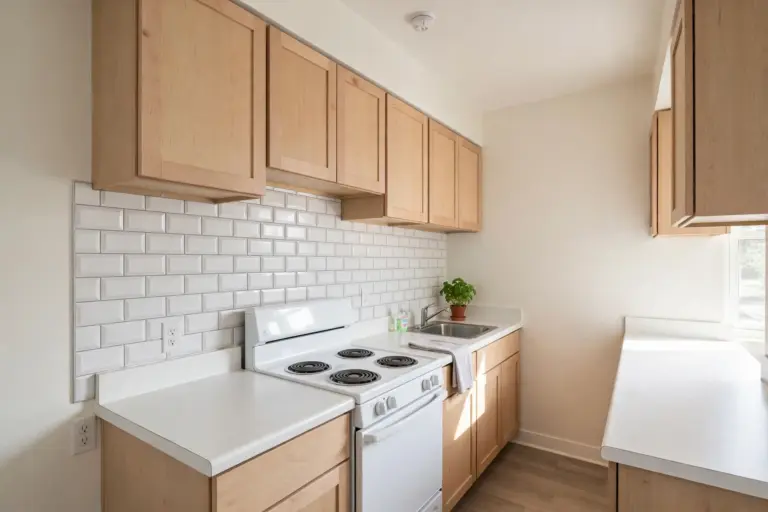
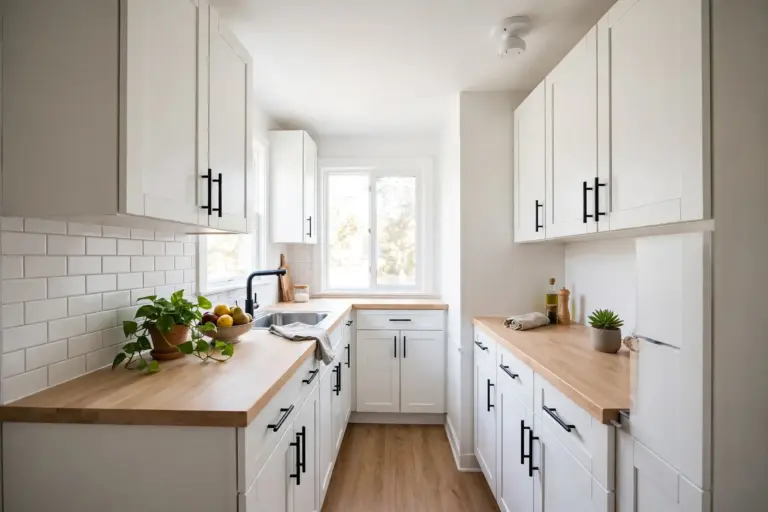
A rental kitchen with a stained, dated wall between the counter and the cabinets can make the whole room feel tired — and a real tile backsplash is off the table when you do not own the walls. That is exactly the gap a peel and stick backsplash for renters fills: self-adhesive sheets or tiles that go up with no grout, no thinset, and no contractor, and that are designed to come back down when the lease ends. This guide walks you through the three steps that decide whether the project succeeds — choose the right material class, install it with discipline, and remove it cleanly at move-out — plus the renter-specific checks most tutorials skip.
One honest framing before you start: “removable” is conditional, not magic. Clean removal depends on the wall underneath — sound, well-adhered paint on smooth drywall releases tile far better than old, flaking paint does. Every step below is built around that reality, so you get the upgrade without gambling your deposit. If the backsplash is part of a bigger kitchen refresh, the rental kitchen makeover ideas guide is its parent project — this article is the deep-dive on the backsplash step itself.
Before You Buy: The Renter Pre-Flight
Ten minutes of checks here prevent one hundred percent of the horror stories: tiles sliding off greasy walls, paint peeling at removal, and a landlord dispute over an “unauthorized modification.”
Check the Lease and the Landlord First
Most leases allow removable, non-damaging decor, but “removable” is your word until the landlord agrees it describes the product. A quick written check — even a text message you can save — asking whether self-adhesive backsplash tiles are acceptable removes all ambiguity later. Photograph the bare wall before you start, too; date-stamped “before” photos are the cheapest deposit insurance that exists.
Measure Twice, Then Add a Margin
Measure the height from the countertop to the bottom of the upper cabinets and the full width of the run, then sketch the layout on paper. Note every outlet, switch, and the exact spot where the range sits. Ordering roughly ten percent more material than the raw square footage covers miscuts and the fiddly pieces around outlets — running short mid-project is how seams start drifting. 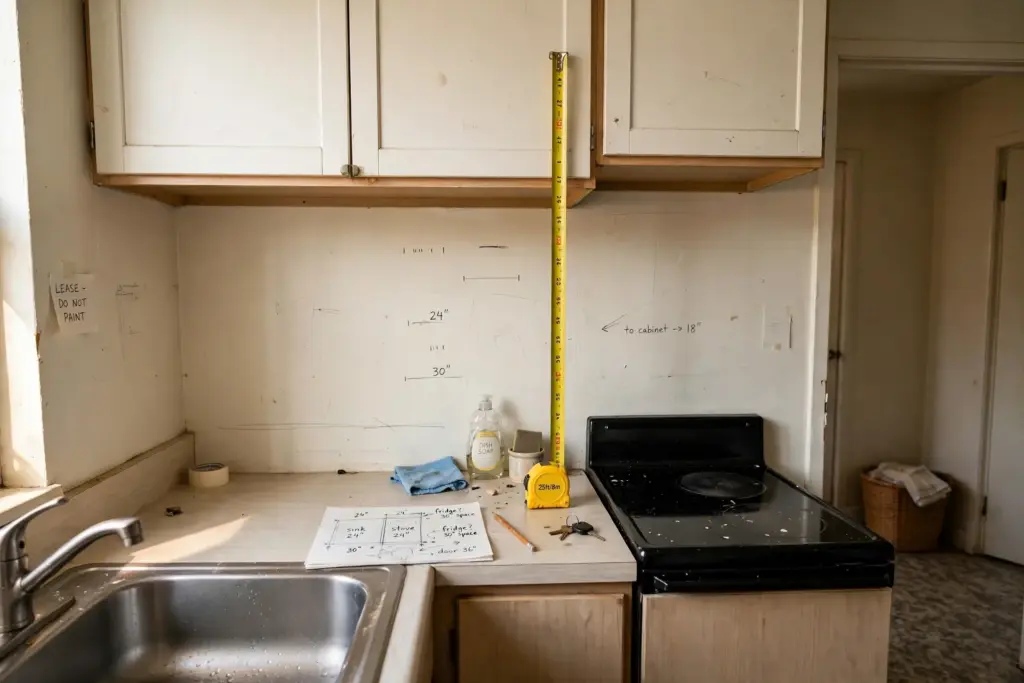
Run the Test-Patch Rule
This is the single most renter-important step in the whole project: stick one tile or sheet in the least visible corner, leave it for 48 hours, then peel it off slowly with gentle heat. If the paint comes with it, the wall — not the product — is the problem, and you have learned it for the price of one tile instead of thirty. Old, unprimed, or already-flaking paint is the surface that lifts; sound, well-cured paint generally releases cleanly. 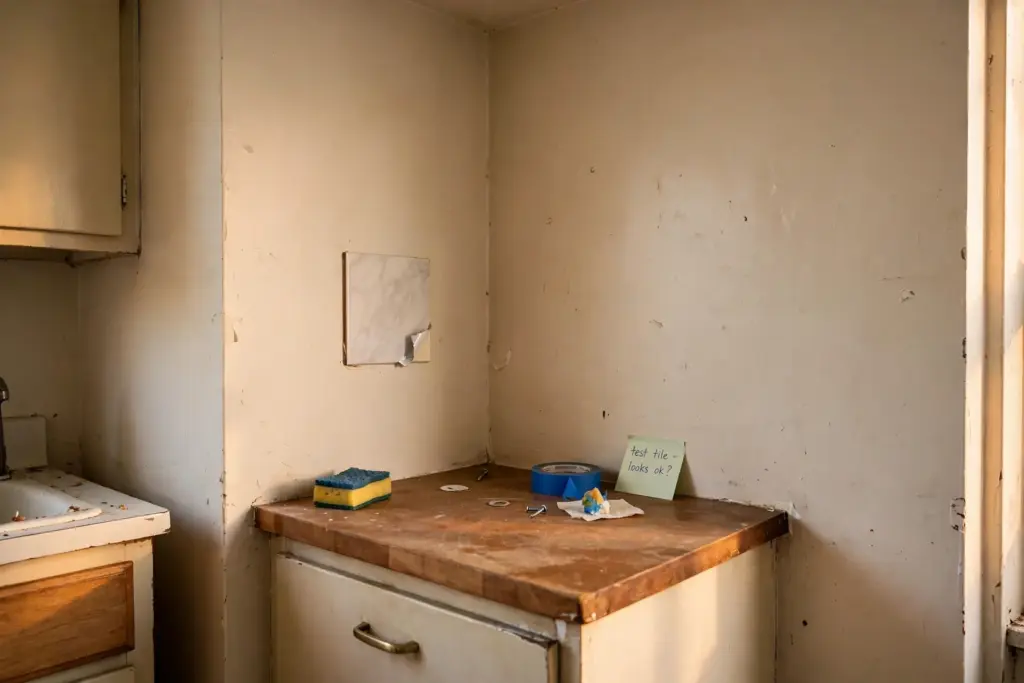
Know Which Walls Qualify — and Which Disqualify
Peel-and-stick tiles need a smooth, clean, dry, grease-free surface to bond. Painted drywall in good condition and existing smooth tile both qualify. What disqualifies a wall: heavy texture, deep grout lines that leave air gaps behind the tile, peeling or chalky paint, and bare unprimed drywall. A wall that fails this check is not a lost cause — it is a wall that needs its paint sound first, which is a different weekend project.
Step 1: Choose the Right Material Class
Forget brand-hunting; judge products by material class. The class determines the weight, the adhesive aggression, the heat behavior, and — the part renters care about most — how it comes off. There are three classes that matter.
Vinyl Sheets: The Safest Rental Default
Thin, lightweight vinyl sheets or tiles use the gentlest adhesives and conform easily to the wall. They are the most forgiving at removal and the most forgiving of beginner mistakes — a crooked first sheet can usually be lifted and repositioned if you catch it early. For most renters, this is the class to default to.
Gel-Resin Tiles: The 3D Look With More Grip
Gel or resin tiles give a raised, dimensional look that mimics real tile. They are heavier than vinyl and their adhesive is more aggressive, which means better long-term hold and a harder removal. Still renter-viable on a sound wall, but this is the class where the test patch matters most — and where the heat-and-slow-peel removal technique below becomes non-negotiable.
Metal Tiles: The Removal-Risk Class
Metal-look tiles are the heaviest class with the strongest adhesives, and they are the ones most likely to fight you at move-out. They also conduct heat, which matters near a range. Unless your heart is set on the look and your wall passed the test patch flawlessly, renters are better served by the two lighter classes. The prettiest tile is not the winner here; the one that leaves cleanly is. 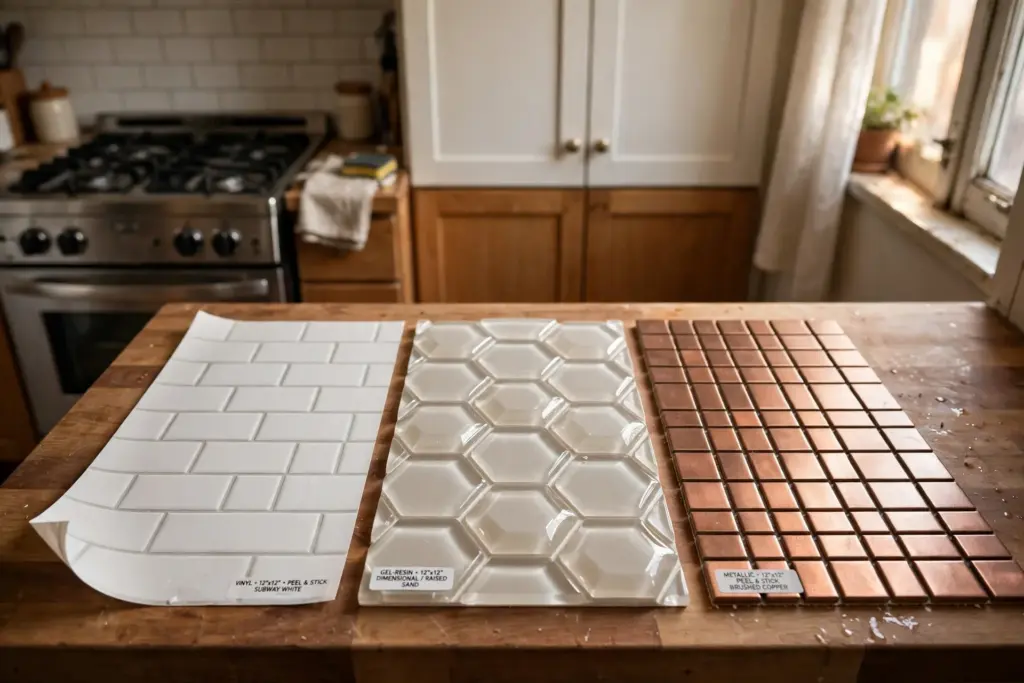
Heat Position: Read the Maker’s Rating, Not the Marketing
These products are heat-resistant, not fire-safe — a real distinction. Keep the manufacturer’s stated clearance from gas burners and open flame, and do not run tile directly behind a cooktop beyond what the maker rates it for. When a listing is vague about heat limits, treat that vagueness as the answer and choose a different product.
Step 2: Install It Like It Matters
Installation is where removable succeeds or fails. The adhesive needs a perfect partner in the wall, and patience beats speed at every stage. CabinetNow’s installation walkthrough covers the same fundamentals — the renter-specific discipline below is what protects the deposit.
Clean, Degrease, and Dry Fully
Kitchen walls collect an invisible film of cooking grease that defeats adhesive on contact. Wash the entire area with a degreasing cleaner, rinse, and let the wall dry completely — not “looks dry,” actually dry. Adhesive bonds to whatever is on the surface; make sure that is clean paint and nothing else.
Plan the Pattern Line Before Peeling Anything
Snap or pencil a level horizontal guideline where the first row will sit, and dry-lay the first few tiles on the counter to see how the pattern lands around outlets and corners. Starting from the most visible point (usually the center of the range wall or the middle of the longest run) keeps cut pieces at the edges where eyes do not go. Crooked first rows telegraph across the whole wall — the guideline is not optional.
Cut Around Outlets With the Breaker Off
Turn the power off at the breaker before working anywhere near outlets — no exceptions. Remove the outlet cover plates, measure and mark the tile, and cut the opening with a sharp utility knife and straightedge, slightly undersized so the cover plate hides the edge when it goes back on. Sharp blades matter more than force; a dull knife tears vinyl and leaves ragged edges. 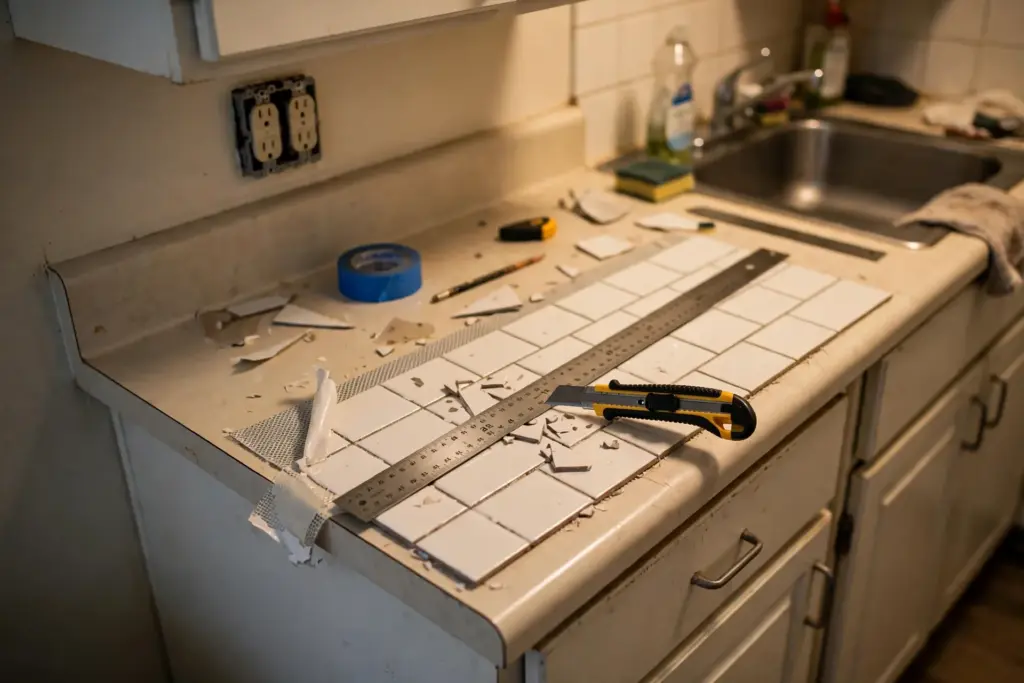
Press With Discipline, Seam to Seam
Peel the backing gradually rather than all at once, align the tile to your guideline, and press from the center outward to chase out air — a plastic smoother or even a credit card wrapped in a soft cloth works. Butt seams tightly with no gaps or overlaps, and press each tile firmly only once you are sure of the placement; heavy early pressure makes repositioning nearly impossible. This step-by-step install guide shows the same press-and-smooth rhythm in detail. 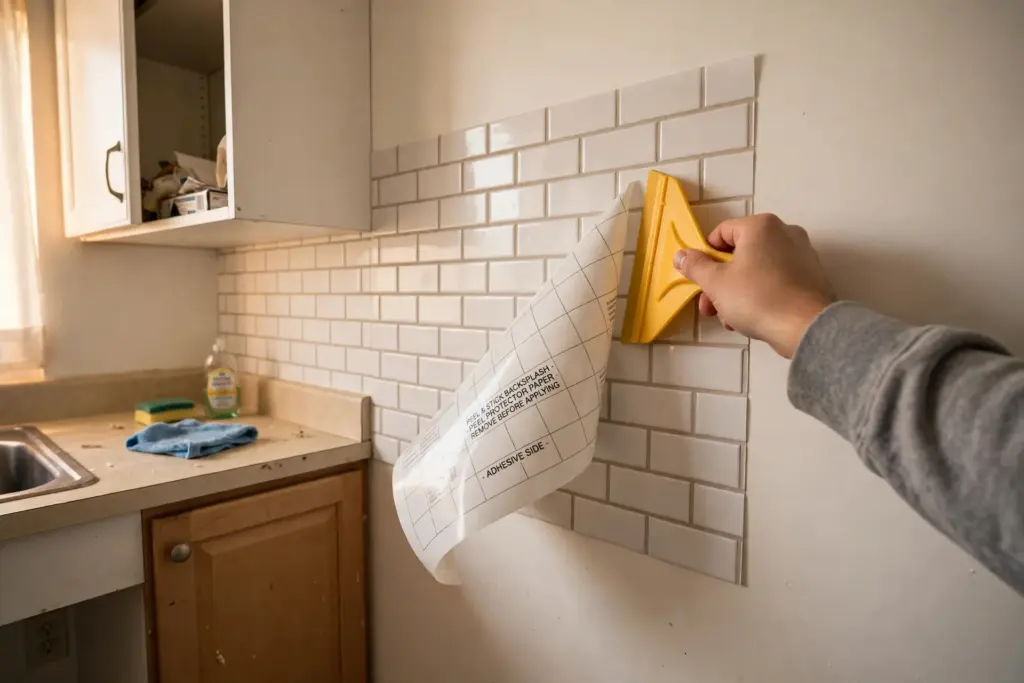
Let It Cure Before the Big Cook
Give the adhesive its stated cure window — check the maker’s instructions — before subjecting the wall to heavy steam and heat from a big cooking session. Adhesive that has fully set holds better and, counterintuitively, often releases more predictably at removal than adhesive that was stressed early.
Step 3: Remove It Cleanly at Move-Out
Removal day is where the whole project is graded. Done right, the wall looks like the day you moved in; done hastily, it looks like a deposit deduction.
Heat, Then Peel Slowly From a Corner
Warm each tile with a standard hair dryer for thirty to sixty seconds to soften the adhesive, then peel slowly from one corner at a low angle — think peeling, not ripping. Work tile by tile, reheating as needed. Speed is the enemy: a slow, steady pull lets the adhesive release from the paint instead of tearing the paint off the drywall. 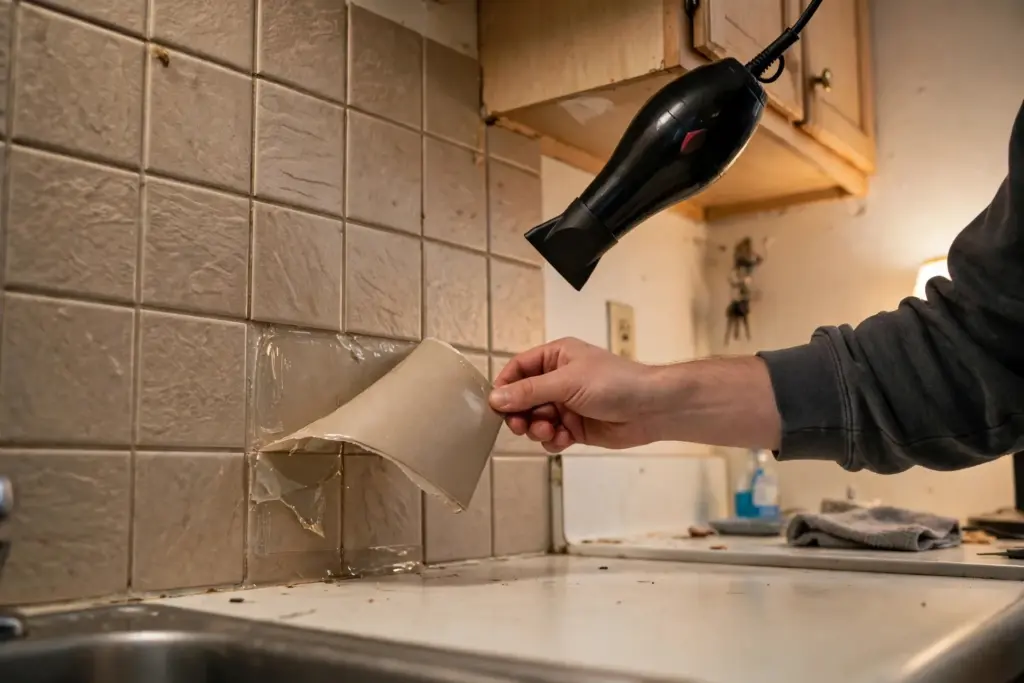
Clean Residue and Assess Honestly
Any leftover adhesive comes off with warm soapy water or a mild adhesive remover and a soft cloth — never a metal scraper, which gouges drywall. Then look at the wall in good light and be honest: on weak or old paint, minor touch-up may be needed even after a perfect removal, and saying so upfront in this guide is exactly why the test patch exists. A small bottle of matched touch-up paint costs far less than a landlord’s repaint charge.
Living With It: Care Between Install and Move-Out
Day-to-day, a peel-and-stick backsplash asks for almost nothing — wipe with a soft cloth and mild soap, skip abrasive scrubbers and harsh chemicals that attack the adhesive edge, and glance at the corners every few months. If an edge starts lifting, it is usually localized heat or steam winning a small battle; press it back down while the wall behind it is clean and dry, and the problem rarely spreads. The same gentle approach works in a bathroom — the test-patch logic in renter-friendly bathroom makeover ideas applies tile-for-tile to bathroom walls, where humidity makes the patch test even more important.
Small kitchens reward this kind of thinking in general: once the backsplash is up, the storage around it deserves the same attention — small apartment kitchen storage ideas and small apartment pantry ideas keep the rest of the room working as hard as the wall now looks.
Peel-and-Stick Backsplash FAQs
Will a peel-and-stick backsplash damage the wall when I remove it?
It depends on the wall, not just the tile. On sound, well-adhered paint over smooth drywall, tiles installed and removed with the heat-and-slow-peel method typically come off cleanly. On old, flaking, or unprimed paint, some paint may lift with the tile — which is exactly what the 48-hour test patch is designed to reveal before you commit to the full wall.
Can I install peel-and-stick backsplash over existing tile?
Yes, as long as the existing tile is smooth, clean, dry, and free of deep grout lines. Glossy flat ceramic tile is an ideal base; textured tile or wide, recessed grout joints leave air gaps that weaken the bond and telegraph through thin vinyl. Degrease thoroughly first — old tile holds years of cooking film.
Is peel-and-stick backsplash safe behind a gas stove?
These products are heat-resistant, not fire-safe. Follow the manufacturer’s stated clearance from burners and open flame, and do not install tile directly behind a cooktop beyond the maker’s rating. Vinyl sheets are the most heat-sensitive class; when a product’s heat guidance is vague, choose a different one rather than guessing.
How do I remove peel-and-stick backsplash at move-out?
Warm each tile with a hair dryer for 30 to 60 seconds to soften the adhesive, then peel slowly from one corner at a low angle, reheating as you go. Clean any residue with warm soapy water or a mild adhesive remover — never a metal scraper. Inspect the wall in good light afterward; on weak paint, a small touch-up may still be needed.
A peel and stick backsplash for renters earns its place the same way every good rental upgrade does: it looks intentional while it is up and disappears without a trace when it comes down. Choose the lightest material class your style allows, respect the test patch, install with patience, and remove with heat and a slow hand — and the wall behind it will never know you were there.
Keep Reading
- 17 Renter-Friendly Kitchen Makeover Ideas on a Budget (No Renovation) — the parent guide this backsplash project belongs to.
- 17 Small Apartment Kitchen Storage Ideas for Renters — storage that works around your new backsplash.
- 15 Small Apartment Pantry Ideas for Kitchens With No Pantry — the pantry half of the kitchen equation.