17 Renter-Friendly Kitchen Makeover Ideas on a Budget (No Renovation)
The best rental kitchen makeover ideas do not need a contractor, a paintbrush on the cabinets, or permission for a renovation. They work in layers: quick swaps first, removable surfaces second, and freestanding pieces that leave with you at move-out. This guide sequences 17 ideas by impact per dollar, so a small rental kitchen can look deliberate and finished on a budget — and every change can be reversed, refitted, or packed up when the lease ends.
Before starting, photograph the kitchen as it is, keep every original knob, bulb, and fixture in one labelled box, and check the lease for clauses about adhesives or appliances. When in doubt, choose the freestanding version of an idea over the stick-on version.
Start With the 20-Minute Wins
These four changes cost the least, need no adhesive, and set the finish palette the weekend projects should match.
1. Swap Cabinet Knobs and Pulls
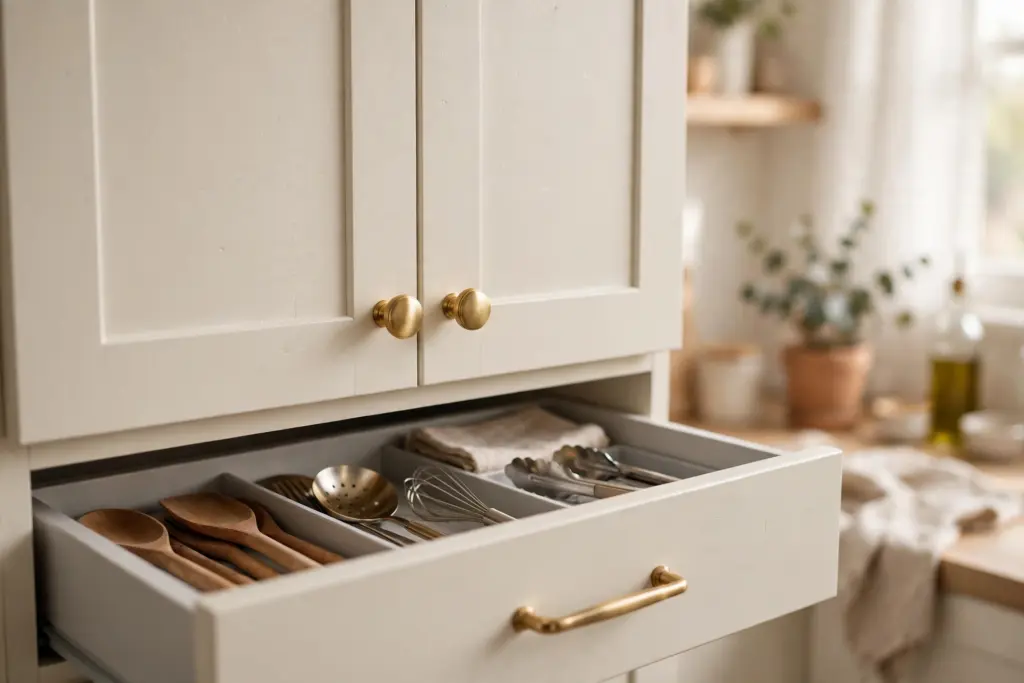
New hardware is the fastest visual upgrade in a rental kitchen. Measure the screw spacing on pulls so replacements use the same holes, and fit one finish throughout — matte black, brushed brass, and brushed nickel all suit plain cabinets. Keep every original piece labelled in a zip bag so refitting at move-out takes minutes. Reverses in: about 20 minutes.
2. Replace Harsh Bulbs With Warmer Ones
Many rental kitchens feel stark because of one cool, blue-white bulb. Warm-white bulbs in the 2700K–3000K range, fitted into the existing fixtures, make wood and tile look richer — no wiring, no fixture change. Keep the originals in the labelled box. Reverses in: two minutes per bulb.
3. Lay a Washable Runner Over Tired Flooring
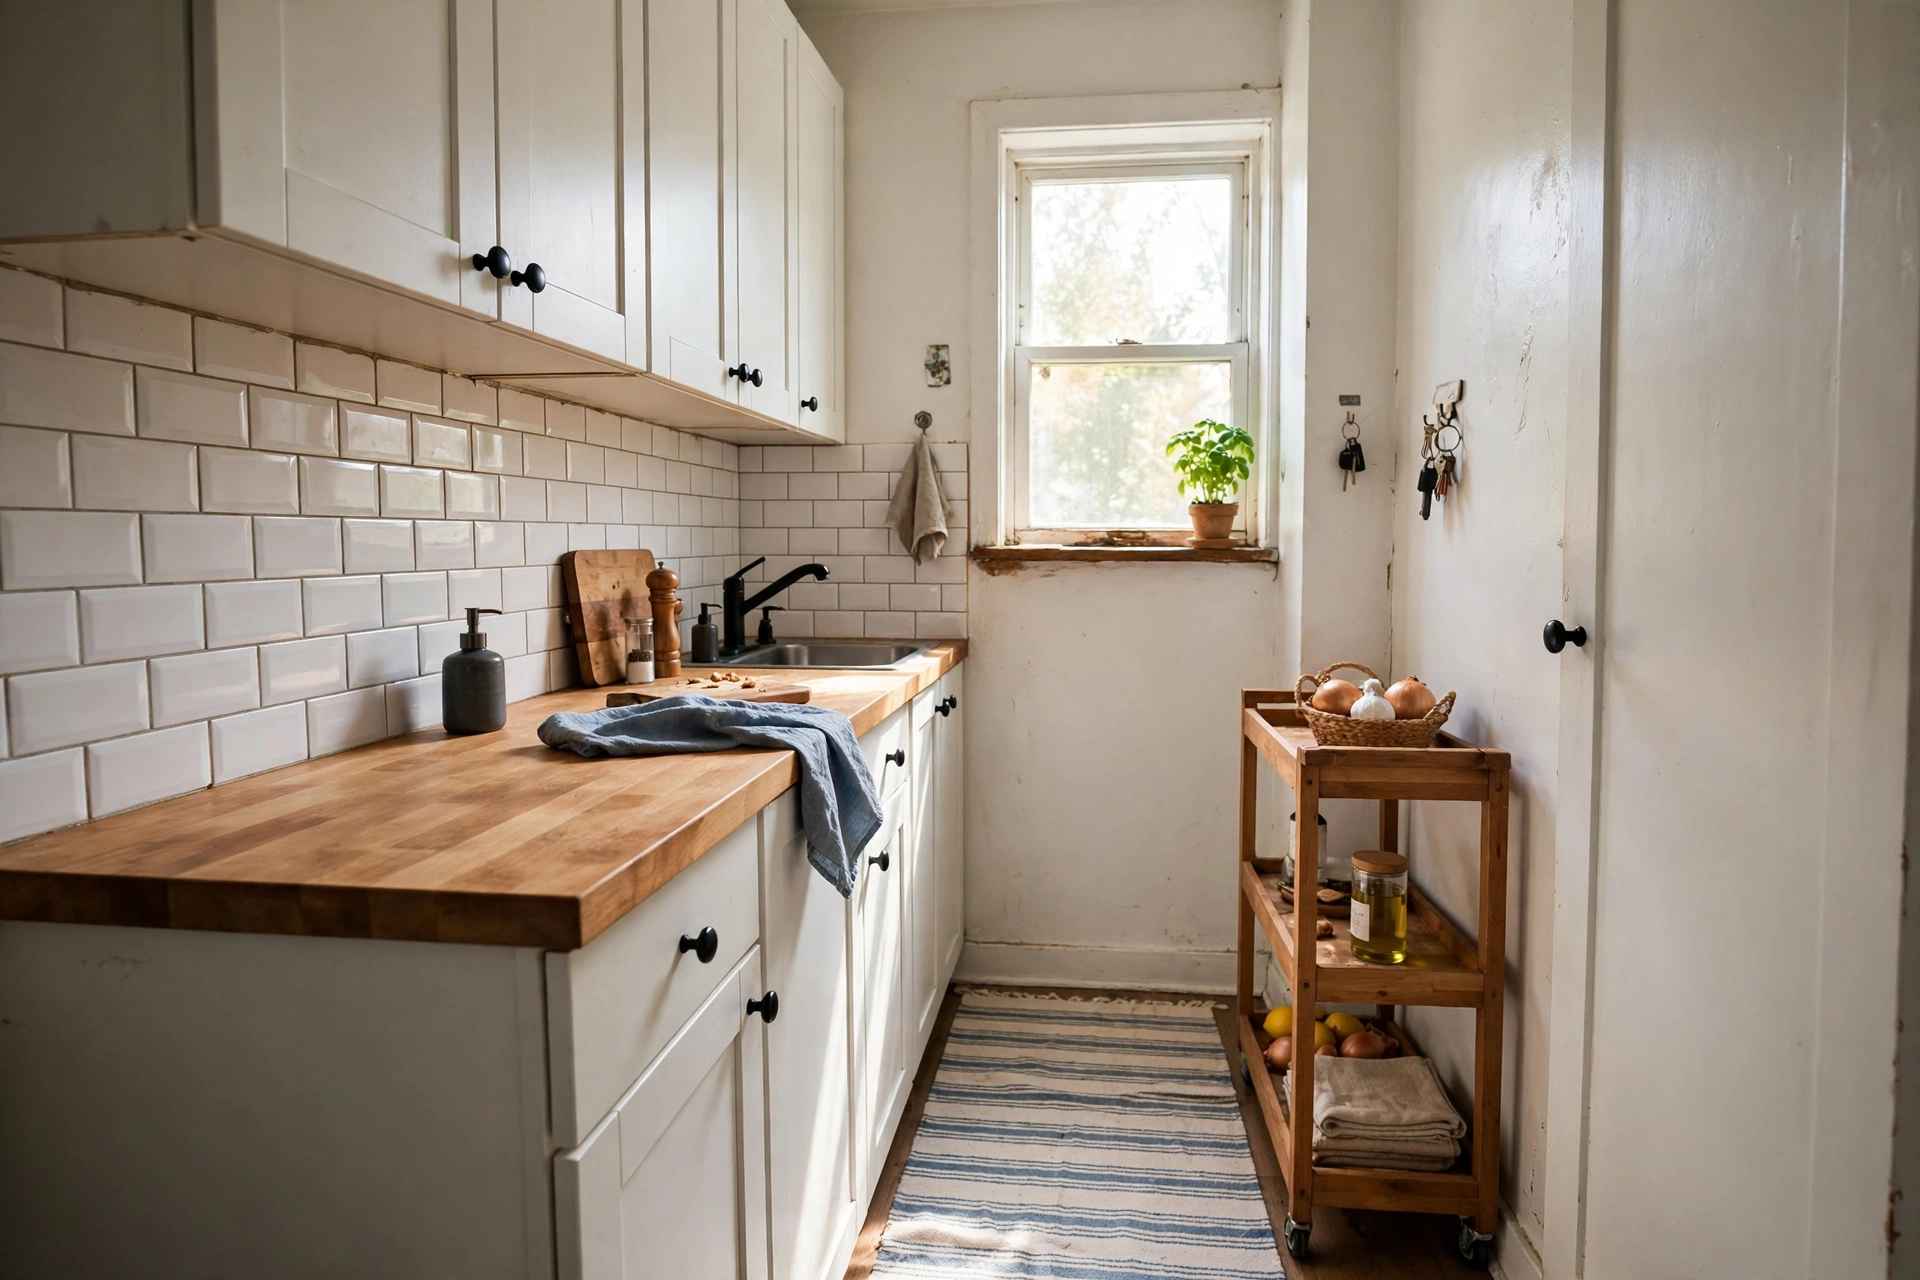
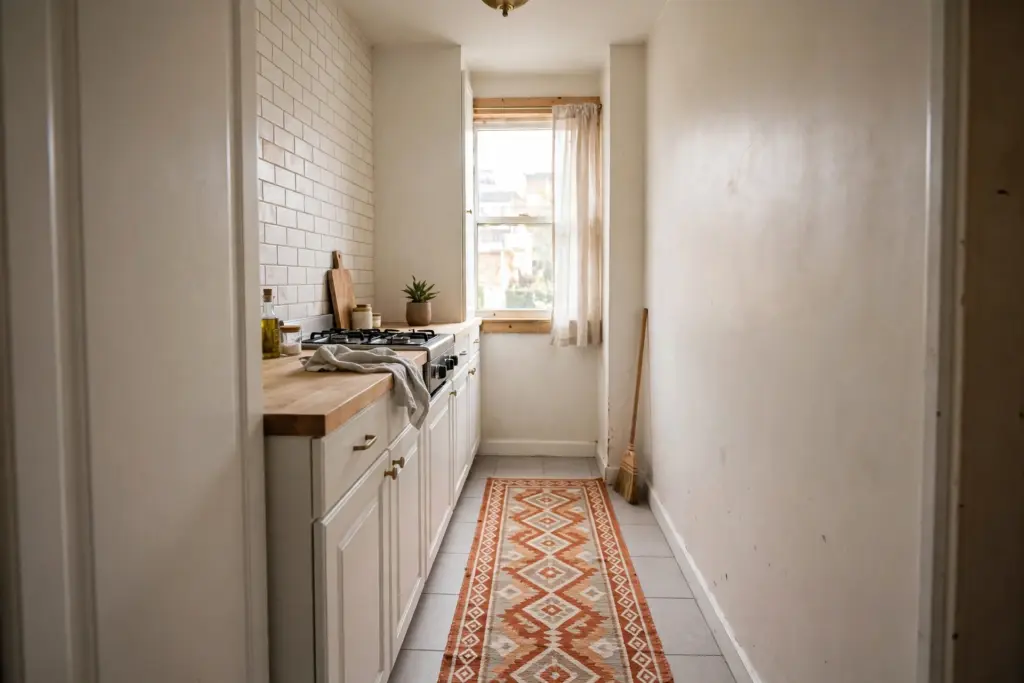
A low-pile, washable runner hides stained tile or worn vinyl, softens a narrow galley, and introduces the one pattern the room can echo. Add a thin non-slip pad underneath, and choose machine-washable fabric — a kitchen runner earns its keep only if spills are easy to deal with. Reverses in: one minute.
4. Add Battery Under-Cabinet Lighting
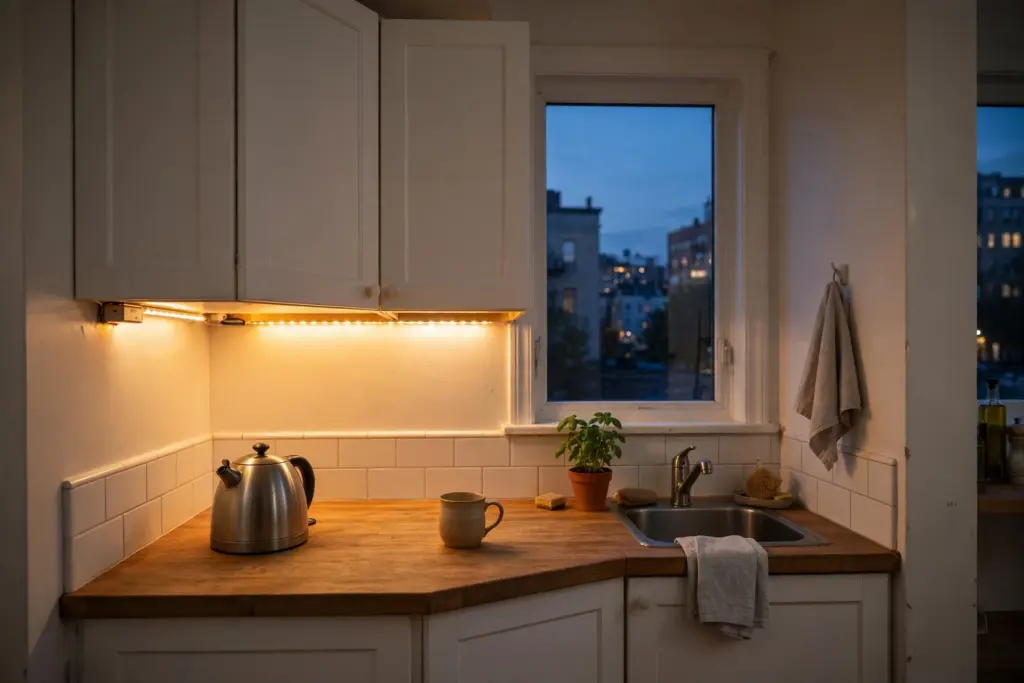
Battery or rechargeable LED strips and puck lights stick or magnet-mount under wall cabinets and light the counter where work happens. Nothing is hardwired, so no electrician is needed. Warm-white light matches Idea 2 and flatters the backsplash at night. On removal, warm adhesive pads gently and peel slowly. Reverses in: about 10 minutes.
Weekend Surfaces That Peel Off Again
Surface changes deliver the biggest effect — and need the most care. Test any adhesive in a hidden patch first, and follow that product’s own heat and moisture guidance; one brand’s removal promise does not transfer to another. The most reliable rental kitchen makeover ideas in this section are the ones tested small before they are applied big.
5. Install a Peel-and-Stick Backsplash
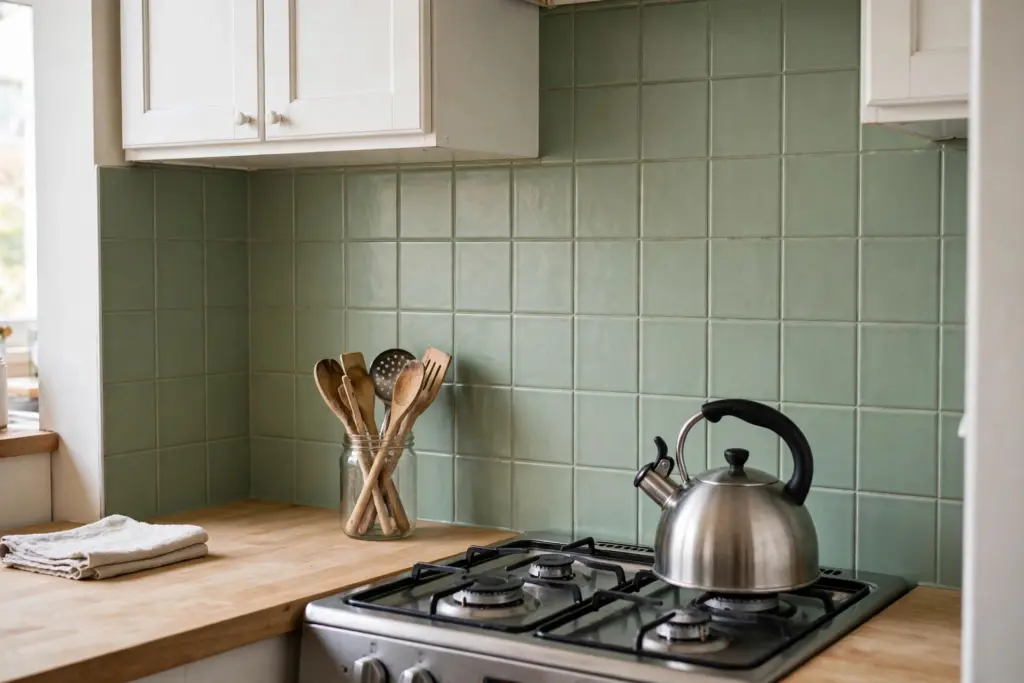
Peel-and-stick tiles or panels cover a plain painted backsplash with a subway, square, or patterned finish. Clean and fully dry the wall first, plan from the most visible corner, and smooth each piece firmly. Keep products clear of direct flame and high heat — check the manufacturer’s heat rating and stove clearance for the exact product, because ratings vary. Removal usually involves gentle heat to soften adhesive and a slow peel; guidance on temporary backsplash options is covered by Apartments.com’s renter-friendly kitchen guide. Reverses in: roughly an hour, with care. For the full walkthrough, see our peel-and-stick backsplash for renters guide: choosing the right material class, installing with discipline, and removing it cleanly at move-out.
6. Cover Counters With Removable Contact Paper
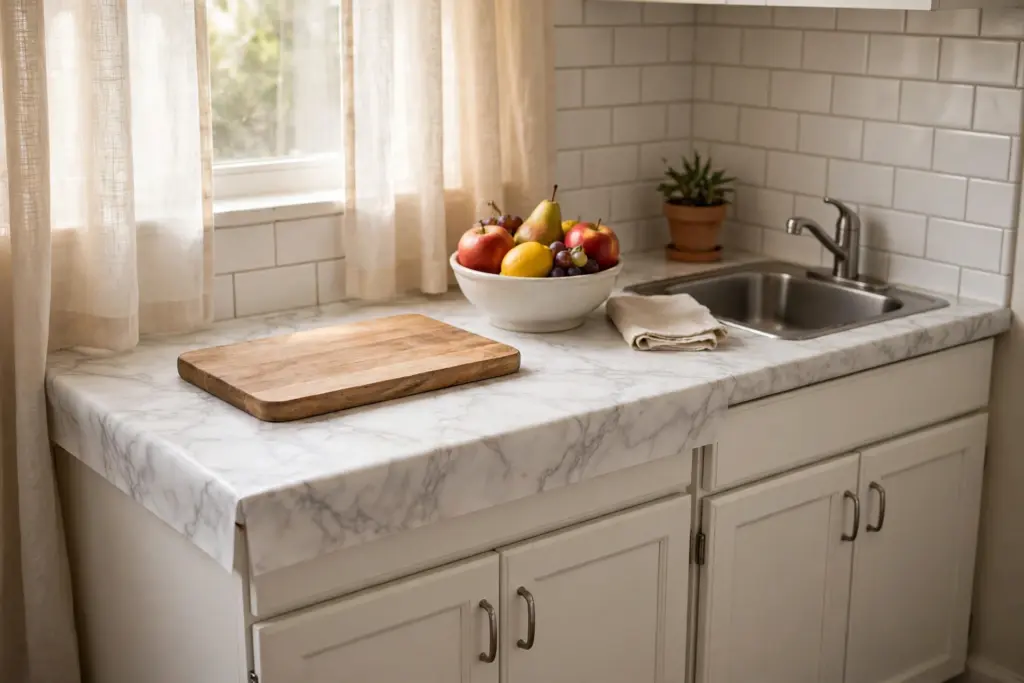
Marble-look or wood-look contact paper covers tired laminate for a fraction of replacement cost. Apply it in long runs, smooth bubbles as you go, and seal edges near the sink. Its limits matter: it is a cosmetic film, not a work surface — always use a cutting board and a trivet, never place heat directly on it, and expect high-wear areas to need patching first. Reverses in: about 30 minutes.
7. Refresh Cabinet Fronts With Removable Film
If the lease allows adhesive film — and only then — flat cabinet fronts can take removable vinyl film in sage, warm white, or pale wood. Recessed shaker-style fronts are harder to wrap cleanly. Painting cabinets is permission-first, never a default renter move, and is not on this list. Test one inside door and confirm clean removal first. Reverses in: varies; test first.
8. Give the Fridge a Job, Not Just a Finish
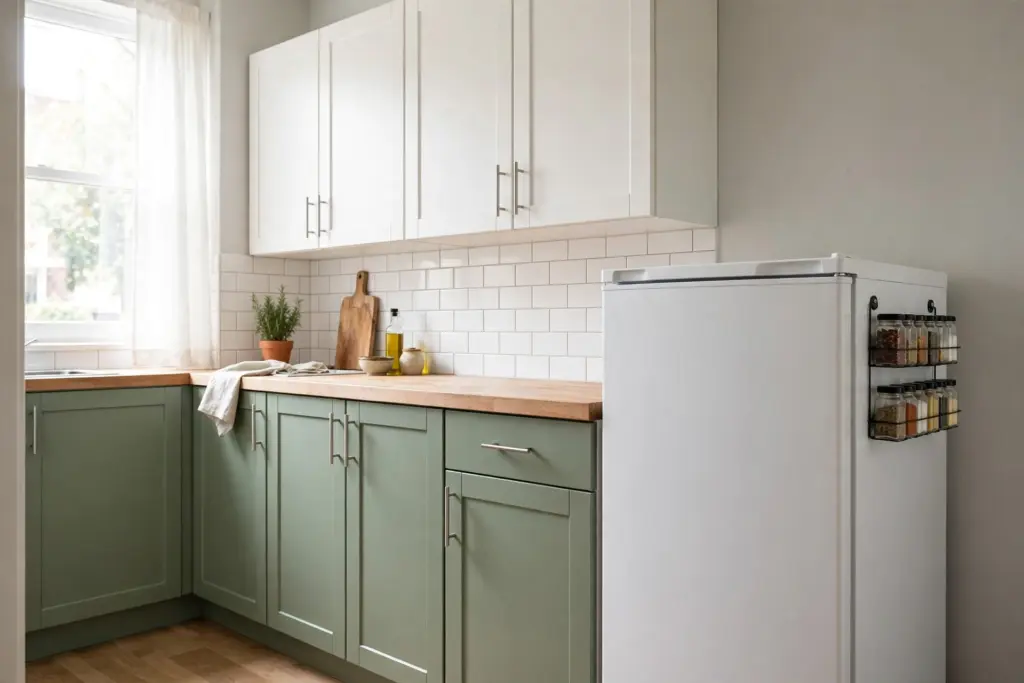
A plain fridge side is wasted storage. A magnetic spice rack or magnetic hooks turn that side panel into a working pantry wall with zero adhesive and zero holes. For a full no-pantry system, see our small apartment pantry ideas guide with 15 renter-safe fixes. Fridge-front film exists, but skip it if the lease lists appliances as unchangeable — magnets deliver most of the benefit with none of the risk. Reverses in: seconds.
9. Consider Peel-and-Stick Floor Tiles — With Cautions
Peel-and-stick floor tiles can transform a dated floor, and budget makeover stories often feature them — The Kitchn’s $300 rental kitchen makeover is a well-known example of a sequenced, low-budget approach. For renters, the cautions come first: moisture can become trapped under tiles in wet zones, adhesive behavior varies by the floor underneath, and a result that is deposit-safe on one floor type may not be on another. In many rentals the runner in Idea 3 is the smarter floor fix. If floor tiles are used at all, keep them out of standing-water areas, test removal in a corner, and confirm the lease allows them. Reverses in: varies; qualify expectations before starting.
Add Pieces Instead of Attaching Them
Everything in this section is furniture, not a fixture. These rental kitchen makeover ideas improve storage and prep space, and every piece moves out with you. For the storage logic behind these picks, the companion guide to small apartment kitchen storage ideas goes deeper on fitting more into the same footprint.
10. Bring In a Freestanding Cart or Small Island
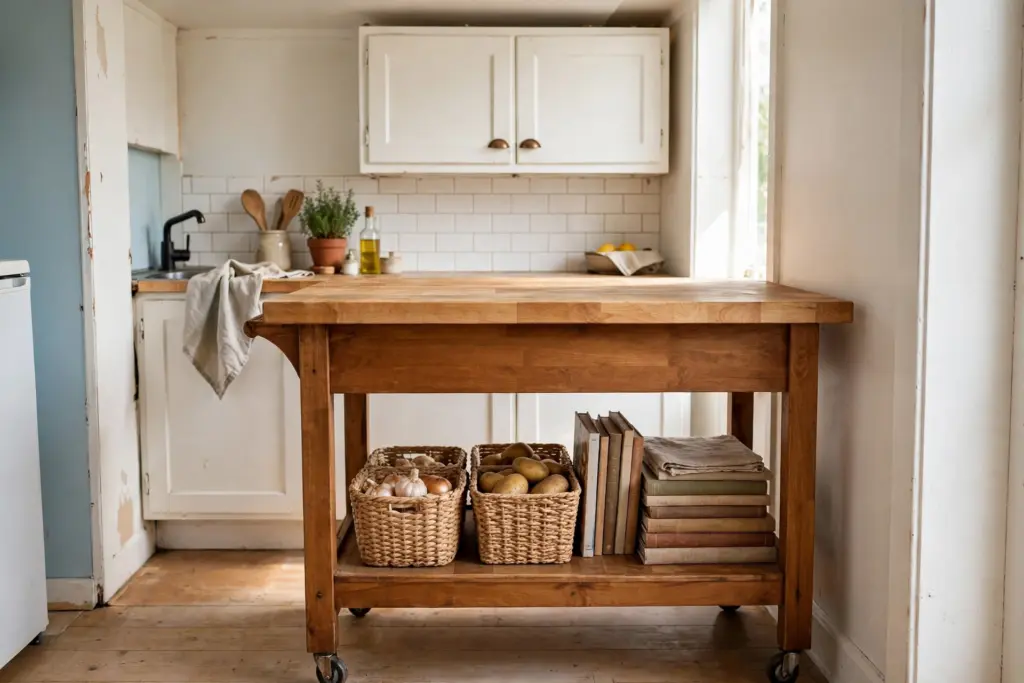
A rolling butcher-block cart adds the prep surface and lower storage most rental kitchens lack. Measure the walkway first so a comfortable passing gap remains, and choose locking casters so it stays planted while chopping. Baskets below keep produce and linens tidy. Reverses in: zero minutes.
11. Use a Freestanding Shelf Unit or Tension Shelving
A narrow freestanding shelf unit, or tension-pole shelving between counter and cabinet underside, adds open storage without a screw. Screwed floating shelves are permission-first and leave holes. Keep everyday dishes low, lighter items high, and follow the manufacturer’s weight guidance. Reverses in: about 15 minutes.
12. Add an Over-Sink Rack or Dish Drainer
An over-sink rack reclaims the dead space above the sink for drying dishes, holding soap and brushes, or parking a cutting board. Measure the faucet height before ordering, since tall faucets limit which racks fit. Stainless or coated finishes handle constant water best. Reverses in: two minutes; it lifts off.
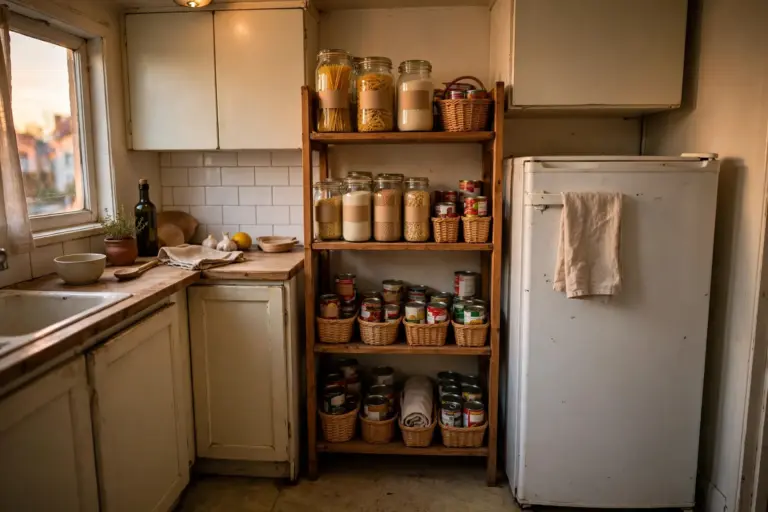
13. Decant Into Matching Containers
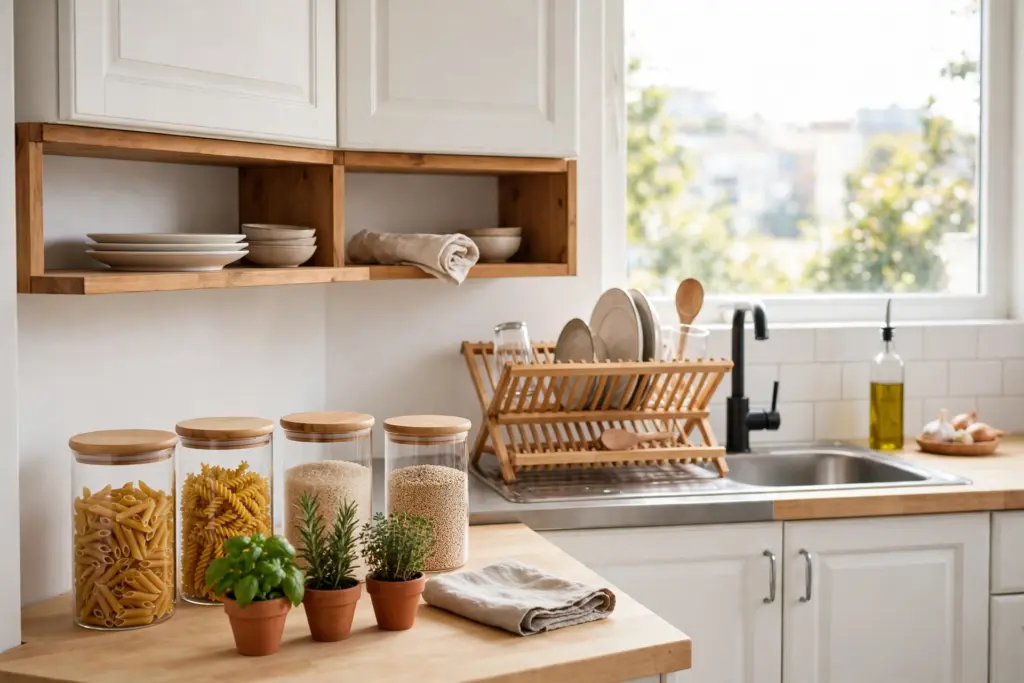
Open storage looks styled instead of cluttered when containers match. Decant pasta, grains, and flour into one family of clear jars with the same lid finish; clear sides show what needs replacing. Keep cooking times from the packaging in a phone note. This pairs with the broader approach in renter-friendly apartment decorating ideas: one repeated finish does more than five competing ones. Reverses in: not applicable — nothing is attached.
14. Layer In a Plug-In Pendant or Small Lamp
A plug-in pendant with a fabric cord cover, hung from a hook rated for its weight, adds a focal point without rewiring; in a tiny kitchen, a small counter lamp does a similar job. Screwed ceiling hooks are permission-first, and adhesive hooks must be load-rated. Keep cords clear of stove and sink. Reverses in: about 10 minutes.
15. Treat the Faucet as Permission-First
A faucet swap involves shut-off valves, seals, and leak risk, so it is ask-first, never a default. If permission is refused, refresh around it instead: a new soap dispenser and the under-cabinet light in Idea 4 draw the eye elsewhere. With written permission, keep the original faucet and fittings bagged for exact refitting.
The Styling Finish That Ties It Together
The last two ideas cost the least and do the unifying. They borrow the same removable-surface thinking covered in the guide to peel-and-stick wallpaper for renters — test first, keep it reversible, and repeat a small palette until the room reads as one idea.
16. Repeat One Color Through Textiles
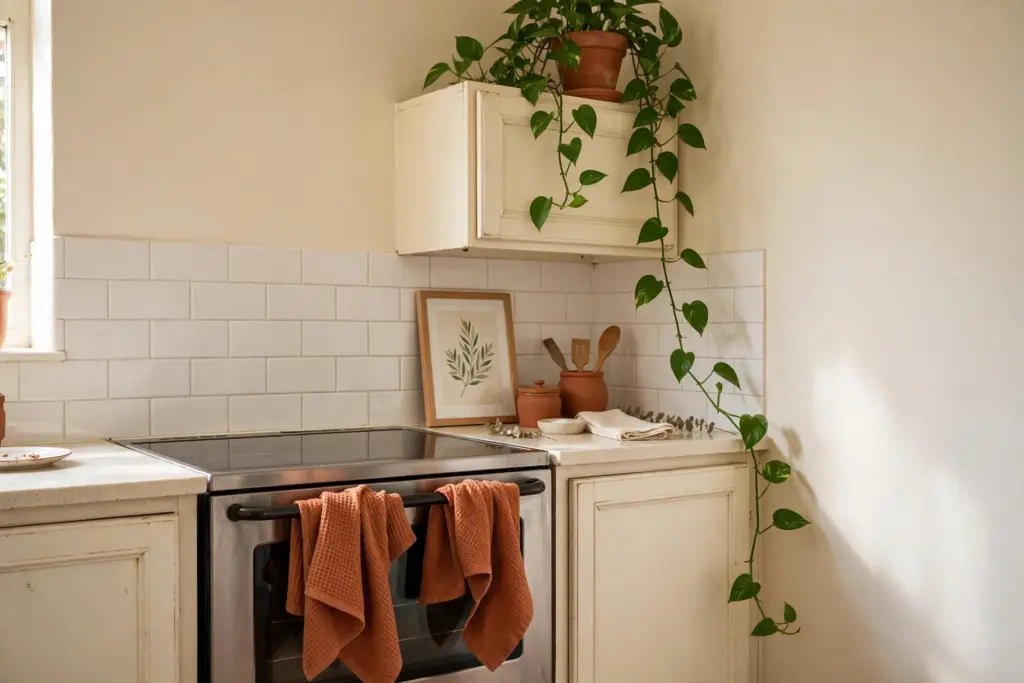
Pick one accent color — terracotta, sage, and warm ochre suit plain rental kitchens — and repeat it two or three times: dish towels, an oven mitt, and one ceramic piece on the counter. Repetition separates a styled kitchen from unrelated purchases, and textiles are washable and portable. Reverses in: zero minutes.
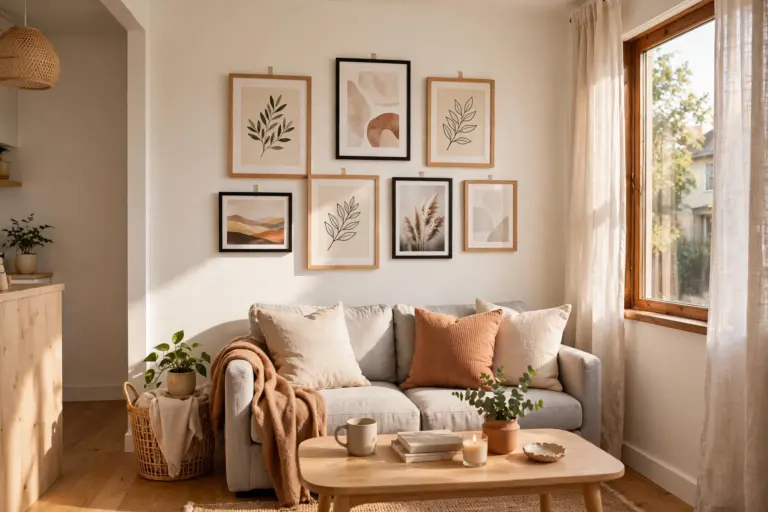
17. Finish With Small Art and One Plant
A small framed print leaned against the backsplash or hung on a removable strip rated for its weight, plus one plant — a windowsill herb or a trailing pothos atop a cabinet, clear of stove heat and steam — gives the room a finished edge. Choose the plant for the light the window actually provides. Reverses in: minutes.
What to Skip, Even on a Budget
Painting cabinets or walls without written permission risks the deposit however good it looks. Screwed shelving turns a weekend project into a repair bill. Permanent flooring over the landlord’s floor can trap moisture. Good rental kitchen makeover ideas keep move-out costs at zero.
Frequently Asked Questions (FAQ)
How much does a rental kitchen makeover cost?
Cost depends on how many layers are used. The 20-minute wins — hardware, bulbs, and a runner — are typically the lowest-cost tier, surface products such as backsplash and contact paper sit in the middle, and a freestanding cart is usually the single largest purchase. Prices vary by store and region, so sequencing by impact per dollar matters more than any total.
Will peel-and-stick products damage walls or counters?
Results vary by product, surface, and how long the product stays up. Smooth, clean, fully dry surfaces give the cleanest removal. Always test a hidden patch first, follow the manufacturer’s removal instructions, and use gentle heat to soften adhesive rather than forcing a peel. Nothing adhesive should be promised as damage-free on every surface.
Do I need landlord permission for a rental kitchen makeover?
Freestanding furniture, textiles, magnetic organizers, and bulb or hardware swaps that refit exactly usually need no permission. Adhesive films, floor tiles, ceiling hooks that screw in, painting, and any plumbing change should be checked against the lease first — and plumbing or painting should have written permission before work starts.
What should I do first if I can only pick three ideas?
Start with hardware (Idea 1), warmer bulbs plus under-cabinet light (Ideas 2 and 4), and a washable runner (Idea 3). Together they change the finish, the light, and the floor — the three things noticed first — with no adhesive and the lowest spend.
How do I undo everything at move-out?
Work in reverse order: pack freestanding pieces, remove textiles and magnets, warm and peel surface products slowly, then refit every original knob, bulb, and fixture from the labelled box kept at the start. Photograph each room once it is back to its original state.