Herringbone Peel and Stick Tile Ideas for Renters
Herringbone peel and stick tile is the fastest way to give a rental the look of a custom-tiled home — no grout, no thinset, no landlord panic. The zigzag pattern adds movement and a designer feel to even the plainest builder-grade kitchen or bathroom, and each sheet peels off at move-out.
This guide rounds up 12 ideas for every room, from a classic cream backsplash to a bold black accent wall, a herringbone fireplace surround, and floor planks that read like real tile — plus renter checks to run before buying and a step-by-step for installing and removing the tile without damage. Pair it with our guide to renter-friendly apartment decorating ideas.
Before You Buy: 4 Renter Checks That Protect Your Deposit
Run through these four checks before ordering a single box.
1. Read the lease and ask in writing. Some leases ban adhesive wall coverings outright; others allow them only with written permission. A short email to your landlord costs nothing, while an unauthorized wall treatment can cost a repaint. Keep the permission with your lease paperwork.
2. Test the surface first. Peel-and-stick tile grips best on smooth, clean, satin or semi-gloss paint. Textured walls, rough plaster, and matte or flat paint are the risky ones: the adhesive can fail to bond — or lift paint on removal. Press a sample sheet in a hidden corner, leave it a week, then peel it off slowly. If paint comes with it, choose a different wall or skip the tile.
3. Check the heat rating before tiling near a stove. Vinyl peel-and-stick tile is not rated for direct, sustained heat the way ceramic is, so never place it right against a gas burner or an open flame. Check the manufacturer’s own heat rating for the exact product, keep tile a safe distance from the cooktop, and use a heat-resistant panel behind the stove if the listing calls for one.
4. Measure, then order extra. Herringbone wastes more material than a straight grid because every edge piece needs cutting at an angle. Measure the area, add at least 10 percent for cuts and mistakes, and order one extra box for repairs. A cutting plan on paper — where each angled edge will fall — saves more tile than any tool.
12 Herringbone Peel and Stick Tile Ideas for Renters
Start with the smallest area that bothers you most — a backsplash or a powder-room wall — and tile that first.
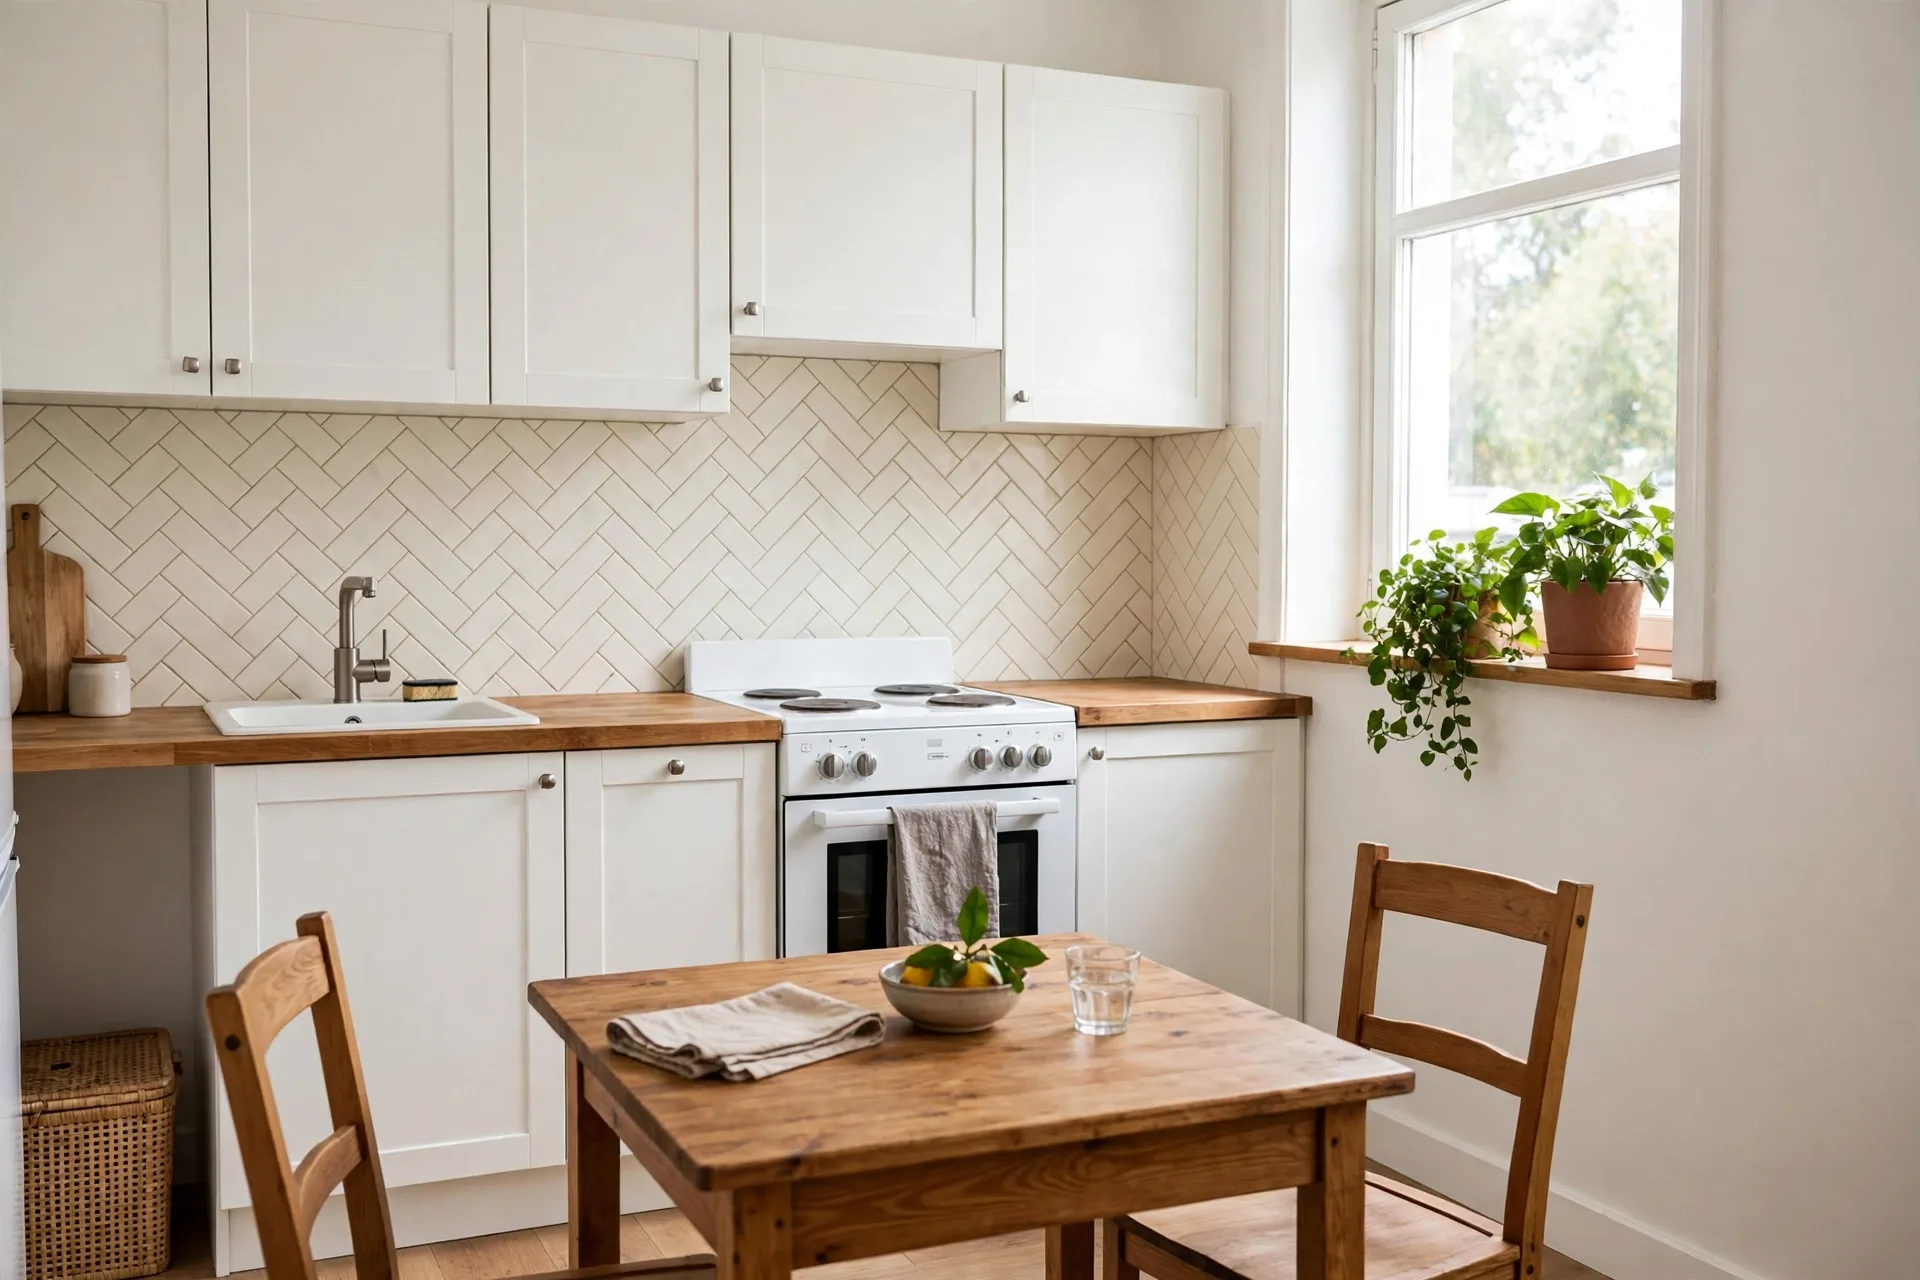
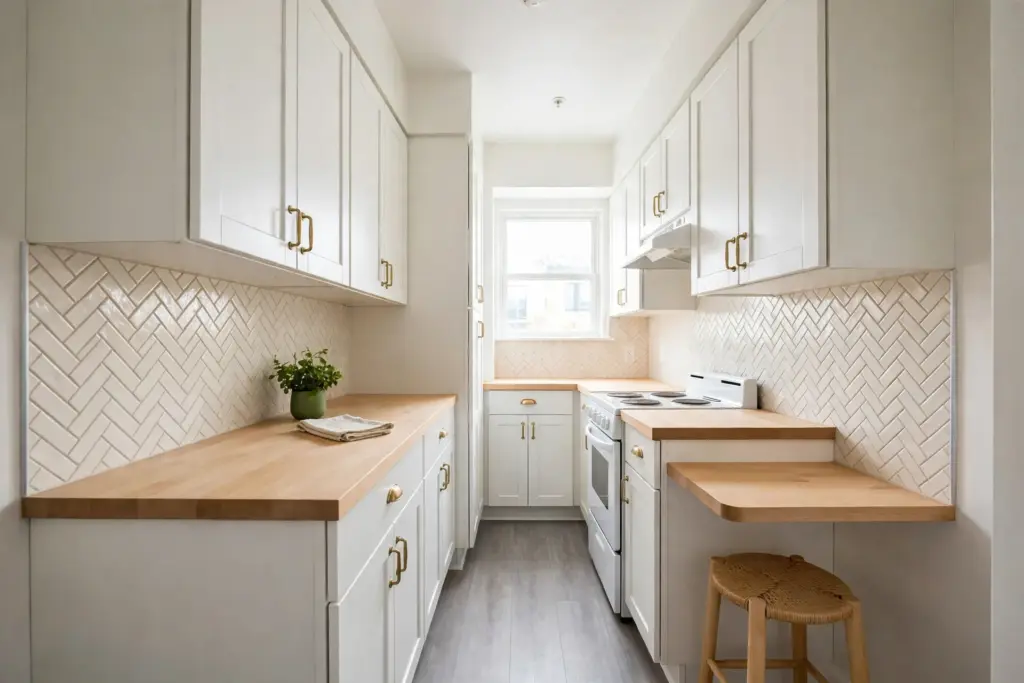
1. Cream Herringbone Backsplash in a Small Kitchen
A cream herringbone backsplash is the safest first move: warm and bright. The zigzag makes a plain white kitchen feel designed, and cream tiles bounce light around a small galley kitchen. Keep counters clear and add brass or black hardware to pick up the pattern’s lines. For more renter-safe kitchen ideas, see our peel-and-stick backsplash ideas for renters.
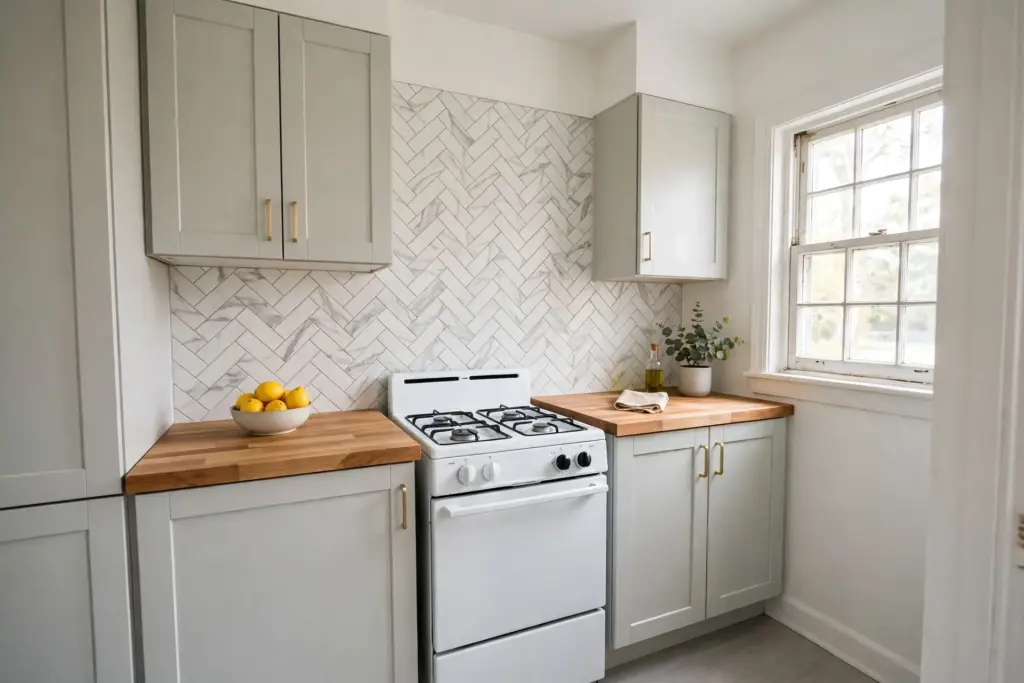
2. White Marble-Look Herringbone Behind the Stove
White marble-look herringbone gives a rental kitchen the feel of a much more expensive renovation for the price of a few boxes of tile. The grey veining hides splashes better than plain white. Keep the tile off the hottest zone directly behind the burners — check the manufacturer’s heat rating first — and use a heat-resistant panel there if the product calls for one. Nook and Nest Living’s renter-friendly backsplash ideas show how far a single tiled wall can carry a kitchen.
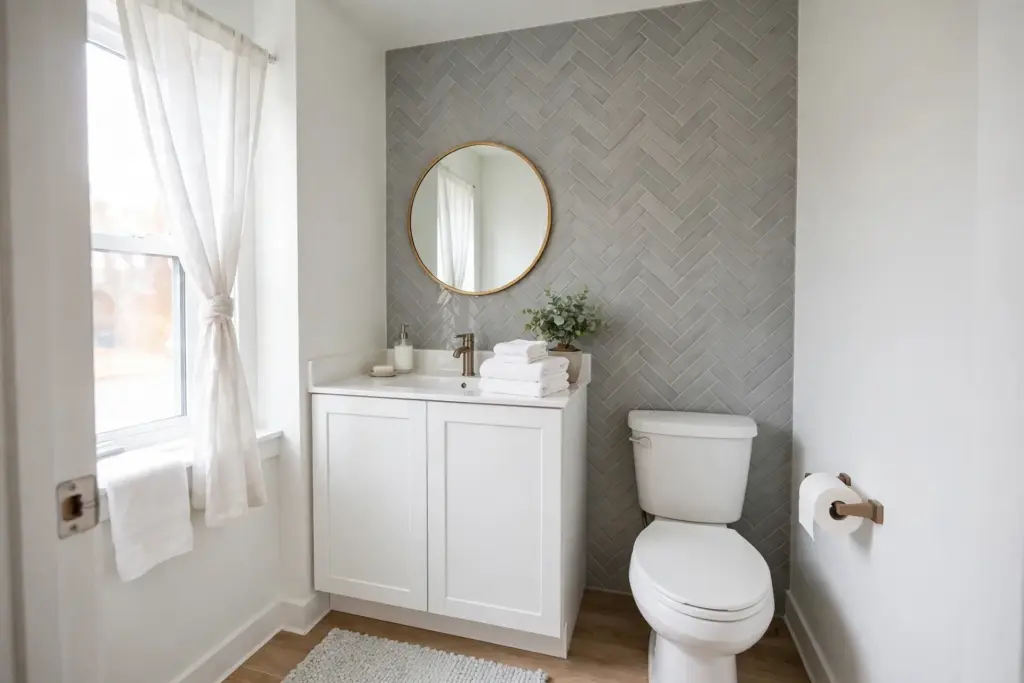
3. Soft Grey Herringbone in the Bathroom
Soft grey herringbone suits a bathroom: calm, clean, and forgiving of water spots. Tile the wall behind the vanity mirror, where the pattern frames your reflection, and keep towels and fixtures white so the grey stays the star. Choose a vinyl tile rated for humidity, and avoid the wall directly inside the shower, where constant water can loosen the adhesive.
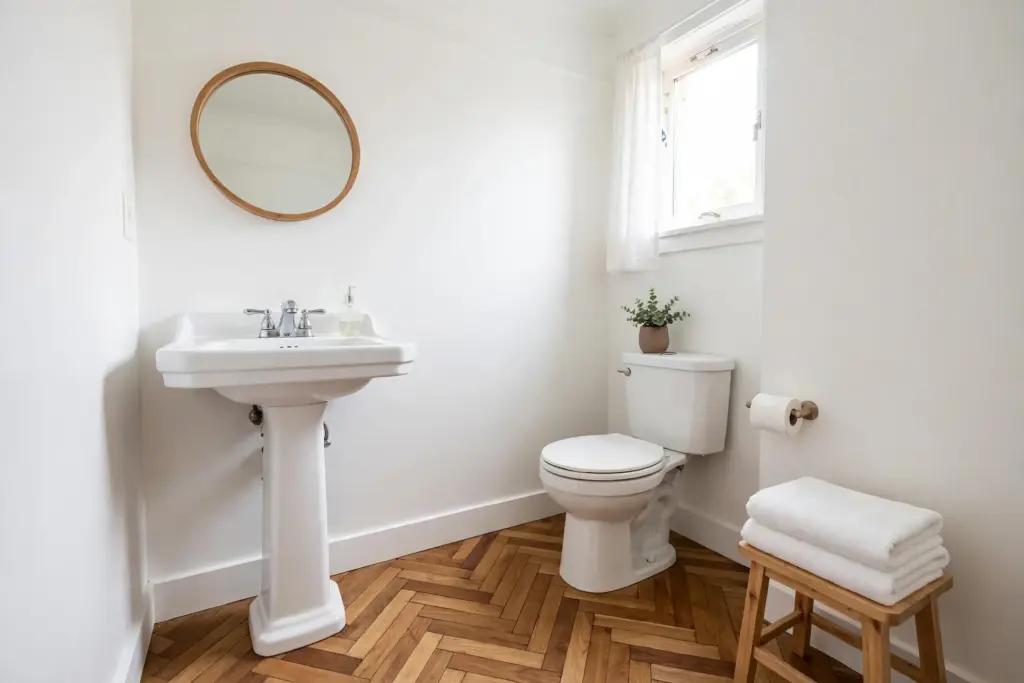
4. Herringbone Floor Planks in a Tiny Bathroom
Peel-and-stick floor planks laid in herringbone turn a tired bathroom floor into the room’s best feature — no grout, no thinset, no contractor. The zigzag reads like real tile from the doorway and hides the seams between planks. Clean the old floor thoroughly first, since dust is the enemy of floor adhesive, and run the pattern from the door so the eye follows it in.
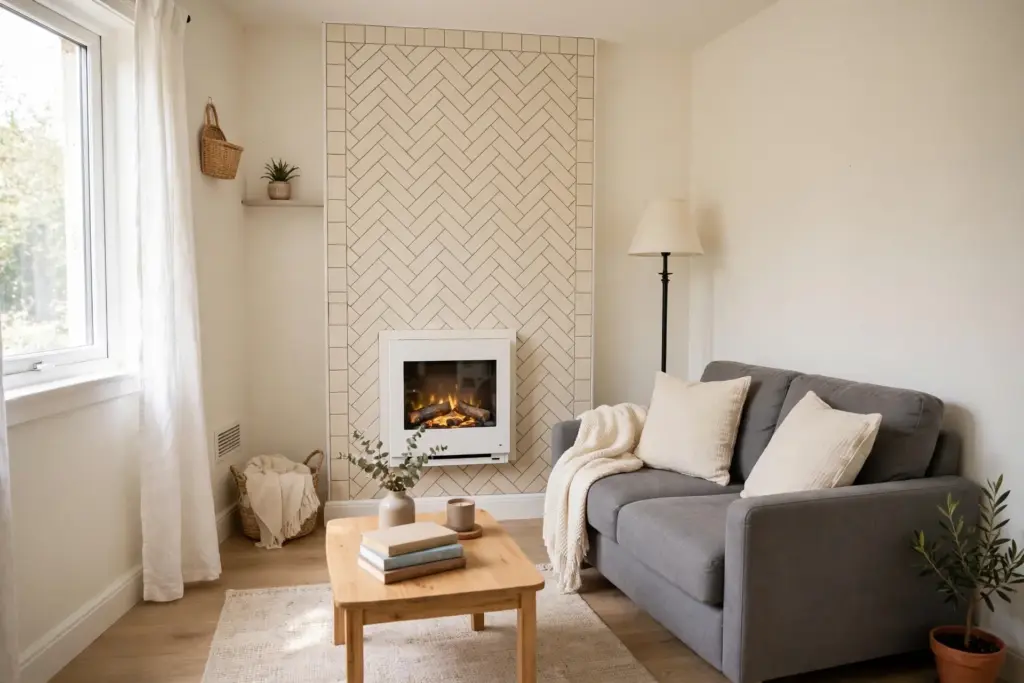
5. Herringbone Fireplace Surround
A fireplace surround is a small surface with an outsized payoff, and herringbone tile makes it the focal point of the whole room. Cream or warm grey tile around a simple electric or unused fireplace reads like a custom surround, and the pattern’s angles echo the firebox shape. This suits electric fireplaces and decorative surrounds — keep tile clear of any real flame or hot surface, and check the lease before covering a working fireplace. See our fireplace peel and stick tile ideas for more surround options.
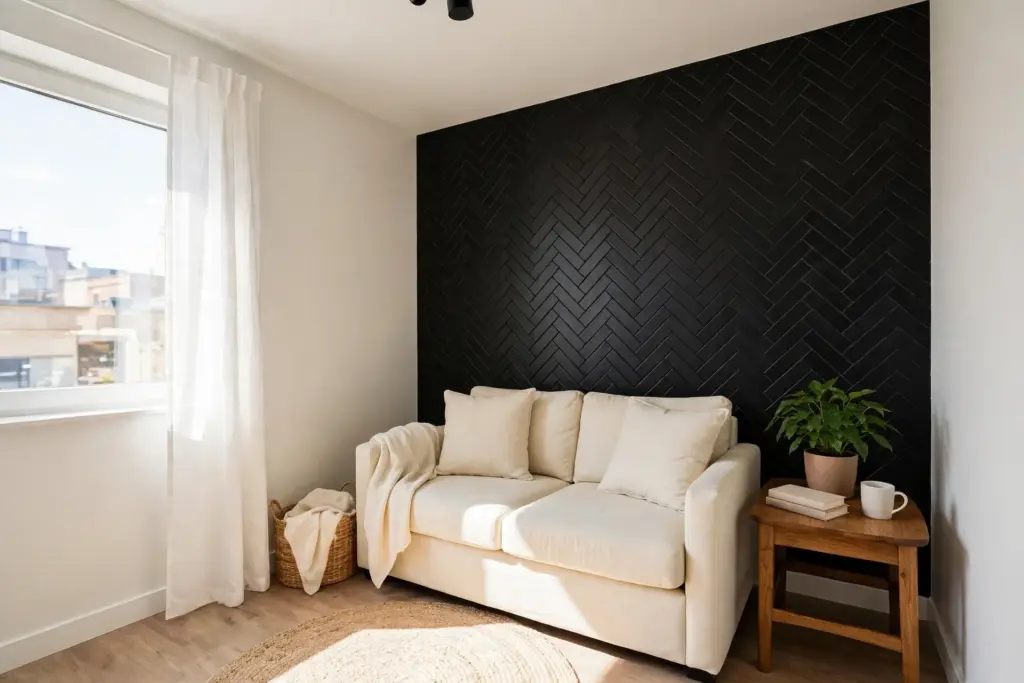
6. Bold Black Herringbone Accent Wall
Black herringbone is the boldest idea in this guide, and it works because the pattern breaks up the darkness — the zigzag catches light at every angle instead of swallowing it. One black accent wall behind a sofa or a bed makes the rest of the room feel lighter by contrast. Keep furniture light, add one warm wood piece, and let the wall do the talking.
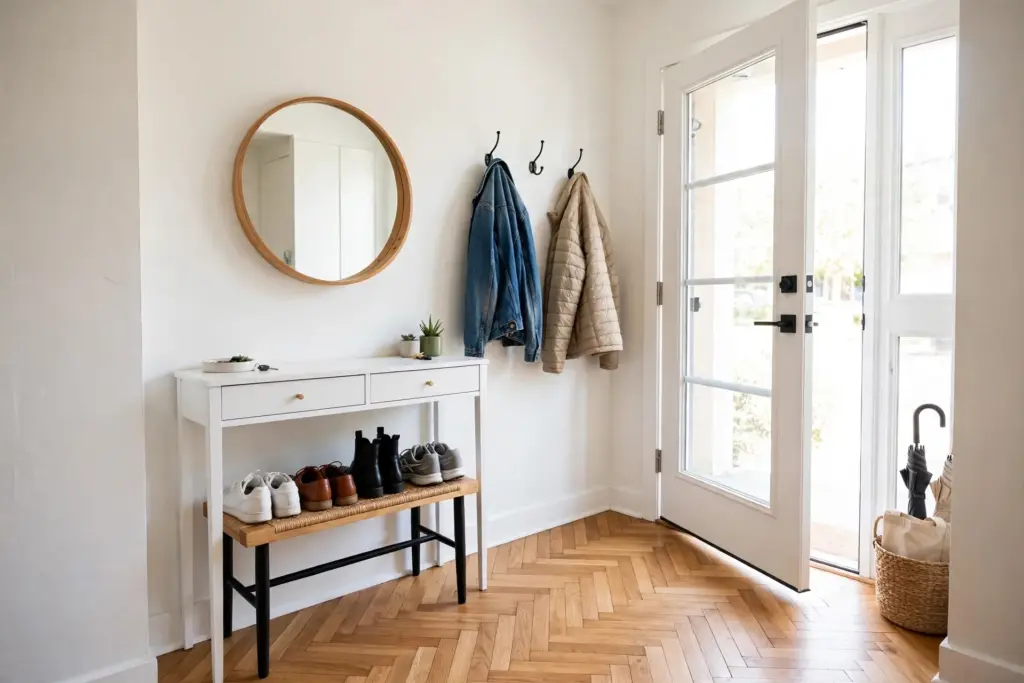
7. Herringbone Entryway Floor That Welcomes You Home
An entryway is a small area, so it is the cheapest place to try a bold floor. Herringbone planks in a warm wood tone or a classic black-and-white tile look define the entry zone the moment the door opens — and the pattern hides scuffs and dirt better than a straight grid. Add a narrow console and a mirror, and the entryway stops being a hallway and starts being a room.
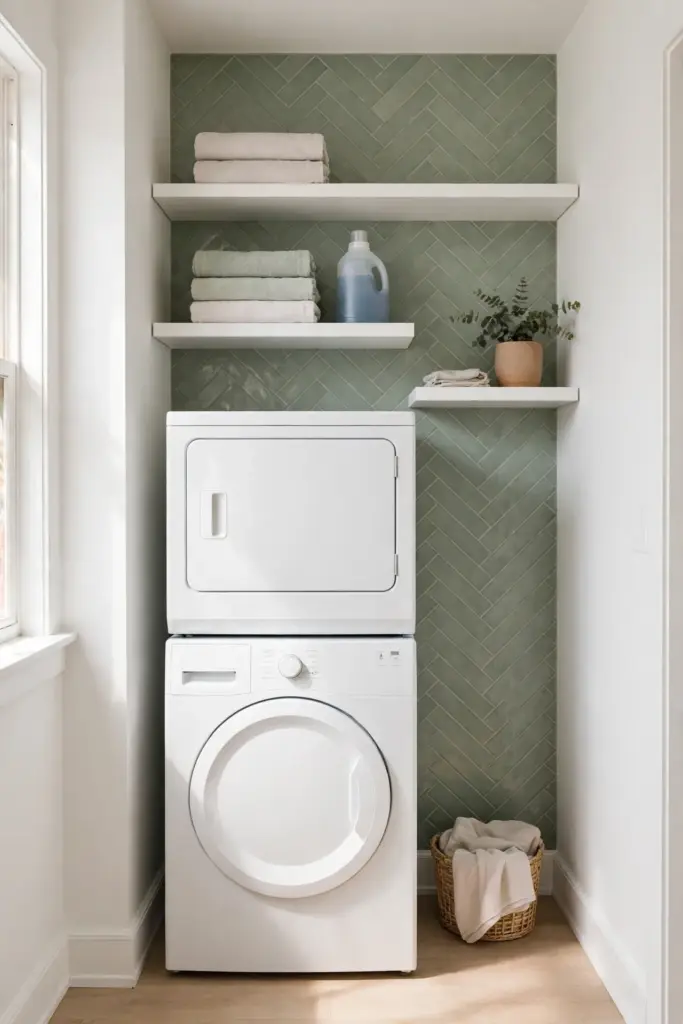
8. Sage Green Herringbone in the Laundry Nook
A laundry nook is the room nobody photographs — which is exactly why sage green herringbone tile transforms it. The soft green calms a cramped corner, the pattern makes the wall behind the washer feel intentional, and the tile wipes clean after detergent splashes. Tile just the wall behind the machines, keep the shelves white, and add one small plant.
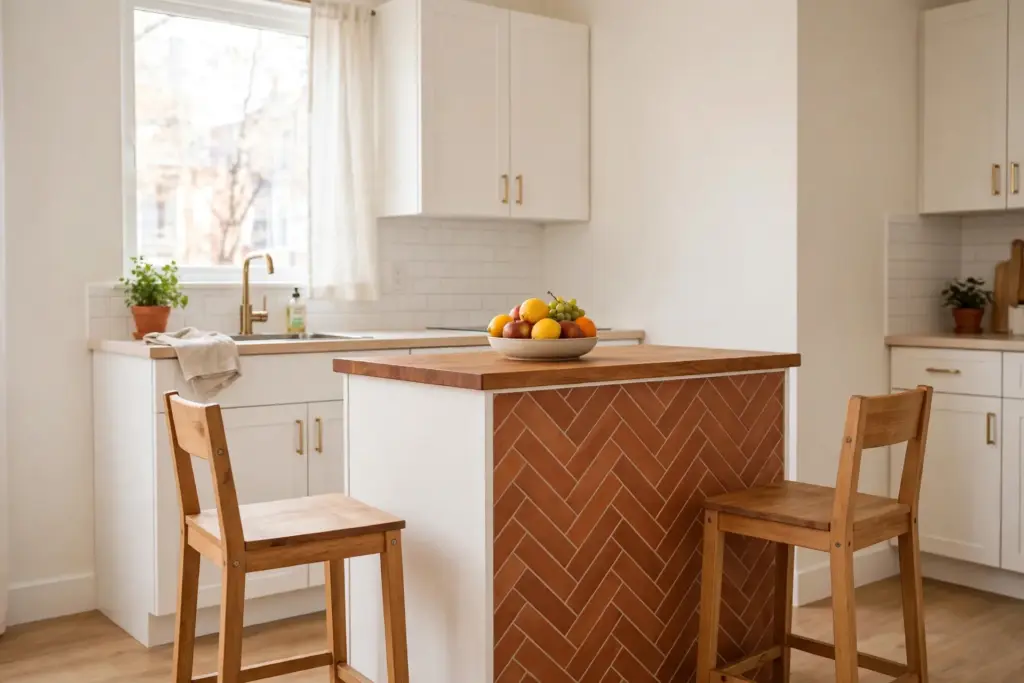
9. Herringbone Tile as a Kitchen Island Wrap
Wrapping the front of a kitchen island in herringbone tile turns the most-used piece of furniture in a small kitchen into a design feature. A marble-look or warm terracotta herringbone on the island front pairs with a plain backsplash so the two patterns never fight. Keep the tile clear of kick plates and hinges. If the island is landlord-owned, check permission first and test adhesion on a hidden spot.
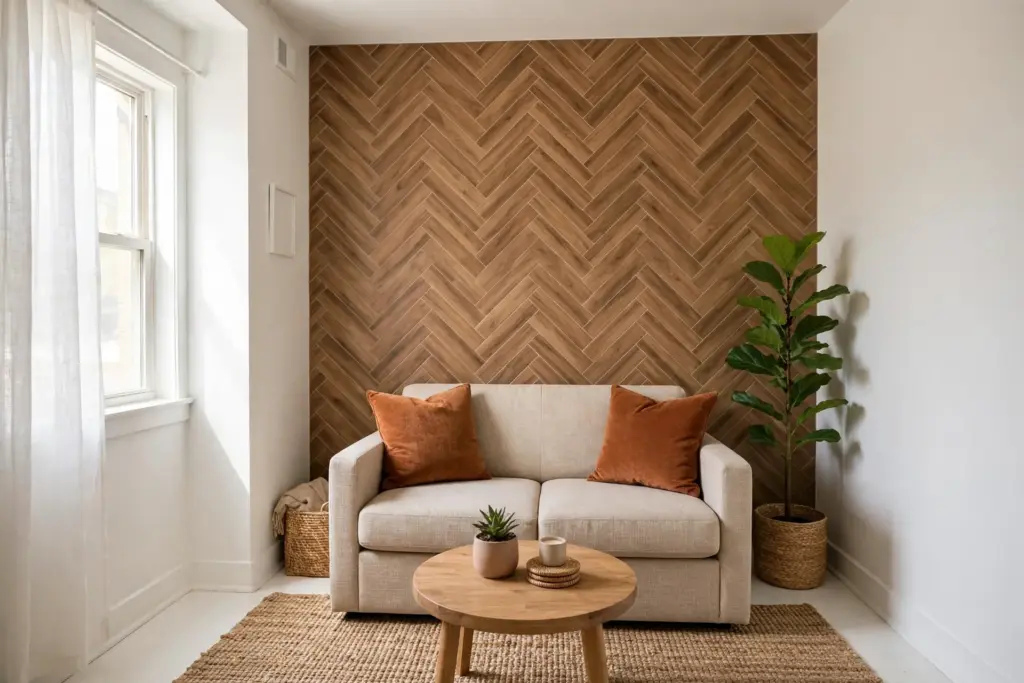
10. Warm Wood-Look Herringbone on a Living Room Accent Wall
Wood-look herringbone planks on one living room wall bring the warmth of parquet without a single nail. The pattern reads as classic flooring turned vertical, which suits small rentals because it adds texture without adding clutter. Paper the wall behind the sofa and repeat the wood tone in a coffee table or a frame so the wall feels connected to the room.
11. Herringbone Tile in a Home Office Nook
A home office nook is usually a desk pushed against a blank wall — and a herringbone tile panel behind the desk is the fastest way to make it feel like a real office. A soft blue-grey or warm white herringbone panel, just wider than the desk, frames the workspace and looks sharp on video calls. Tile just the desk-width panel, so it reads as a deliberate backdrop.
12. Half-Wall Herringbone in a Hallway
A hallway is long, narrow, and easy to scuff, so split it in two: herringbone tile on the lower half, plain paint above a chair rail. The tile takes the scuffs and wipes clean, the painted upper half keeps the hallway bright, and the chair rail hides the seam. Only add a painted lower half if your lease allows paint — otherwise use a peel-and-stick chair rail strip.
How to Install It Without Damage
Clean the surface with a damp cloth and let it dry fully, and let the tile sit in the room for a day so it matches the room temperature. If the wall was painted recently, wait until the paint has fully cured — manufacturers often recommend at least four weeks — because fresh paint is the most likely to peel off with the tile. Yipscazo Tile’s guide to peel-and-stick tile patterns shows how the herringbone layout works in practice.
To lay herringbone, start from the center of the area, not a corner: draw a center line with a level, then set the first V of tiles along it so the pattern stays symmetrical. Work outward one V at a time, pressing each sheet firmly from the center outward to push air out. Cut edge pieces with a sharp utility knife and a straightedge, and measure each angled cut twice — herringbone edges are where most tile gets wasted. For a dimensional look, our 3D peel and stick backsplash ideas cover the raised-tile options.
How to Remove It and Get Your Deposit Back
Removal is the reverse, done slowly. Warm a corner with a hairdryer on low heat for 20 to 30 seconds, lift it, and peel downward at a low angle, warming as you go. Work in short sections and never yank, then wipe residue with a warm, damp cloth. If a sheet resists, warm it longer rather than pulling harder. Photograph the wall after removal so you have proof of its condition at move-out.
Herringbone Peel and Stick Tile FAQ
Is herringbone peel and stick tile really renter-friendly?
Yes. Herringbone peel and stick tile is designed to be removed without grout, thinset, or scrapers, which is why it is a standard renter choice. Check the lease first, test a hidden patch for a week, and keep your landlord’s written permission.
Will it damage the paint when I remove it?
It can, on the wrong surface. Matte and flat finishes grip adhesive more strongly and are the most likely to lift on removal, while satin and semi-gloss finishes usually release cleanly. Fresh paint is also vulnerable, so wait until it has fully cured.
Can I use it behind a stove?
Only if the product is rated for it. Vinyl peel-and-stick tile is not rated for direct, sustained heat the way ceramic is, so check the manufacturer’s heat rating for the exact product before tiling behind a cooktop. Keep tile a safe distance from burners, and use a heat-resistant panel behind the stove if the listing calls for one.
Can I use herringbone peel and stick tile on the floor?
Yes, if the product is made for floors. Floor-rated peel-and-stick planks have a stronger adhesive and a wear layer that wall tile lacks, so check the listing before using wall tile on a floor. Clean the old floor thoroughly first, since dust is the main reason floor tile lifts.
Can I reuse peel and stick tile after removing it?
Generally no. The adhesive weakens with each removal, and a peeled sheet rarely sticks as well the second time — it may bubble or lift at the edges. Keep the leftover box instead: it covers repairs and the next accent wall.
Keep Reading
- Peel and Stick Backsplash for Renters — the full backsplash guide this pattern builds on.
- 3D Peel and Stick Backsplash Ideas — raised tiles if you want more depth than flat herringbone.
- Fireplace Peel and Stick Tile Ideas — more surround options for a tiled fireplace.