

Peel-and-Stick Wallpaper for Renters: How to Choose, Install, and Remove It
One wall can change how a whole rental feels, and few upgrades do it faster than peel and stick wallpaper for renters. It goes up without paste, water, or holes, and a product sold as removable is designed to come back down when the lease ends. The catch is that “removable” is conditional: the result depends on the material chosen, the paint underneath, and how carefully each panel goes up and comes down. This guide walks through all three stages in order — choose, install, and remove — so the wall looks deliberate on day one and ordinary again on move-out day.
Peel-and-stick is also the biggest-impact option in the broader set of renter-friendly apartment decorating ideas and in the roundup of renter friendly wall decor ideas — which is why it deserves the most planning.
How to Choose Peel-and-Stick Wallpaper
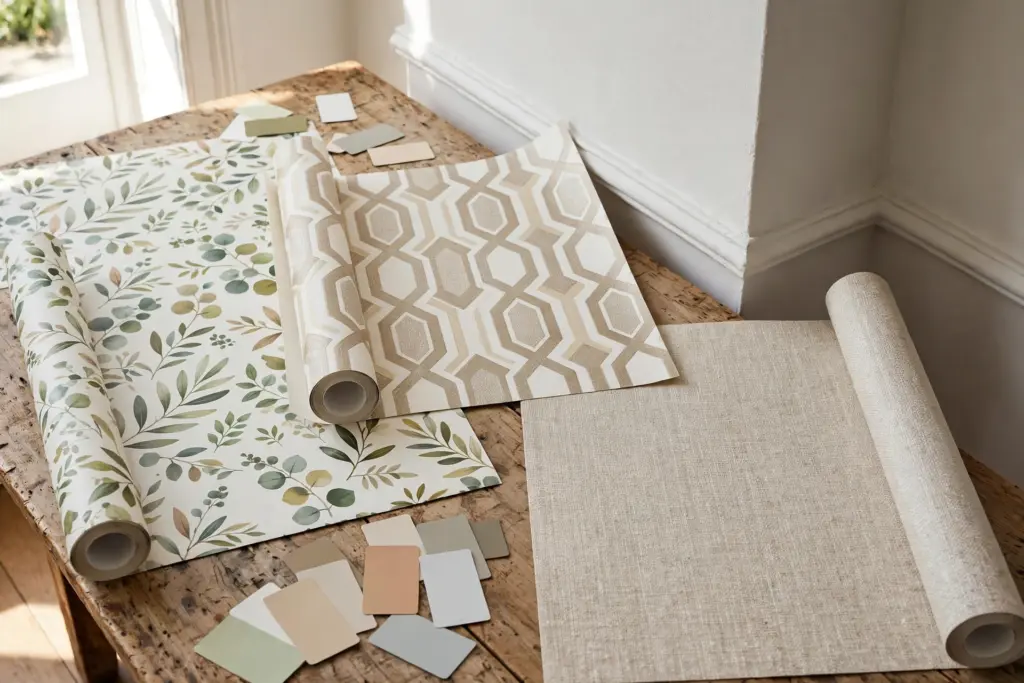
Start with the word that matters most on the listing: removable. Some self-adhesive wallpapers use a stronger adhesive meant for long-term installs, and those are a poor match for a lease. Look for products described as removable or temporary, and read the maker’s own surface and removal notes before ordering. Guidance on wall damage from Angi’s peel-and-stick damage guide makes the same distinction: adhesive type is one of the main factors in whether paper releases cleanly.
Pick a Material: Vinyl or Fabric-Backed
Most removable wallpaper is either vinyl or fabric-backed. Vinyl is usually thinner, wipes clean easily, and handles kitchen and bathroom humidity better. Fabric-backed options feel thicker and more forgiving during installation — they stretch and tear less, with a matte, textile-like finish. Neither is automatically safer for paint; adhesive and wall condition matter more. Choose vinyl where wiping and moisture matter, fabric-backed where handling and finish matter.
Match Pattern Scale to a Small Room
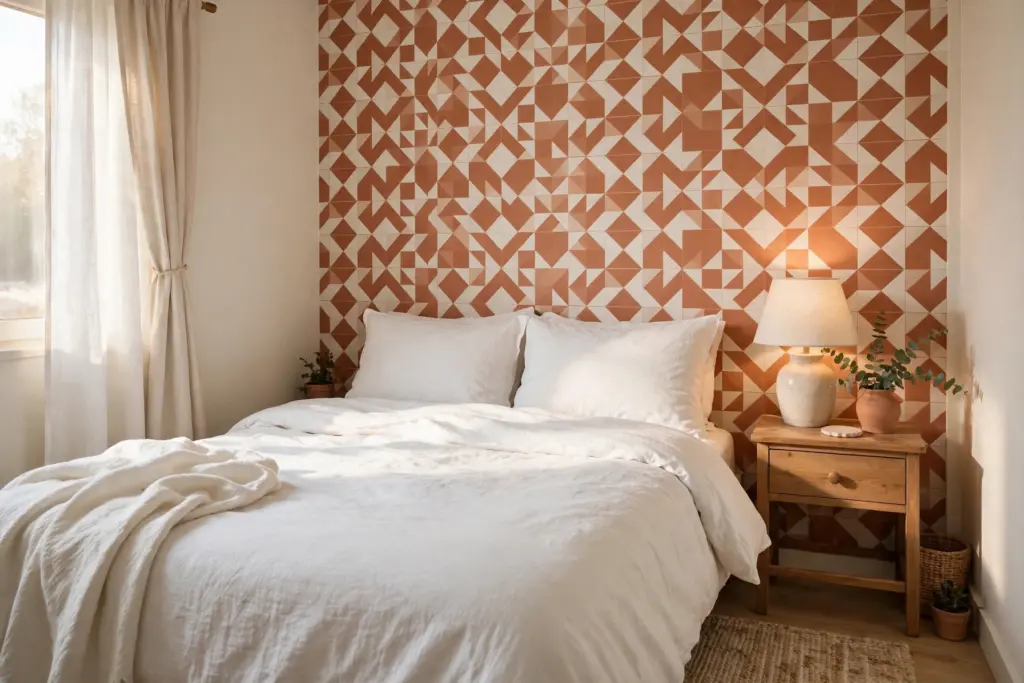
Pattern scale changes how big a room feels. A large, high-contrast repeat can overwhelm a small bedroom, while a tiny, busy print can look restless from across the room. For rentals, one accent wall beats four: the wall behind a bed, sofa, or desk carries the pattern, and the rest stay calm. Small-scale botanicals, subtle geometrics, and faux textures such as linen or grasscloth add depth without shouting. View any sample in daylight and lamplight first — color shifts are the most common reason panels get returned.
Order a Sample First, Every Time
A sample is not just for color. Stick it in an inconspicuous spot — behind a door, inside a closet edge, or low behind furniture — and leave it for several days. That test shows three things no listing can: whether the adhesive holds on the actual paint, whether the edges stay flat, and, most importantly, whether it releases cleanly from that specific wall. If the sample lifts paint or leaves the surface tacky, stop there and choose decals or a different decor method instead. A sample costs a few dollars; repainting a wall costs far more.
Check Your Wall Before Anything Goes Up
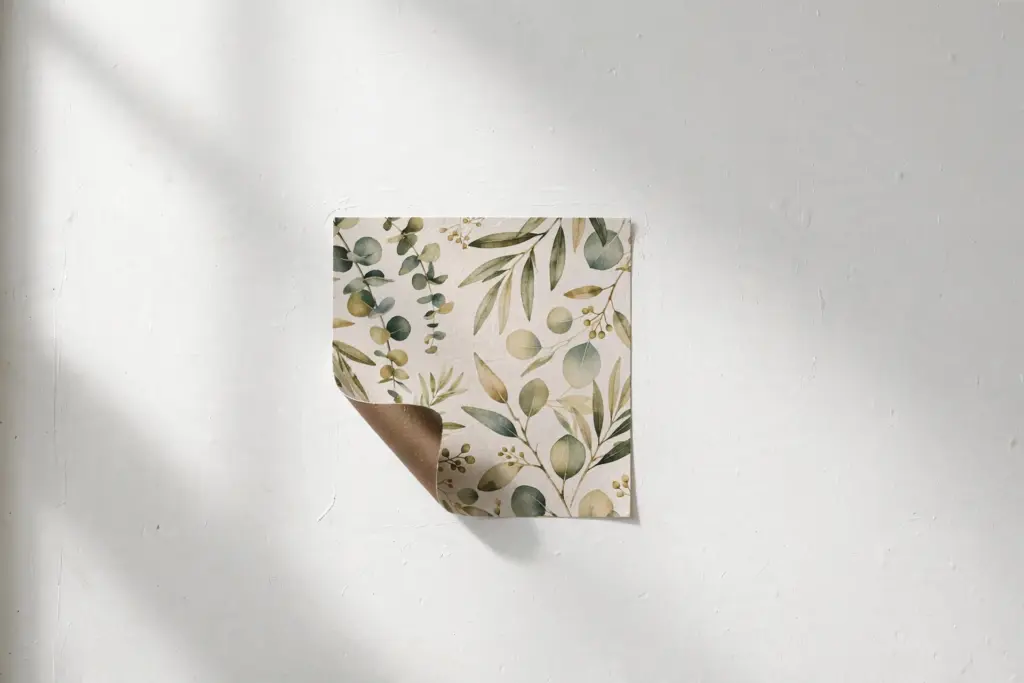
The safest installs happen on smooth, clean, dry, sound paint. Peel-and-stick products struggle on heavy texture such as popcorn or knockdown finishes, because the adhesive touches only the high points and edges lift early. Dusty, chalky, or flaking paint is another stop sign: the paper bonds to the loose layer, not the wall, and removal can pull that layer with it. Maker and installer guidance, including Rocky Mountain Decals’ damage-prevention guide, consistently lists wall condition and preparation among the top predictors of a clean removal.
Paint sheen matters too. Flat and matte finishes are more porous and can grip adhesive more tightly, while eggshell, satin, and semi-gloss finishes generally release removable paper more predictably. Fresh paint is the biggest hidden risk: paint that feels dry may not be fully cured, and adhesive applied to uncured paint can bond to a soft film that later peels away with the paper. Guides commonly cite a cure window of roughly three to four weeks, but the right move is to follow the paint and wallpaper makers’ own curing guidance for the specific products involved.
Finally, check the lease and, for larger projects, ask. Many leases ban paint and holes but say nothing about removable wallpaper — yet a quick written okay from a landlord removes all doubt at deposit time. Photograph the wall before starting as a record of its original condition.
Measure the Wall and Order the Right Amount
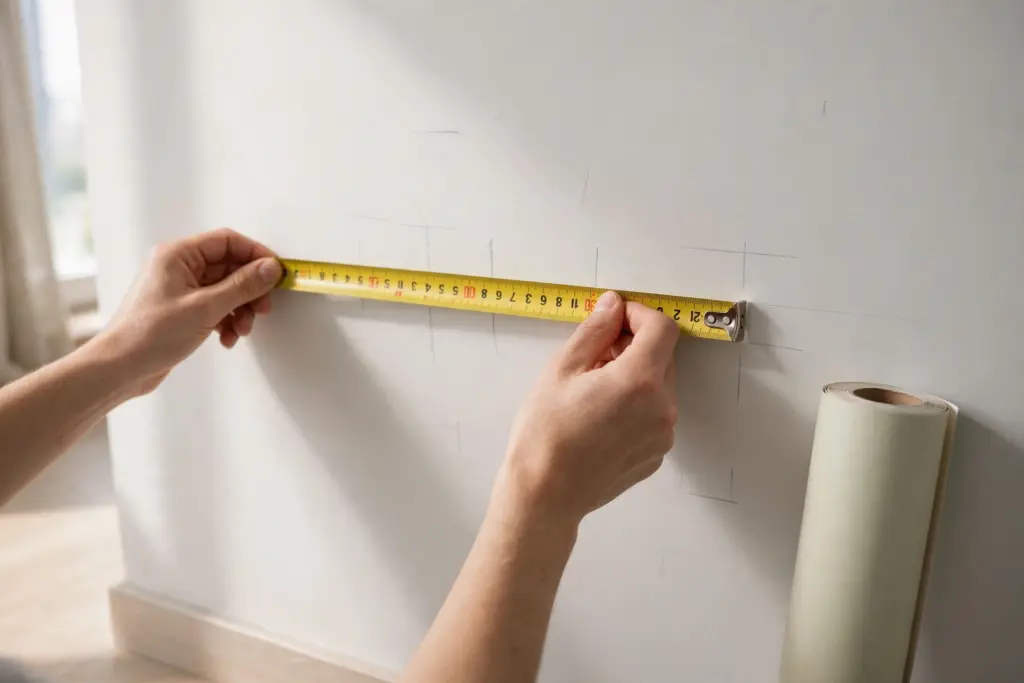
Measure the wall’s width and height, then measure again in a second spot — ceilings and corners in older rentals are often slightly out of square, so work from the largest dimensions. Multiply width by height for square footage, then check the roll’s stated coverage and pattern repeat. The repeat is the distance before the pattern starts again, and matching it at every seam consumes extra length on each panel. As a planning rule, order roughly ten to fifteen percent more than the bare square footage to cover pattern matching, trimming at the ceiling and baseboards, and one mistake panel. Buy all rolls in a single order where possible so the print run and color stay consistent, and note doors, windows, and outlets on a quick sketch so panel seams can be planned to land in low-visibility spots.
Scope matters for cost too: one accent wall takes a small number of rolls, while a full room multiplies material cost and move-out removal time. The accent wall delivers most of the visual change for a fraction of the work.
Install It Step by Step
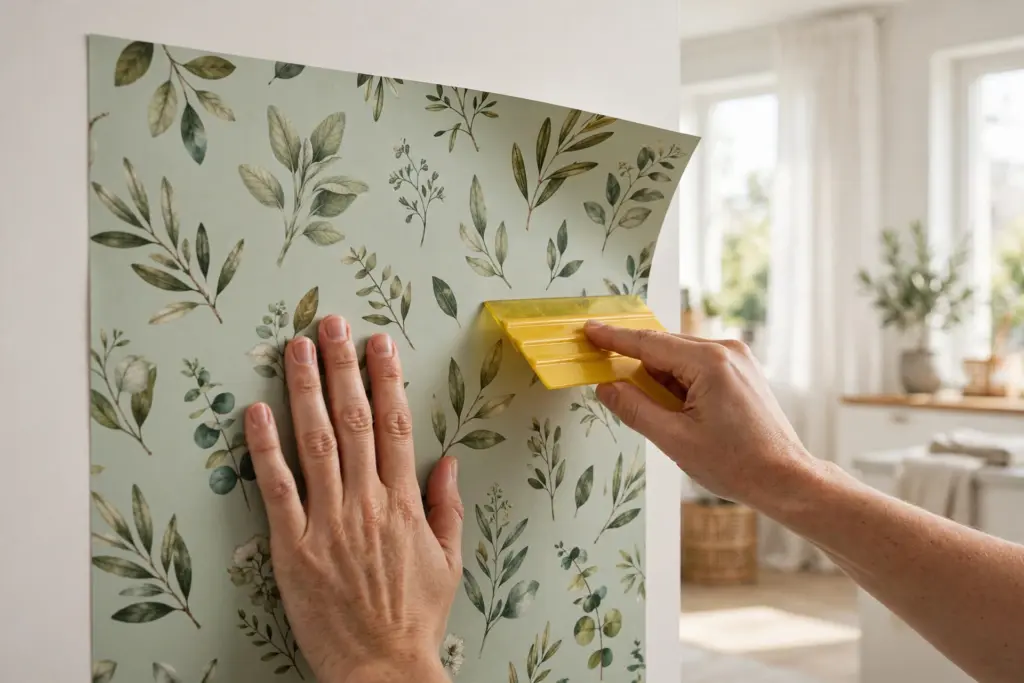
Step 1: Clean and dry the wall. Wipe the surface with a damp cloth to remove dust and grease, then let it dry completely. Adhesive applied over dust fails early, and moisture trapped under a panel invites lifting edges.
Step 2: Plan the layout. Decide where the first panel starts and mark a light vertical guide line with a pencil and level. Walls and ceilings are rarely perfectly straight, so a plumb first panel keeps every later seam honest. Plan around outlets and switches with the power off at those covers if they need removing, and keep the pattern’s best section at eye level rather than at the ceiling.
Step 3: Peel the backing gradually. Expose only the top portion of adhesive first, align the panel to the guide line, and press it lightly. Peel more backing as work moves downward instead of removing the whole sheet at once — a fully exposed panel sticks to itself, the floor, and everything except the intended spot.
Step 4: Smooth from the center outward. Use a plastic squeegee or smoother and work from the middle of the panel toward the edges, pushing air out as the panel settles. Small bubbles can be eased to the nearest edge; a stubborn bubble can be released with a pin prick and smoothed flat. Work slowly — speed is what traps air.
Step 5: Do not stretch the material. Pulling a panel sideways to force a pattern match distorts it, and stretched material tends to shrink back later, opening seams. If a panel lands crooked, lift it gently and reposition it rather than dragging it into place.
Step 6: Align, overlap if directed, and trim last. Match the pattern at each seam and follow the maker’s direction on butting panels edge to edge or using a slight overlap. Trim excess at the ceiling, baseboards, and around outlets only after the panel is fully smoothed, using a sharp blade and a straight edge, and press edges down firmly as the finishing pass. That patience is what makes peel and stick wallpaper for renters look installed rather than stuck on.
Remove It Without Risking Your Deposit
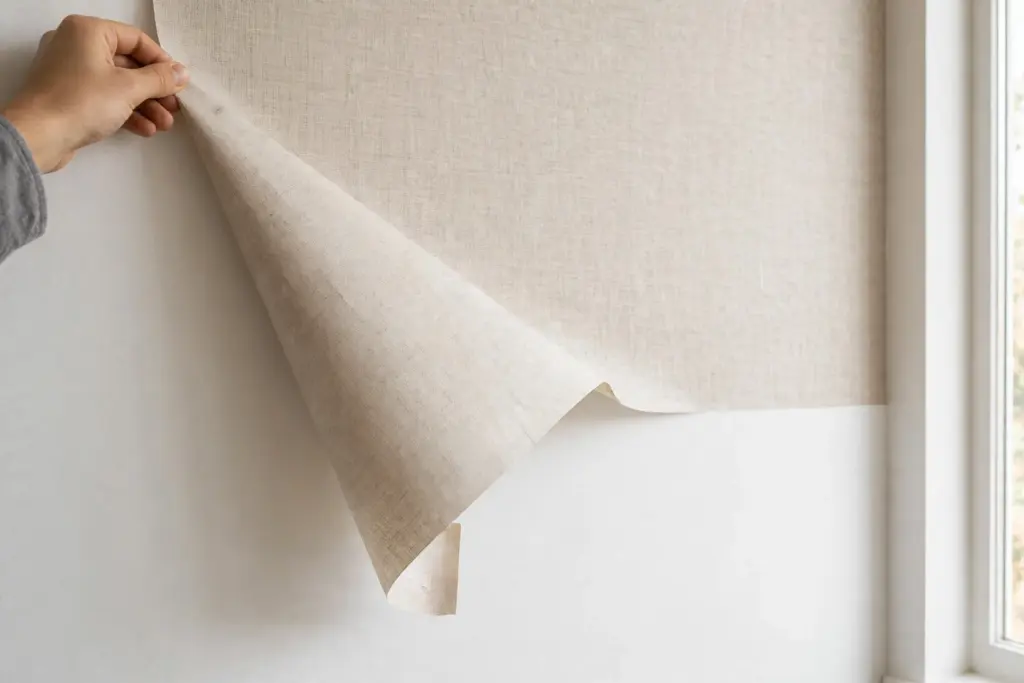
Removal is a patience task, not a strength task. Start at a top corner and lift the edge with a fingernail or a plastic scraper. Peel the panel back slowly on itself at a low angle — around forty-five degrees or flatter — keeping the free hand close to the wall right where the paper is releasing. That low, slow pull lets the adhesive let go gradually instead of gripping and tearing at the paint. Removal guidance for temporary wallpaper, including Apartment Therapy’s temporary wallpaper removal guide, emphasizes the same habits: quality removable paper, a clean wall underneath, and an unhurried peel.
If a section resists, stop pulling and soften it instead. Brief, gentle warmth from a hair dryer on a low setting, held a short distance away and kept moving, can loosen stubborn adhesive so the peel can continue. Never force a stuck section straight out from the wall — that is the motion most likely to lift paint. Work panel by panel, and if paint does start to lift anywhere, slow down further and add warmth before continuing.
After the last panel, wipe the wall with a damp cloth to lift any light residue, using only a gentle cleaner if the maker allows it. Let it dry, then photograph it — paired with the before photos, that documents the room returned in its original condition.
Honest Limits Worth Knowing
Removable wallpaper is not right for every wall. In bathrooms it belongs away from direct water contact, only where ventilation clears steam quickly — never inside a shower stall. Kitchens call for the same caution near heat and splashing. Lifespan varies widely by product, room conditions, and sun exposure, so treat any longevity figure as product-specific, not a promise. And the core condition bears repeating: peel and stick wallpaper for renters is designed to remove cleanly from smooth, properly painted, fully cured walls when removed slowly — not a guarantee on textured, damaged, or freshly painted surfaces. When a wall fails these checks, a tapestry, decals, or leaning art will serve the room better.
Frequently Asked Questions (FAQ)
Will peel-and-stick wallpaper damage rental walls?
It is designed not to, but damage is possible when conditions are wrong: uncured or flaking paint, heavy texture, a permanent-adhesive product, or a fast, forceful removal. A hidden sample test, sound smooth paint, and a slow low-angle peel keep the risk low.
How long should paint cure before installing peel-and-stick wallpaper?
Guides commonly cite roughly three to four weeks for paint to fully cure, but cure times vary by paint and conditions. Follow the paint maker’s and wallpaper maker’s guidance for the specific products, and never install on paint that is only dry to the touch.
Can peel-and-stick wallpaper go in a rental bathroom?
It can work on bathroom walls that stay dry and where ventilation clears steam, with vinyl products usually handling humidity best. Keep it away from direct water contact and never inside a shower stall, and expect humidity to shorten any product’s lifespan.
How much extra wallpaper should a renter order?
Order roughly ten to fifteen percent more than the wall’s bare square footage to allow for pattern matching, trimming, and a spare panel for mistakes. Buy all rolls in one order where possible so color and print run stay consistent.
What if the sample test lifts paint?
Do not proceed with that wall. Paint lifting under a small sample signals the full install would be riskier, not safer. Choose a no-contact alternative instead, such as decals on a different surface, a tension-rod tapestry, or leaning art.